Dorm Room Visualizer – Preview Your Dorm Makeover
Test layouts, storage, and no-drill upgrades in your actual dorm before move-in day.
Free to try. Sign in only to save your design.
Try the studio
Build your furniture preview here.
Upload a room, choose a style, then sign in only when you are ready to generate and save it.
1. Start with your room
Upload a photo or choose a sample to get started.
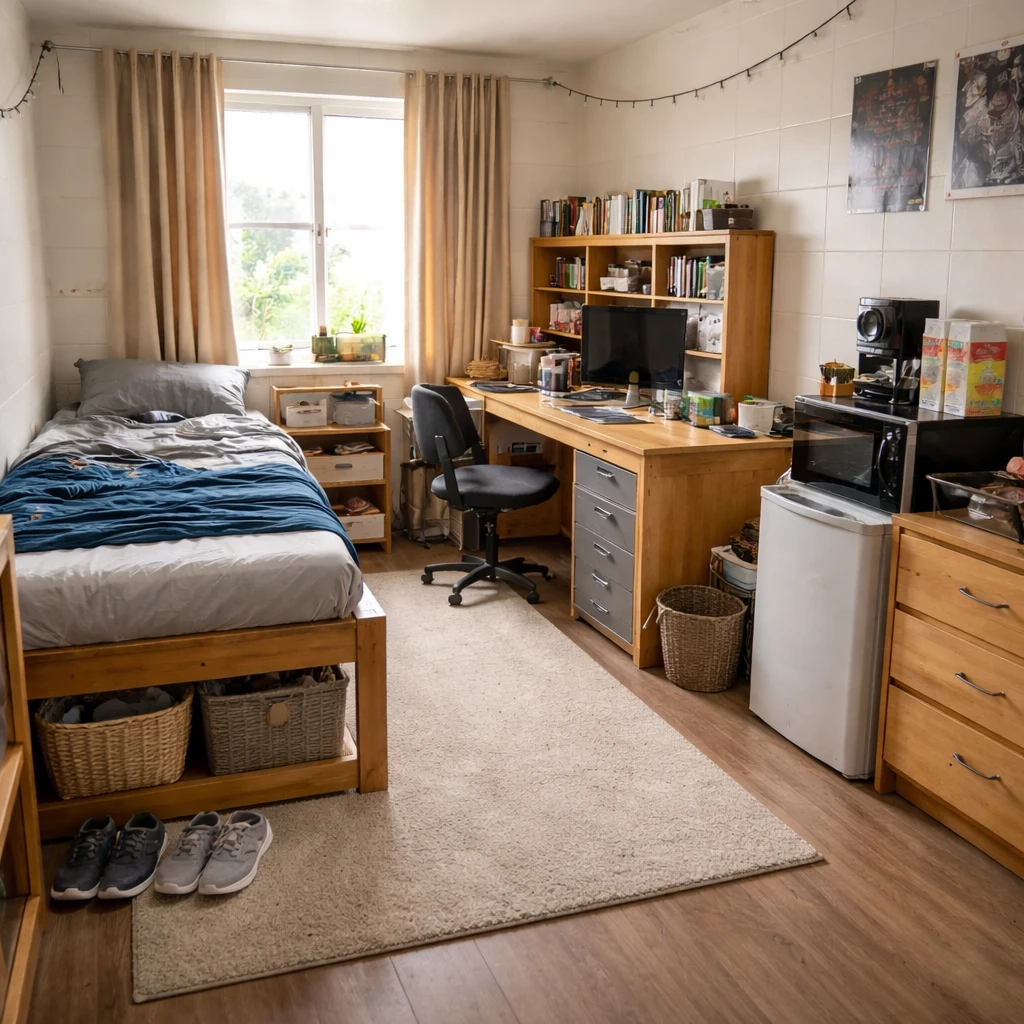
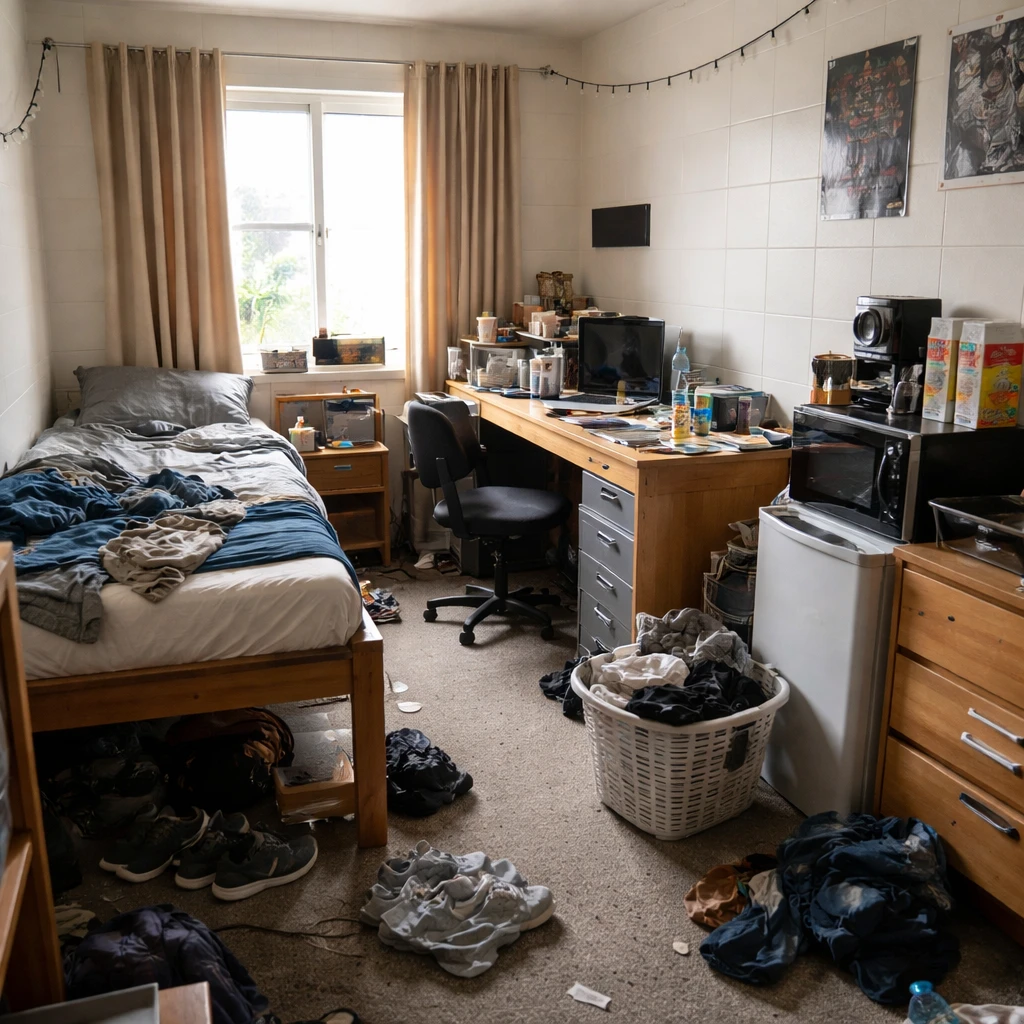
Examples
Real rooms, before and after
Tap or hover to see each transformation.
A dorm room is roughly 200 square feet that must be bedroom, study, storage unit, and social space at once — with rules: no drilling, no painting, a twin XL bed you did not choose, and a roommate whose stuff arrives the same day yours does. Buying for a dorm without seeing the room first is how you end up with a bookshelf that does not fit and a rug that covers nothing.
A dorm room visualizer plans the room before move-in day. Upload a photo of the dorm once you have it — or a sample room if you do not — and describe what you are working with: the provided bed and desk, what you want to add, what your housing rules allow. The preview shows where everything actually fits, so every purchase has a measured place to land.
The winning dorm moves are consistent: the bed positioned to free the longest wall, under-bed storage doing the heavy lifting, plug-in lighting instead of the one overhead bulb, and a desk zone that faces away from the bed for focus. Preview the layout before you pack the car, and the room works from day one instead of week six.
How it works
Snap your room, compare design directions, and use the best result as your shopping and styling brief for dorm room visualizer – preview your dorm makeover.
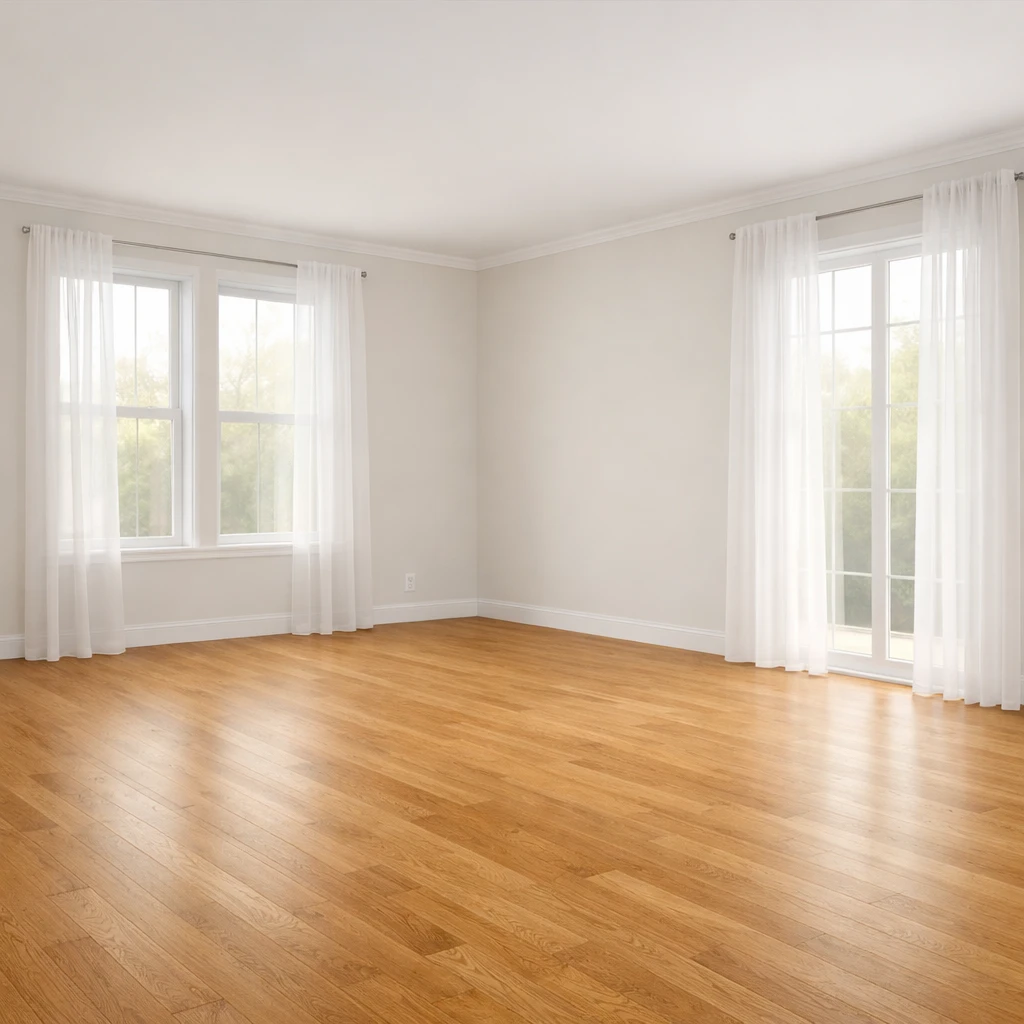
Photograph the dorm as soon as you have access
Include the provided bed, desk, and dresser plus windows and the door. If you have no photo yet, start from a sample room and refine after move-in.
List what is fixed before adding anything
The twin XL bed and provided furniture are constraints, not choices. The preview plans around them so everything you buy has a measured place to go.
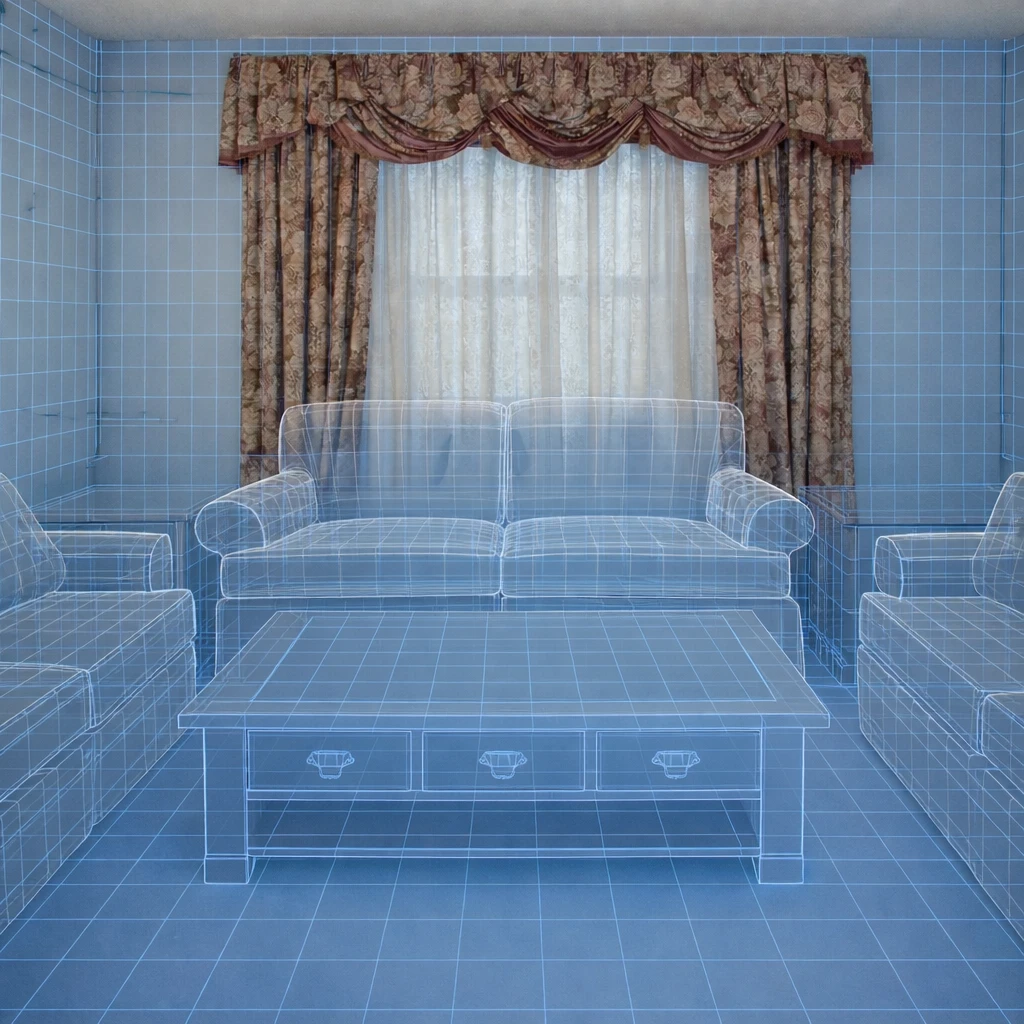
Ask for no-drill solutions explicitly
Housing rules decide what is allowed. Request adhesive, tension, and freestanding options and the suggestions stay deposit-safe: under-bed storage, plug-in lighting, shelving that needs no anchors.
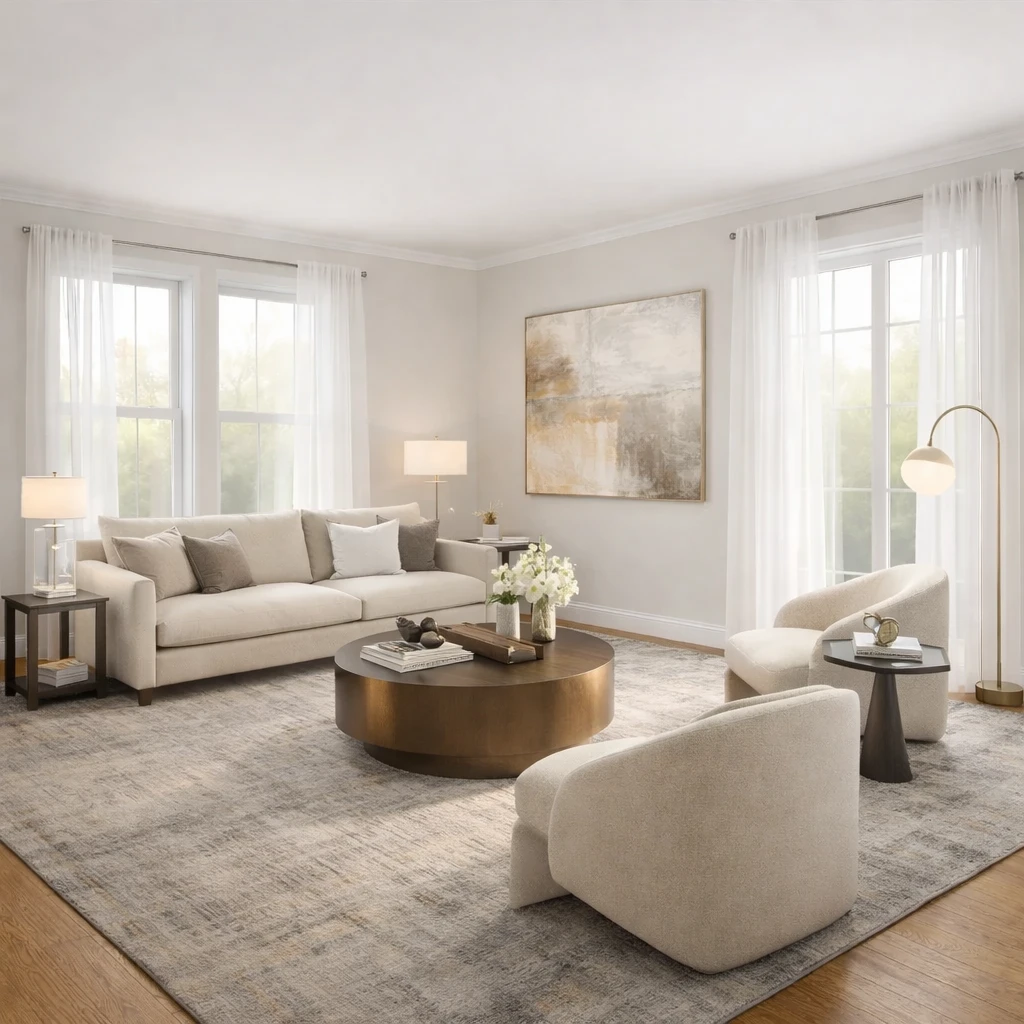
Share the plan before you shop
Send the preview to your roommate or family so purchases do not overlap and the shopping list matches the layout. A shared plan beats two carts full of duplicates.
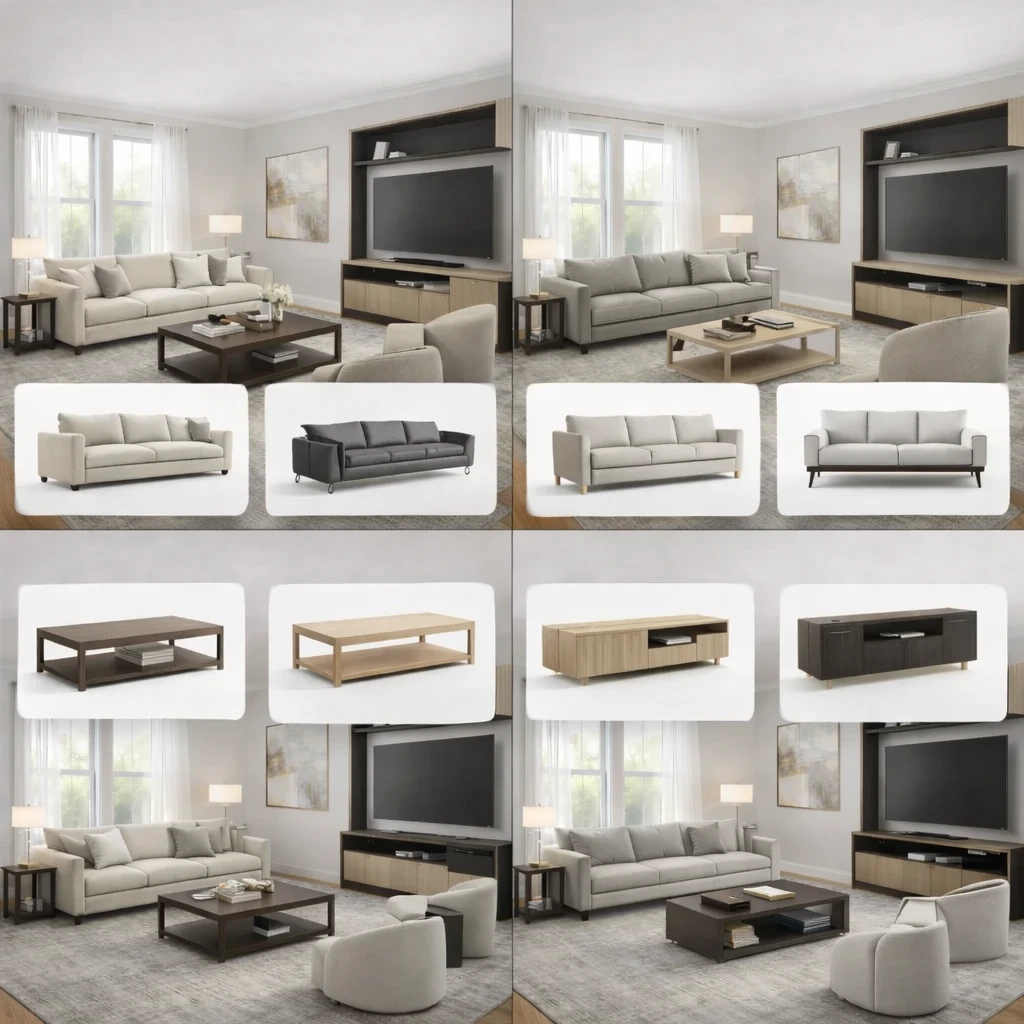
Do this first
- 1Use one wide room photo with doors, windows, and the major furniture zone visible.
- 2Decide what you are testing first: layout, style direction, or product fit.
- 3Generate at least two or three directions before choosing a winner.
- 4Use the strongest result as the brief for your next purchase decisions.
Before you buy
- !Check measurements before buying large items, even if the concept looks right.
- !Compare at least one lower-cost and one higher-cost alternative before checkout.
- !Review delivery windows and return terms for larger pieces.
- !Save the chosen direction so future purchases stay visually consistent.
Best for
- Living rooms, bedrooms, offices, and apartments where layout is the main blocker
- People deciding what to buy before they order furniture
- Testing if a new arrangement feels more open or more functional
Know before you start
- iNot a CAD floor-planning or contractor-drawing tool
- iNot a substitute for exact onsite measurements before final purchase
- iNot ideal when you need permit-ready renovation documentation
Source Furniture After the Layout Direction Is Clear
Use the chosen layout to shortlist furniture that supports the plan instead of browsing products without room context.
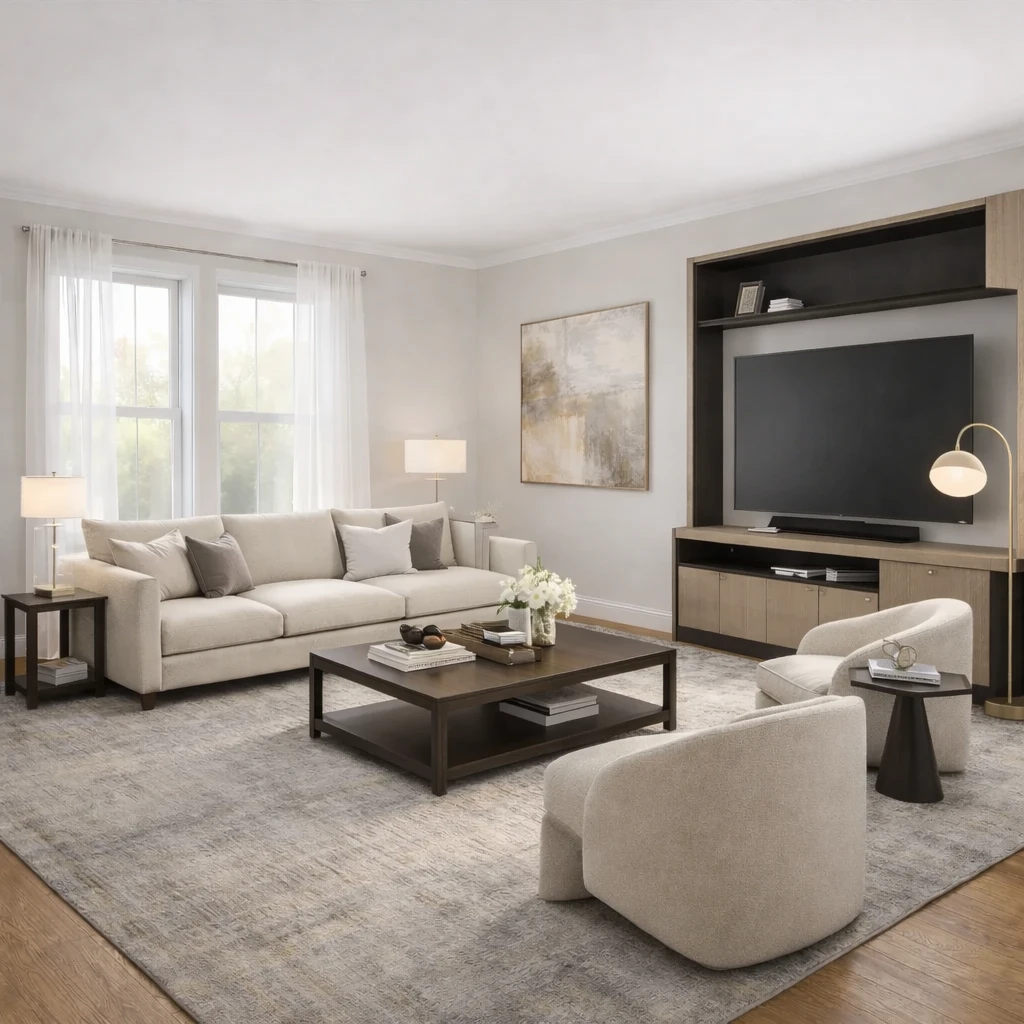
Stage 1
Product matching from your room context
Recommendations are generated from the actual room concept—not generic mood boards. Each product suggestion is sized and positioned to work with your specific room proportions, lighting conditions, and existing architectural features.
Stage 2
Compare alternatives by style, price, and availability
Review multiple matched options across different retailers (Amazon, IKEA, eBay, and regional stores) and choose the price-quality tradeoff that fits your budget. Compare delivery times, return policies, and customer reviews alongside visual fit.
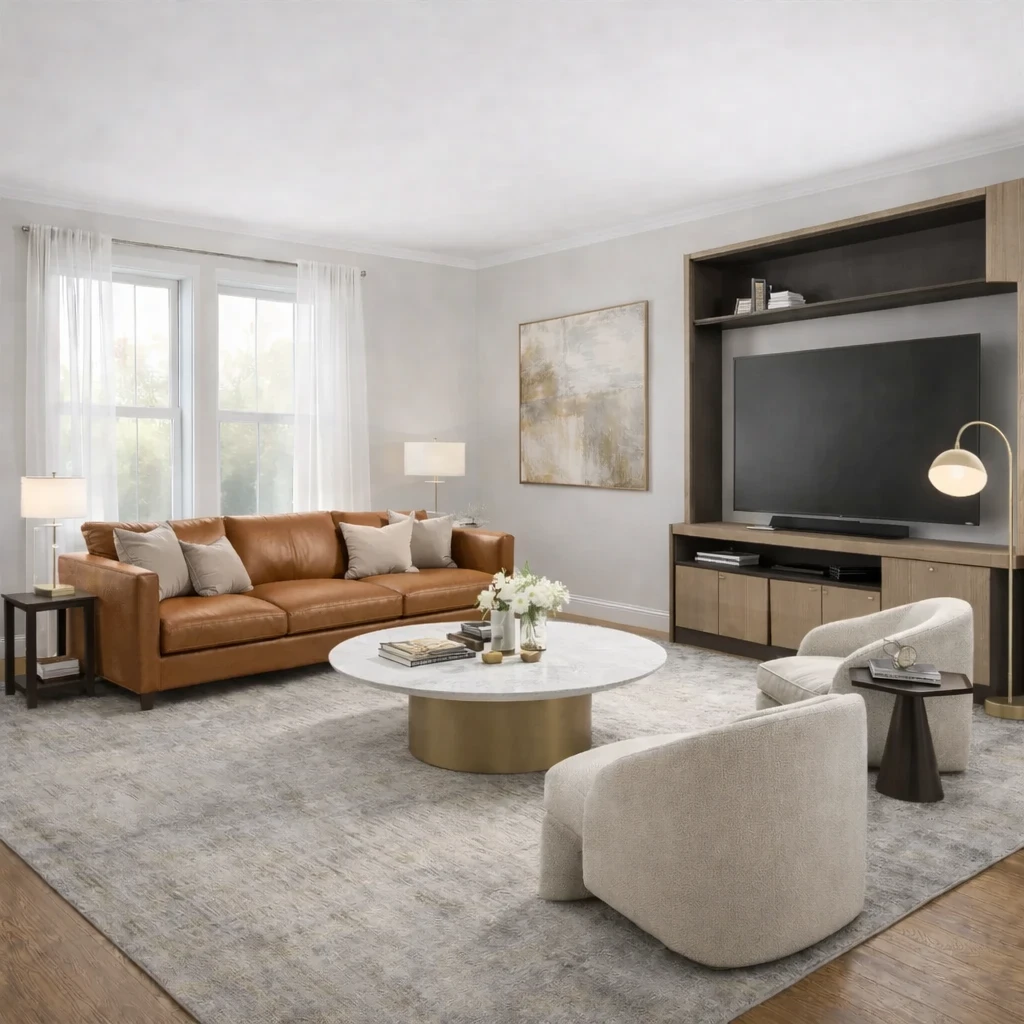
Stage 3
Apply swaps before purchase
Preview replacements directly in the visual concept—no need to order, return, and reorder to find what works. Test whether a less expensive alternative achieves similar visual impact before committing your budget.
AI Room Planner FAQs
Questions people ask when using a room photo to test layout and furniture directions.
What Innie can do for dorm room visualizer – preview your dorm makeover
More AI design tools
Browse all guidesAI Room Planner From Photo
Compare layout directions against your actual room before moving furniture or committing to purchases.
Bedroom Visualizer – Preview Designs in Your Room
Test bed placement, storage, and lighting in your actual bedroom before you move a single piece.
Home Office Visualizer – Preview Your Workspace
Test desk placement, glare, and storage in your actual room before you buy the wrong desk.
Living Room Visualizer – Preview Layouts in Your Room
Test layouts, sofas, and rugs in your actual living room so the next purchase lands right the first time.
AI Furniture Placement From Your Room Photo
Upload your room photo to compare furniture directions that improve flow, balance, and function before you move or buy anything.
AI Furniture Placement for Real Rooms
Upload your room photo to test furniture directions that improve flow, balance, and everyday function.
Try Dorm Room Visualizer – Preview Your Dorm Makeover on your own room
Use a dorm room visualizer to preview layouts, storage, and renter-safe decor in your actual dorm. Upload a photo and plan the room before you shop.
Free to start. No credit card required.
See the full Innie flow in one clean walkthrough.
Watch the real Innie workflow from upload to redesign to shoppable picks.

Innie
YouTube walkthrough