Find Furniture From Your Room Photo
Use your room as the filter for furniture decisions so size, style, and layout stay grounded in reality.
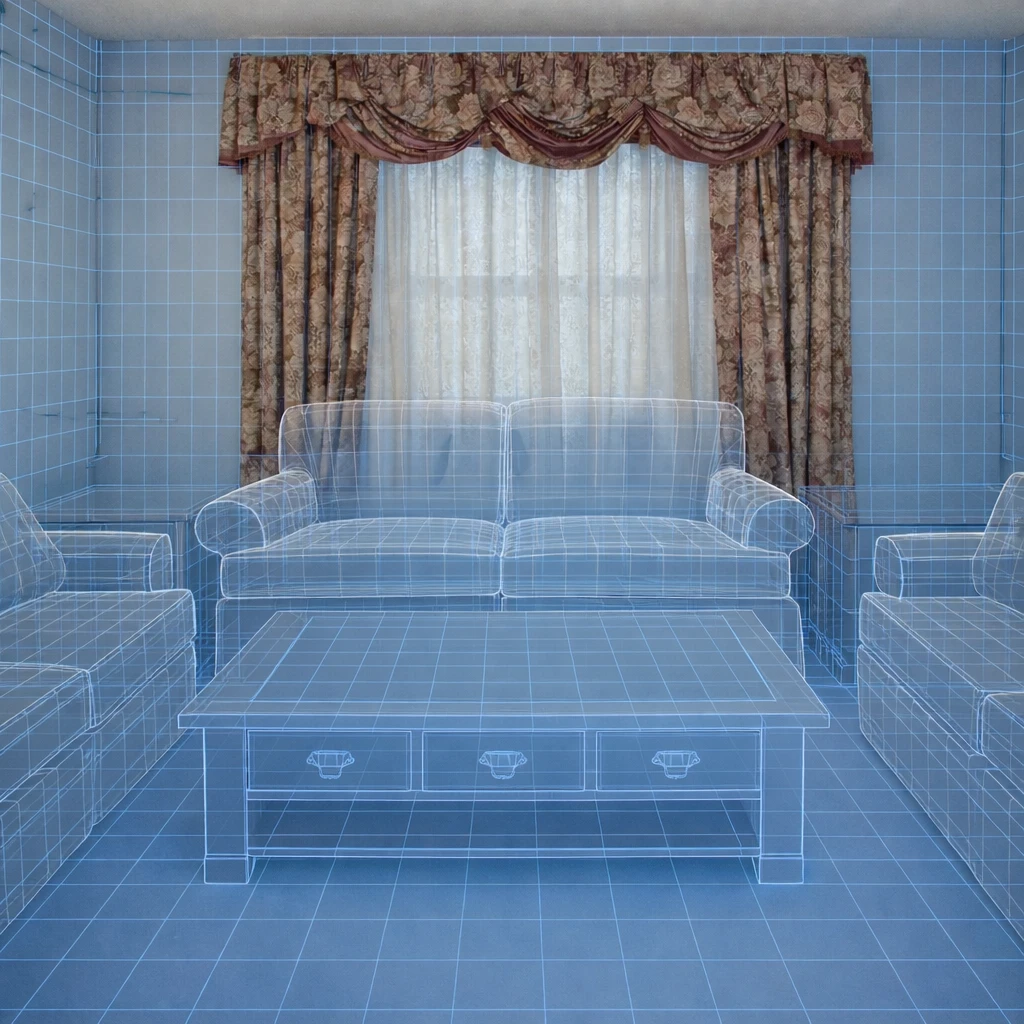
Guidance for finding furniture from a room photo by comparing silhouette, fit, proportion, and style against the actual space.
Upload a photo to match products
Try the studio
Build your furniture preview here.
Upload a room, choose a style, then sign in only when you are ready to generate and save it.
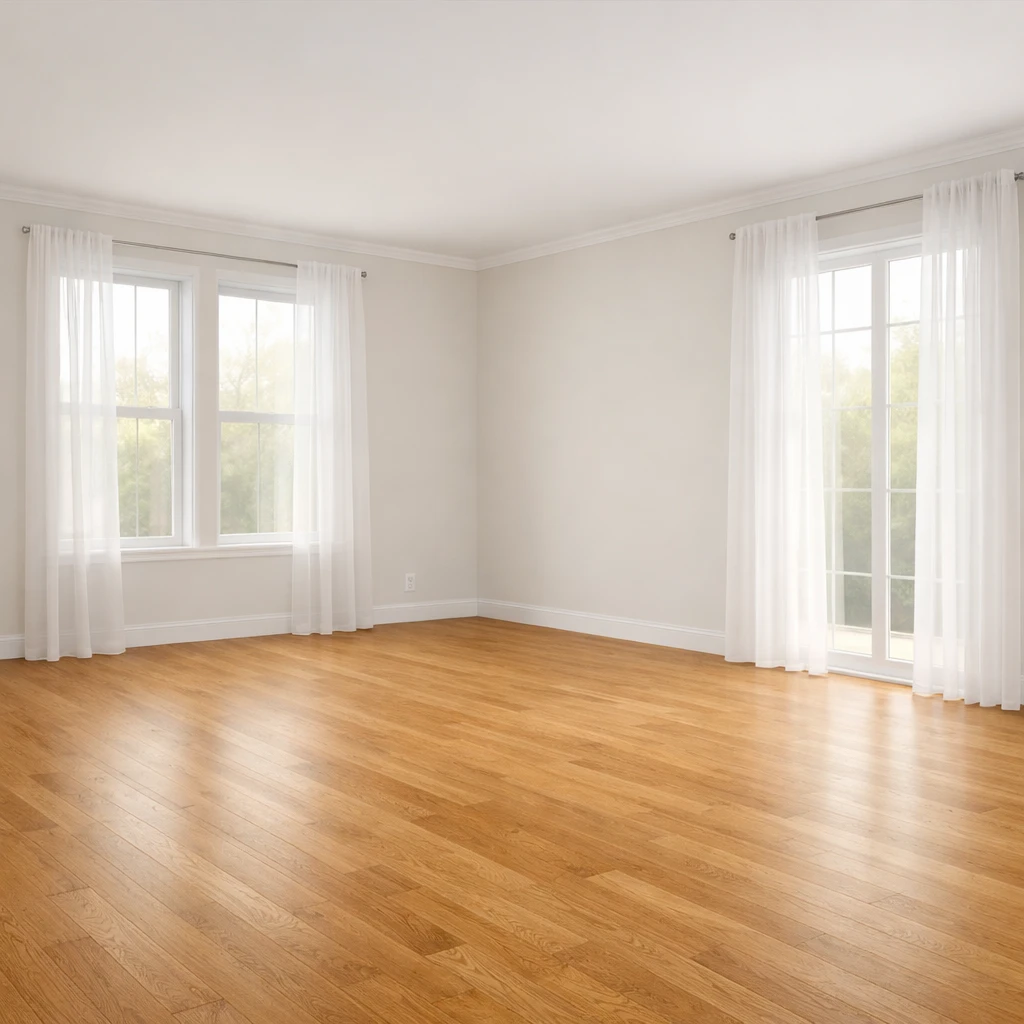
1. Start with your room
Upload a photo or choose a sample to get started.
Find Furniture From Your Room Photo
Drag or tap to compare
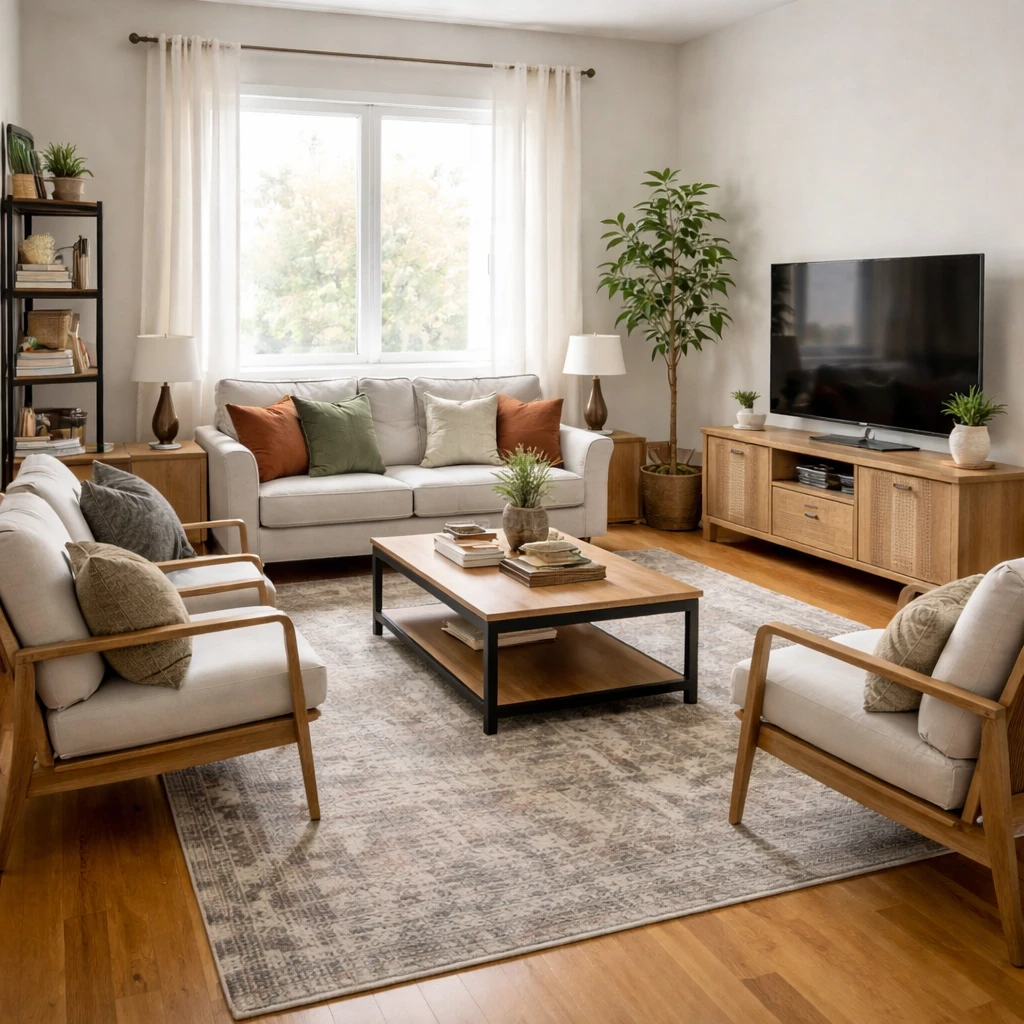
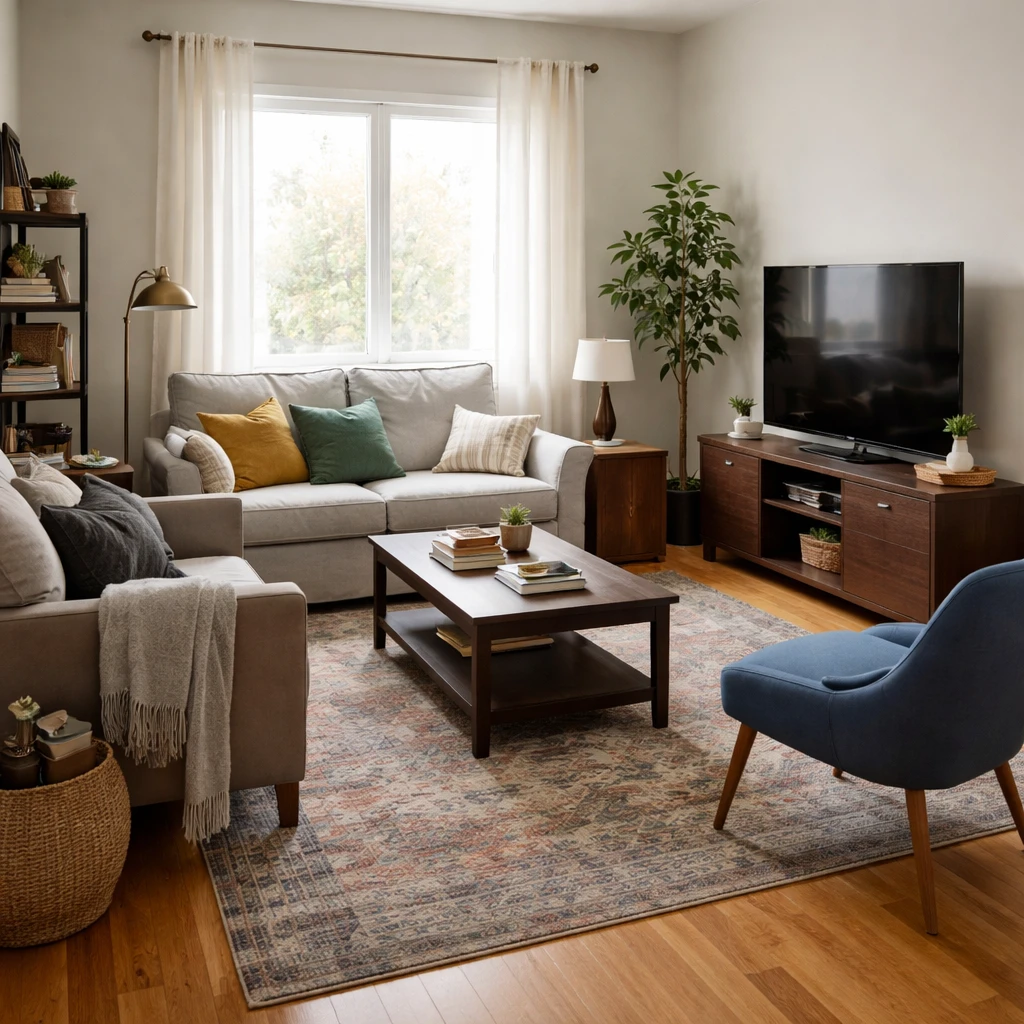
Examples
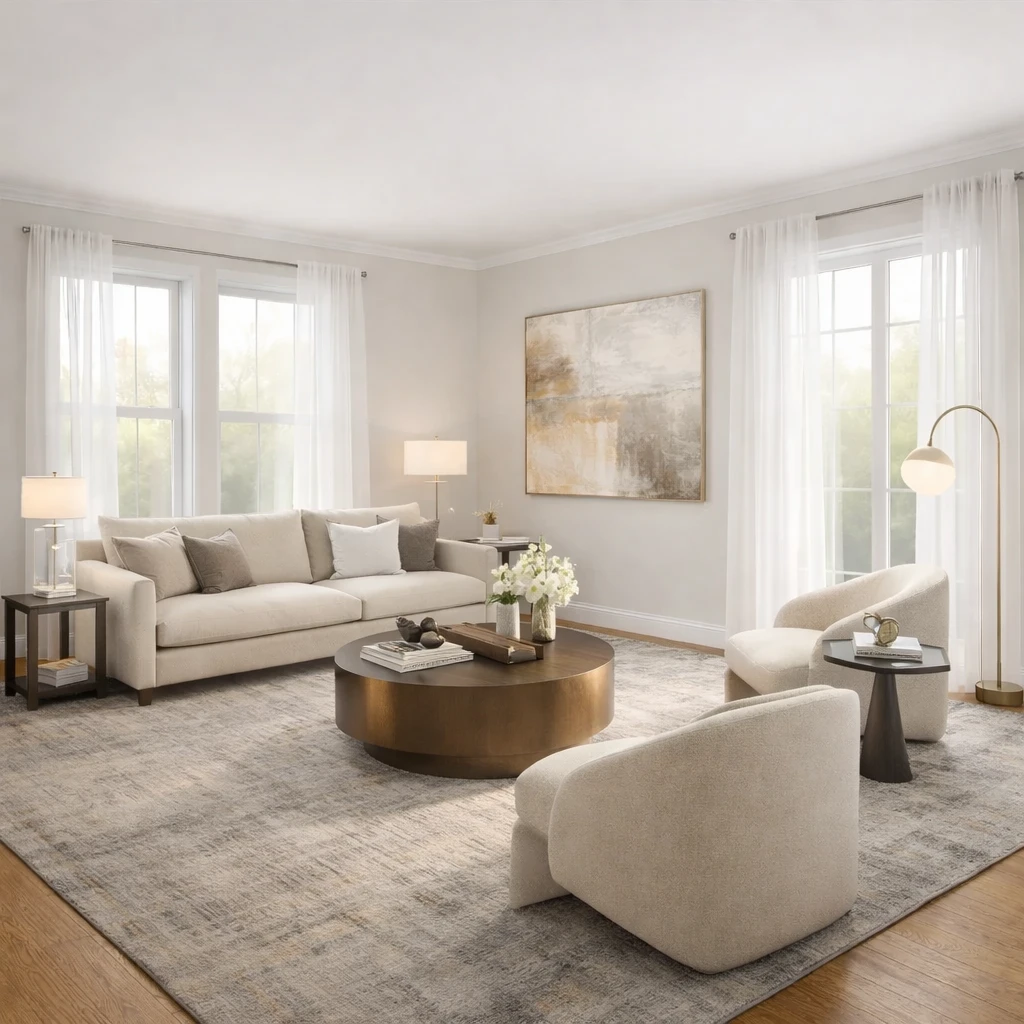
Real rooms, before and after
Tap or hover to see each transformation.
Choosing furniture for a room starts with the room, not the piece. Measure wall lengths, circulation paths, window heights, and door widths before you even think about upholstery color. The largest item in the room should usually occupy about two-thirds of the wall it sits against, leaving enough negative space that the room can still breathe. A sofa that is 96 inches wide on a 10-foot wall, or a dresser that rises almost to the ceiling under an 8-foot lid, is not a style risk. It is a scale mistake. Rooms become expensive when people buy aspirational furniture before they understand the architecture it has to live inside.
Function comes first, proportion second, construction third, and style last. That order is not glamorous, but it is the one that prevents regret. If the chair is beautiful but uncomfortable after twenty minutes, it is decoration. If the dining table looks elegant but leaves only 26 inches of clearance to the wall, it is obstruction. If the bed frame photographs well but squeaks because the joinery is weak, it is future annoyance sold at full retail. Furniture should solve posture, storage, seating, or surface needs before it tries to signal taste.
Construction quality explains most of the price differences that actually matter. Upholstered seating should disclose frame material, suspension type, and cushion density; kiln-dried hardwood and high-resilience foam around 2.0 to 2.5 pounds per cubic foot will outlast stapled composite frames and low-density fill by years. Dining chairs need joinery that resists lateral racking, usually corner blocks, screws, or mortise-and-tenon construction. Case goods should tell you whether the drawers are dovetailed, the slides are undermount or side-mount, and the back panel is structural rather than stapled-on paperboard. If a product page hides the specification sheet, assume the construction is part of what you are not meant to notice.
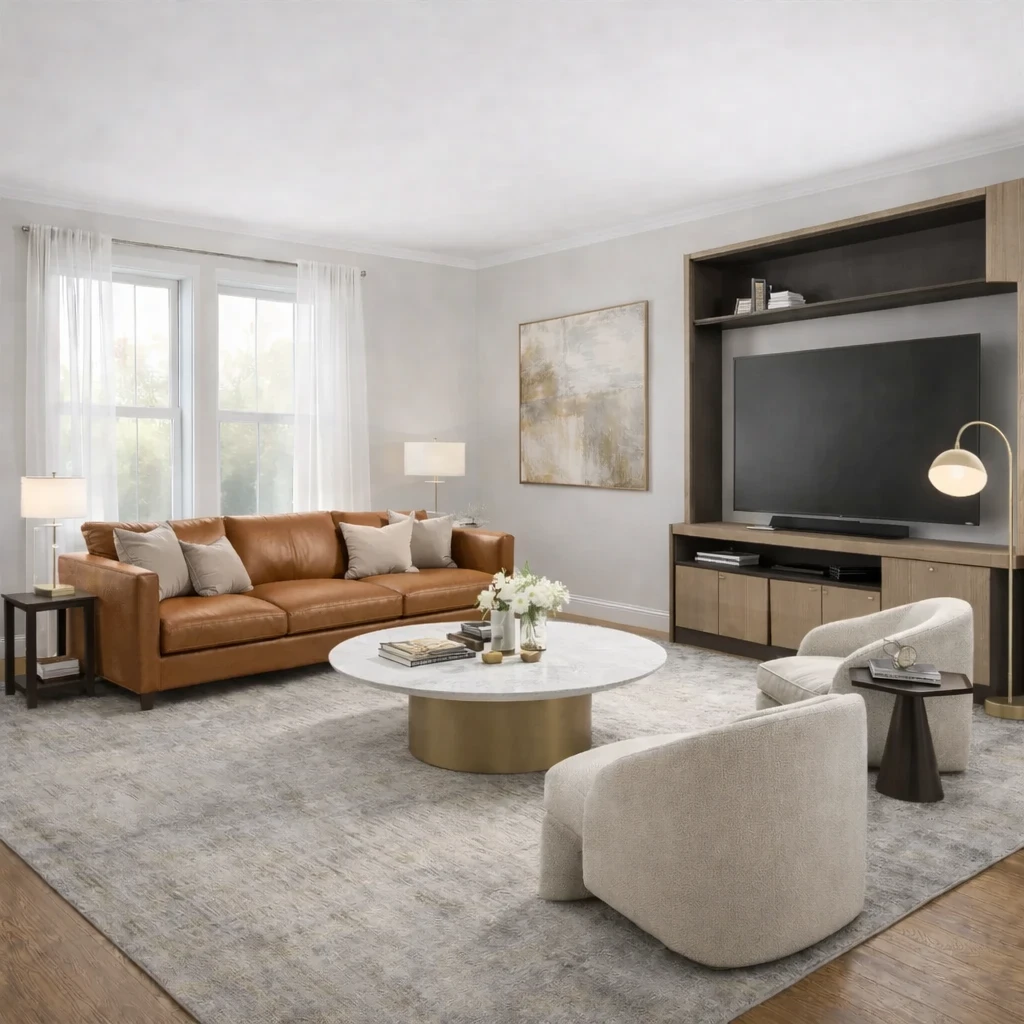
Materials should be chosen against the room's wear pattern, not against fantasy. Linen blends and cotton velvets can be lovely in low-abuse rooms, but performance textiles with 30,000 or more double rubs are a smarter call where children, pets, or frequent guests are involved. Marble tops etch under acid; white oak hides wear better than high-gloss lacquer; full-grain leather develops patina while bonded leather cracks. The real question is not whether a finish looks beautiful on day one. It is whether it will still look intentional after sunlight, spills, friction, and cleaning have taken their turn.
Ergonomics matter just as much as appearance. Dining tables usually sit 28 to 30 inches high, so seat heights near 18 inches preserve the 10- to 12-inch gap that keeps thighs comfortable. Sofas with seat depths of 22 to 24 inches support conversation for most adults, while deeper seats are better for lounging but can punish shorter users. Desks need enough knee clearance, nightstands should sit within 2 inches of mattress height, and coffee tables should generally align with or sit slightly below seat height. The body is a brutal editor. If the furniture feels wrong, the room will never feel right.
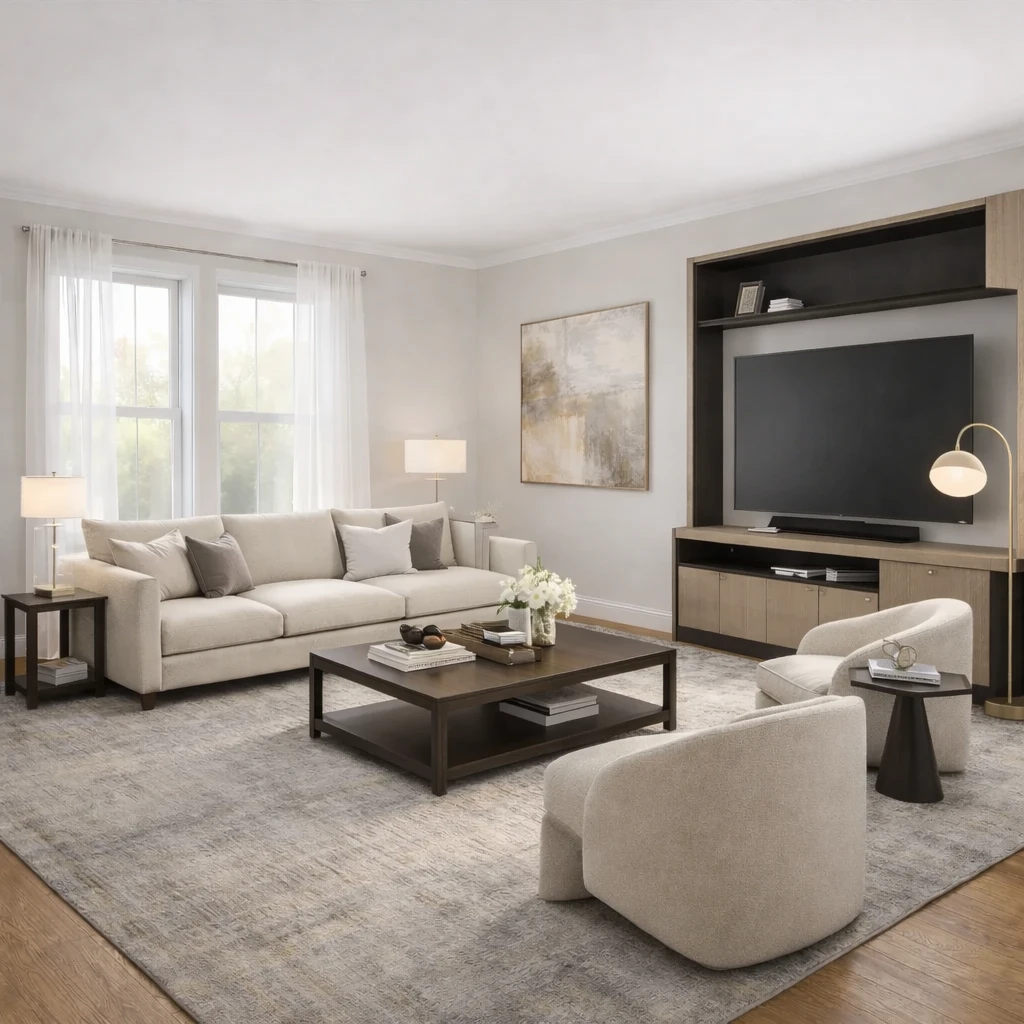
Finally, buy furniture in a sequence that protects the room. Start with the anchor piece, sofa, bed, dining table, or desk, because that is the item that locks in scale and circulation. Then choose the rug, storage, and lighting that support it. Smaller chairs, side tables, benches, and accessories should come later because they are easier to adjust. Delivery logistics matter too: a piece that cannot clear a 30-inch doorway or make a stair turn is not a design choice, it is a return fee. Good furniture selection is not about finding the prettiest object. It is about finding the right object for the room's dimensions, the household's habits, and the budget's lifespan.
How it works
Snap your room, compare design directions, and use the best result as your shopping and styling brief for find furniture from your room photo.
Measure the room and the access route first
Record wall lengths, doorway widths, stair turns, and ceiling height before browsing seriously. The room determines the size category, and the route determines whether the piece can even arrive. A beautiful object that cannot enter the house or preserve circulation is not a candidate.
Define the job before judging the style
Decide whether the piece is for daily lounging, occasional guests, heavy dining use, laptop work, display storage, or some combination. Function determines how much comfort, durability, surface area, and structural quality you actually need, which is far more useful than beginning with silhouette alone.
Filter the shortlist by real dimension thresholds
Use measured categories to eliminate weak fits fast: compact, standard, oversized, shallow, deep, low, or tall. Compare those against walkway targets, wall length, and the proportion of nearby furniture. This is the step that protects you from buying a piece that is technically attractive and physically wrong.
Compare construction and material performance, not just appearances
Review frame material, joinery, cushion density, drawer slides, abrasion ratings, and finish behavior before assuming two similarly shaped products are equivalents. In many rooms, durability and maintenance are what separate a smart purchase from a short-lived one.
Test style only after fit and function survive
Once the shortlist is reduced to viable pieces, compare silhouettes, leg profiles, arm shapes, and finish tones against the room's architecture and existing materials. This keeps style from dominating the decision before the basic practical hurdles have been cleared.
Buy in sequence and verify the supporting pieces later
Commit to the anchor or most demanding piece first, then let side tables, rugs, lamps, and secondary storage respond to it. Furniture planning gets safer and more coherent when one correct decision establishes the scale framework for the rest of the room.
Do this first
- 1Use one wide room photo with doors, windows, and the major furniture zone visible.
- 2Decide what you are testing first: layout, style direction, or product fit.
- 3Generate at least two or three directions before choosing a winner.
- 4Use the strongest result as the brief for your next purchase decisions.
Before you buy
- !Check measurements before buying large items, even if the concept looks right.
- !Compare at least one lower-cost and one higher-cost alternative before checkout.
- !Review delivery windows and return terms for larger pieces.
- !Save the chosen direction so future purchases stay visually consistent.
Best for
- Sofa, rug, accent chair, and decor comparisons
- People trying to avoid expensive returns
- Choosing between budget, mid-tier, and premium alternatives
Know before you start
- iNot a guarantee of exact dimensional fit
- iNot a substitute for checking delivery access
- iNot for structural renovation planning
Compare Real Alternatives Before Checkout
Use the chosen direction to compare price tiers, materials, and retailer terms without losing room context.
Stage 1
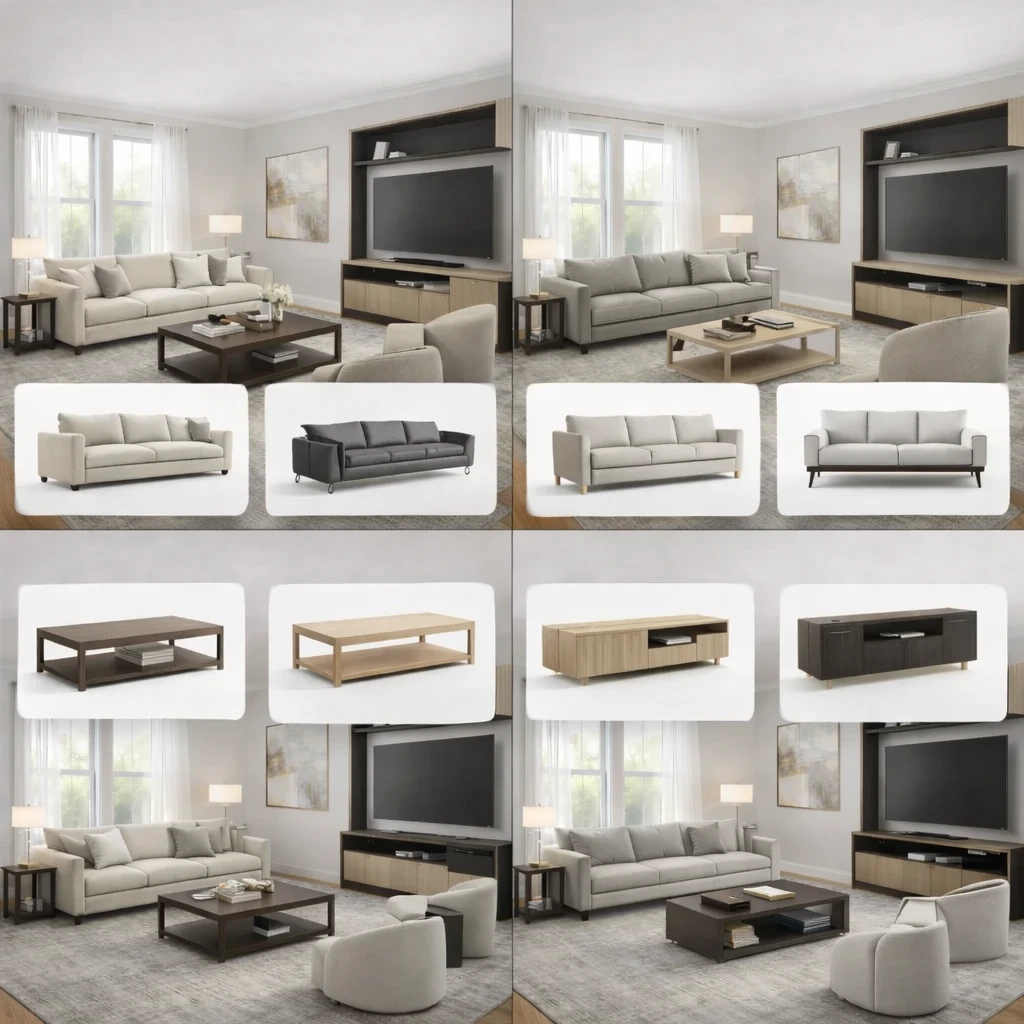
Product matching from your room context
Recommendations are generated from the actual room concept—not generic mood boards. Each product suggestion is sized and positioned to work with your specific room proportions, lighting conditions, and existing architectural features.
Stage 2
Compare alternatives by style, price, and availability
Review multiple matched options across different retailers (Amazon, IKEA, eBay, and regional stores) and choose the price-quality tradeoff that fits your budget. Compare delivery times, return policies, and customer reviews alongside visual fit.
Stage 3
Apply swaps before purchase
Preview replacements directly in the visual concept—no need to order, return, and reorder to find what works. Test whether a less expensive alternative achieves similar visual impact before committing your budget.
Product Comparison FAQs
Quick answers to the practical questions people ask before uploading a room photo or buying products from a concept.
What Innie can do for find furniture from your room photo
More AI design tools
Browse all guidesAI Room Planner From Photo
Compare layout directions against your actual room before moving furniture or committing to purchases.
AI Furniture Placement From Your Room Photo
Upload your room photo to compare furniture directions that improve flow, balance, and function before you move or buy anything.
AI Furniture Placement for Real Rooms
Upload your room photo to test furniture directions that improve flow, balance, and everyday function.
See Furniture in Your Room
Test real pieces at room scale so you catch bulky sofas, tiny rugs, and blocked walkways before checkout.
Preview Your Remodel Before You Start
Use visual planning to test renovation scope, layout change, and finish direction before construction begins.
Virtual Staging That Sells Homes
Learn how to present vacant listings more clearly, more credibly, and with stronger buyer context.
Try Find Furniture From Your Room Photo on your own room
Guidance for finding furniture from a room photo by comparing silhouette, fit, proportion, and style against the actual space.
Free to start. No credit card required.
See the full Innie flow in one clean walkthrough.
Watch the real Innie workflow from upload to redesign to shoppable picks.
Innie
YouTube walkthrough