AI Room Planner From Photo
Compare layout directions against your actual room before moving furniture or committing to purchases.
A practical guide to using room-planning from photo for furniture placement, circulation, zoning, and fit checks in real spaces.
Upload a photo to test furniture arrangements
Try the studio
Build your furniture preview here.
Upload a room, choose a style, then sign in only when you are ready to generate and save it.
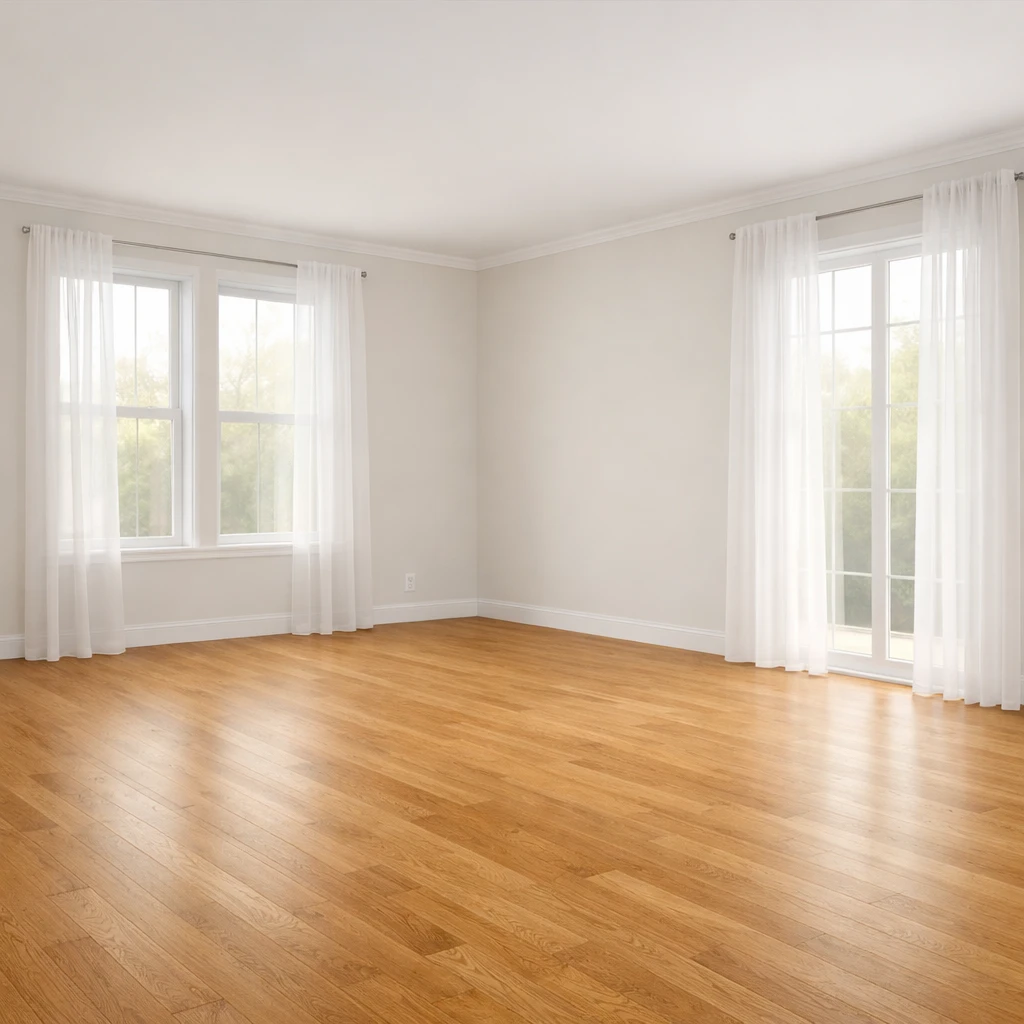
1. Start with your room
Upload a photo or choose a sample to get started.
AI Room Planner From Photo
Drag or tap to compare
Examples
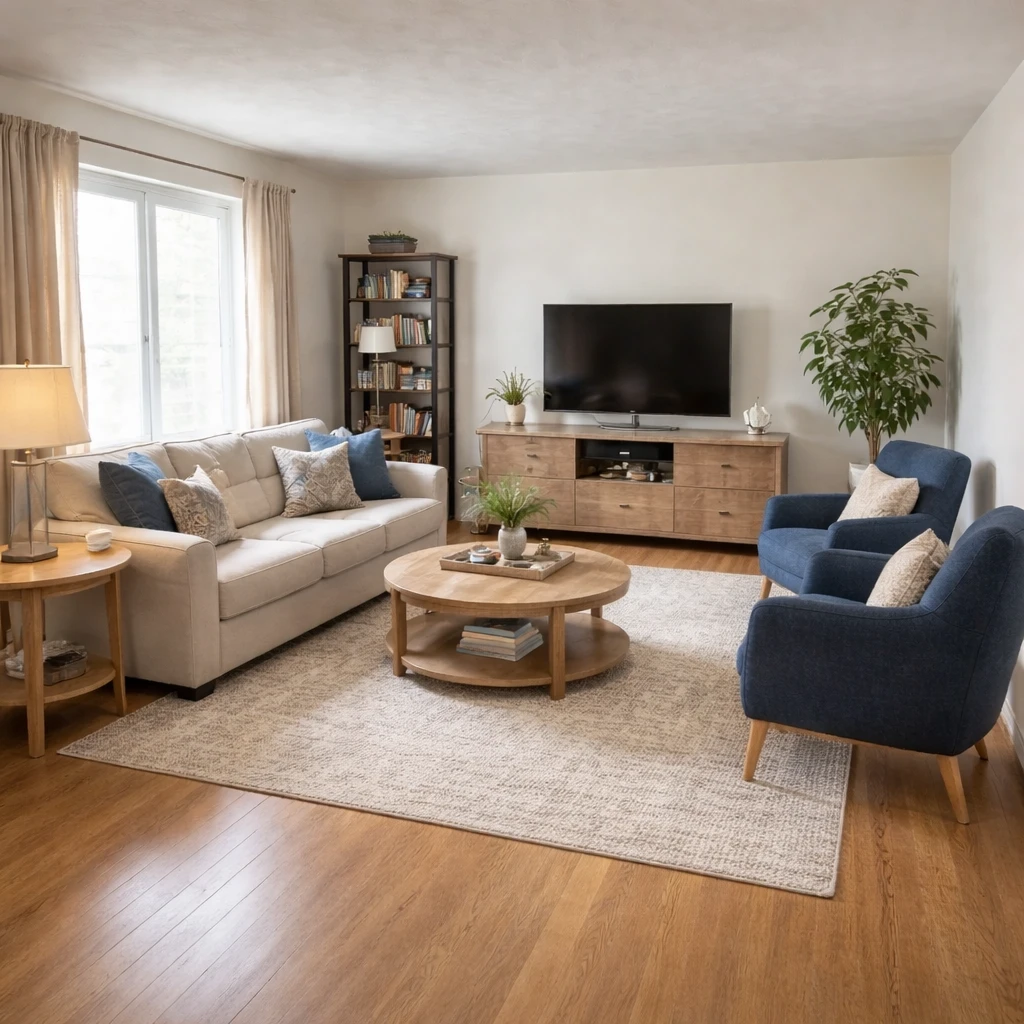
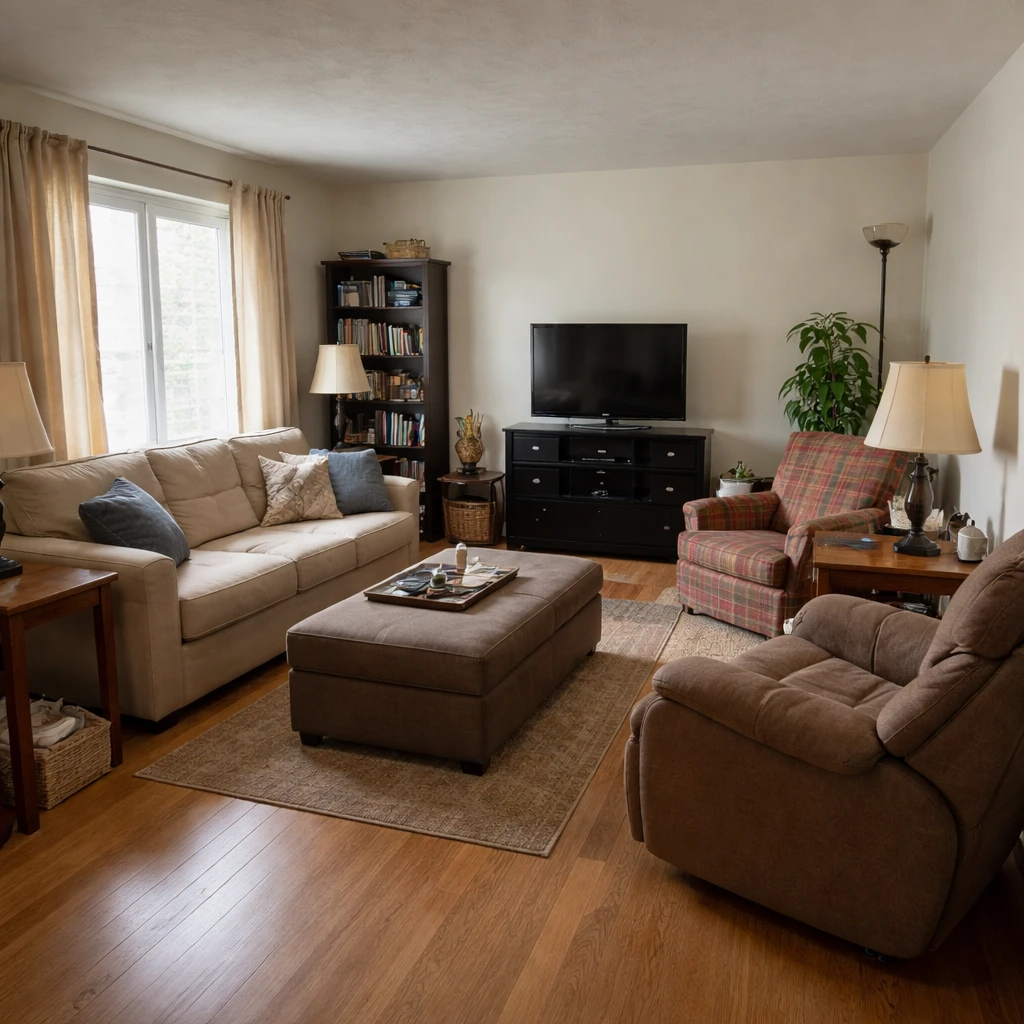
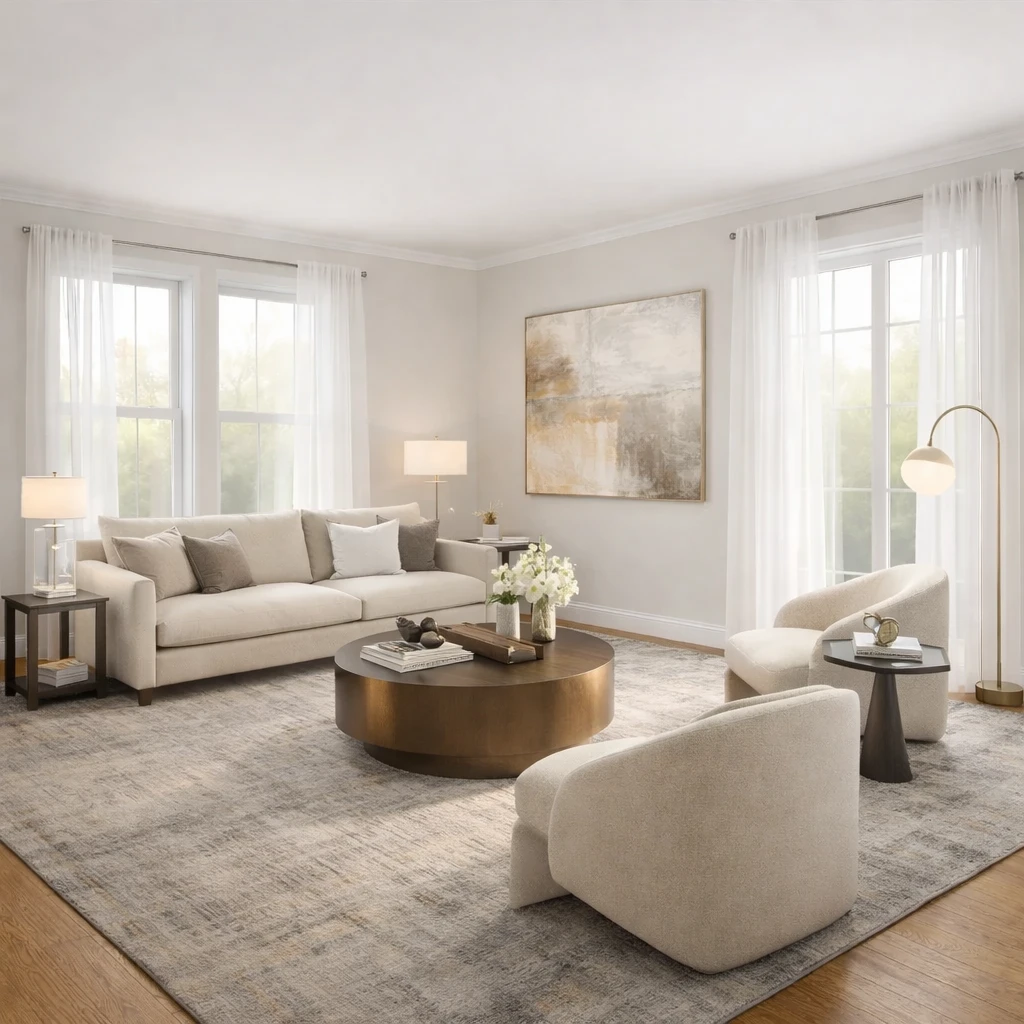
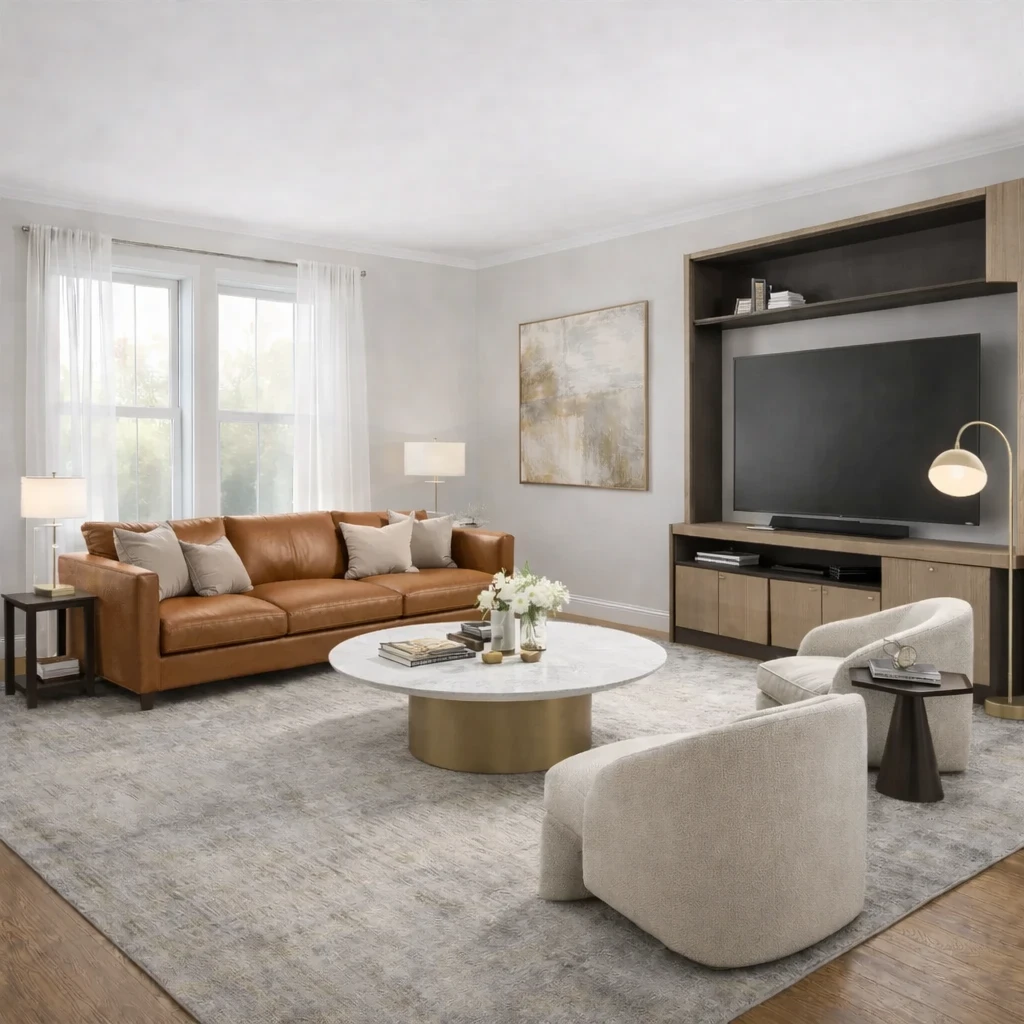
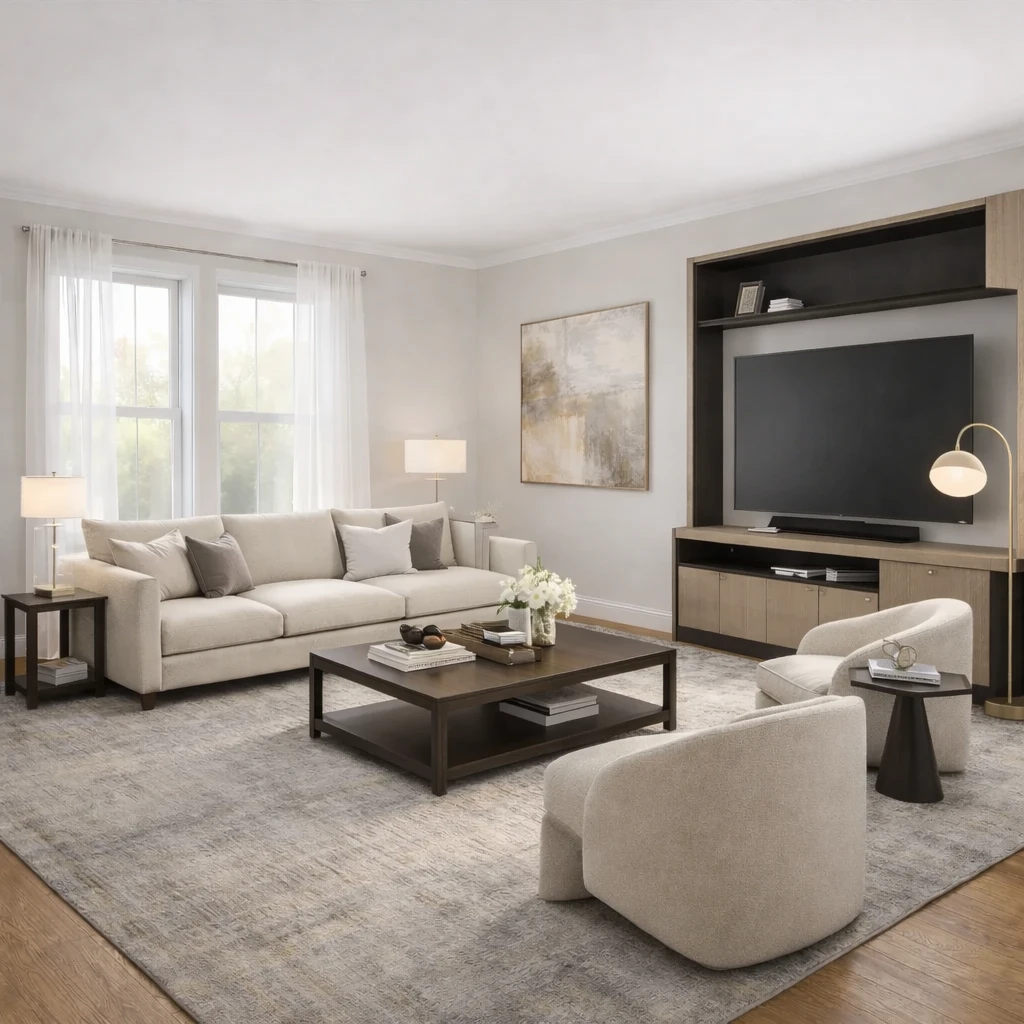
Real rooms, before and after
Tap or hover to see each transformation.
Human spatial reasoning has well-documented limitations. Most people cannot accurately predict how furniture will fit in a room without seeing it. Studies in cognitive psychology show that mental rotation tasks, imagining an object in a different orientation, are difficult and error-prone. This is why moving furniture by trial and error is so common: you literally cannot see the solution until you physically create it.
The most reliable room plans begin with measurable constraints: wall lengths, door swings, window placements, radiators, vents, and required circulation width. Once those fixed elements are mapped, layout options become easier to judge objectively. A bed may need to move to the opposite wall to preserve better door clearance. A sofa may need to float rather than hug the perimeter in order to define a conversation zone. A dining table rotated ninety degrees may improve circulation far more than replacing the table itself.
Most layouts fall into recognizable families. Conversation-centered arrangements cluster seating for eye contact and easy reach. Media-centered rooms orient more strongly toward the television or projector wall, which changes viewing distance and glare management. Open-flow layouts prioritize a feeling of spaciousness by reducing visual blockage and preserving longer sight lines. Storage-heavy plans sacrifice some openness to solve clutter. The right answer depends on what the room must do every day, not what a sample room online happens to look like.
Good room planning also requires the discipline to reject furniture that does not fit the chosen arrangement. A sofa that is too deep, a desk that blocks rotation, or a cabinet that narrows a primary path will compromise the whole room even if each piece is attractive on its own. Layout should be treated as the governing structure. Furniture should serve it, not overpower it.
Anthropometric data forms the foundation of functional room planning. The 95th percentile American male stands approximately 6 feet 2 inches tall and weighs 200 pounds, while the 95th percentile female measures roughly 5 feet 8 inches and 170 pounds; clearance standards must accommodate the largest users to ensure universal accessibility rather than designing for average dimensions. Circulation pathways require minimum clearances of 36 inches for single-person traffic and 48 inches for wheelchair turning or dual passage, with primary routes ideally reaching 42 to 60 inches to prevent congestion during social gatherings. Furniture spacing standards specify 18 inches between a sofa and coffee table for comfortable legroom, 24 inches of clear landing space beyond chair edges, and 30 to 36 inches between dining chairs to allow seated movement without colliding.
Spatial psychology and wayfinding principles shape how people experience interiors. Personal space research demonstrates that individuals maintain invisible buffer zones: intimate distance extends up to 18 inches, personal space spans 1.5 to 4 feet, and social interaction typically occurs between 4 and 12 feet. Effective room plans account for these thresholds by positioning conversation seating roughly 3.5 to 5 feet apart and ensuring that desks and beds are separated from primary traffic paths by at least 3 feet. Wayfinding in residential settings relies on visual landmarks and spatial sequencing: an entry should reveal the layout progressively rather than presenting a disorienting blank wall, while open-concept floor plans must manage acoustic reflections. Untreated hard surfaces in open plans can produce reverberation times exceeding 0.6 seconds, contributing to listener fatigue; strategic placement of textile wall hangings, upholstered furniture, and area rugs can reduce ambient noise by 3 to 5 decibels, creating functional acoustic zones without erecting partitions.
How it works
Snap your room, compare design directions, and use the best result as your shopping and styling brief for ai room planner from photo.
Measure the room and every obstruction
Map wall lengths, openings, radiators, vents, and existing furniture. Good planning begins with accurate dimensions rather than intuition.
Define what the room must support
Conversation, television, dining, desk work, storage, guest sleeping, or play all produce different zoning requirements. The plan should reflect actual use patterns.
Protect circulation first
Establish the main walking paths before placing large pieces. Layout problems usually come from blocked routes and awkward turns, not from a lack of furniture.
Place anchor pieces by proportion
Start with the bed, sofa, table, or desk that dominates the room. Secondary pieces should support that anchor rather than compete with it.
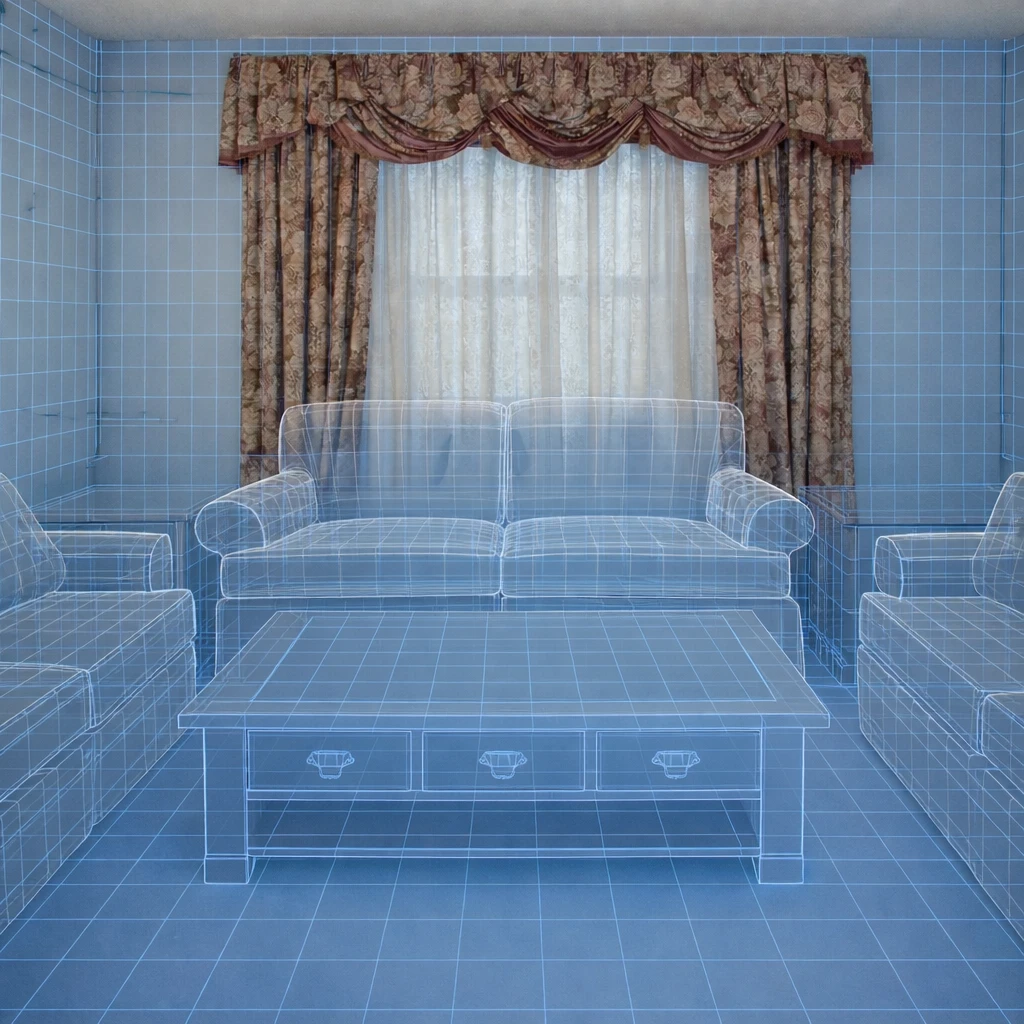
Test alternatives on paper before moving
Compare multiple orientations and spacing options in measured form. It is far cheaper to revise a plan than to discover too late that a doorway, sightline, or walkway fails.
Refine for daily movement
The winning layout should feel obvious in use: nothing clipped by a door, no seat stranded from a side table, no route that requires squeezing sideways.
Do this first
- 1Use one wide room photo with doors, windows, and the major furniture zone visible.
- 2Decide what you are testing first: layout, style direction, or product fit.
- 3Generate at least two or three directions before choosing a winner.
- 4Use the strongest result as the brief for your next purchase decisions.
Before you buy
- !Check measurements before buying large items, even if the concept looks right.
- !Compare at least one lower-cost and one higher-cost alternative before checkout.
- !Review delivery windows and return terms for larger pieces.
- !Save the chosen direction so future purchases stay visually consistent.
Best for
- Living rooms, bedrooms, offices, and apartments where layout is the main blocker
- People deciding what to buy before they order furniture
- Testing if a new arrangement feels more open or more functional
Know before you start
- iNot a CAD floor-planning or contractor-drawing tool
- iNot a substitute for exact onsite measurements before final purchase
- iNot ideal when you need permit-ready renovation documentation
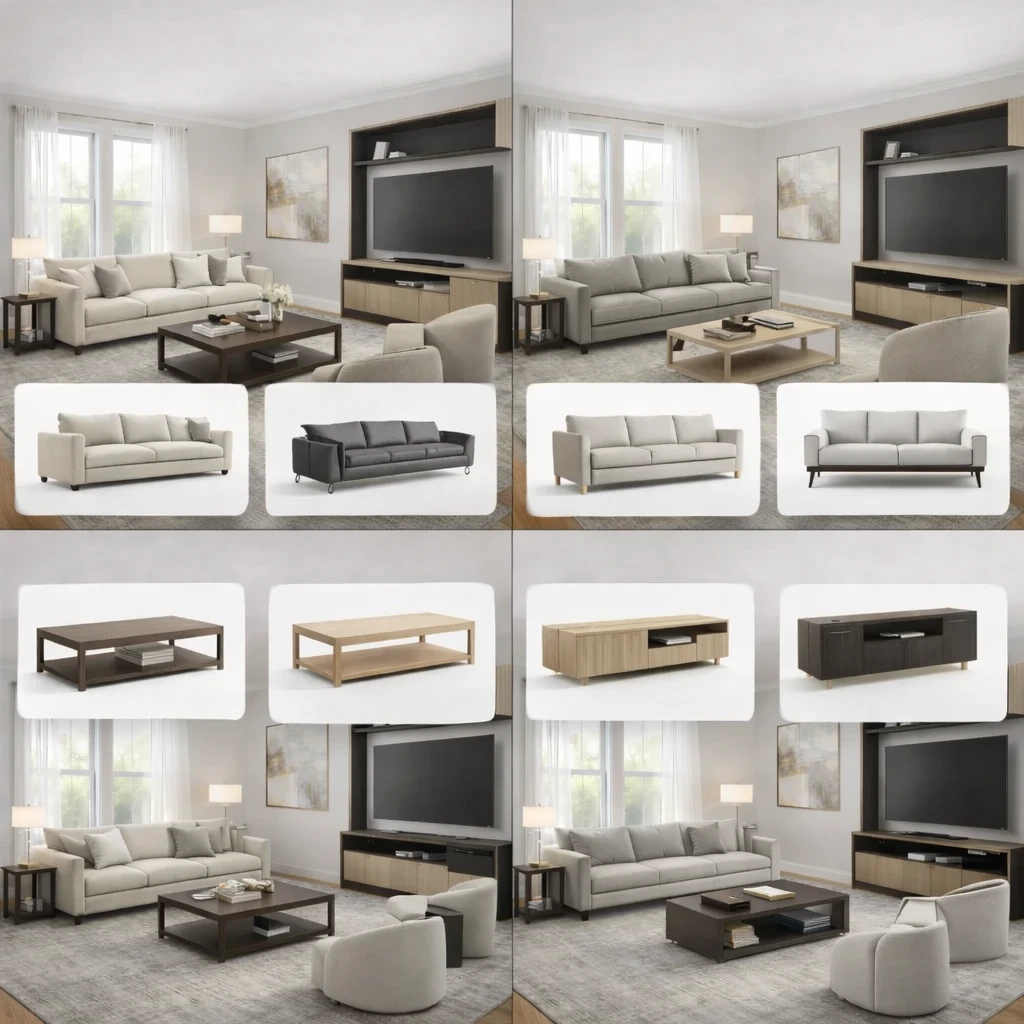
Source Furniture After the Layout Direction Is Clear
Use the chosen layout to shortlist furniture that supports the plan instead of browsing products without room context.
Stage 1
Product matching from your room context
Recommendations are generated from the actual room concept—not generic mood boards. Each product suggestion is sized and positioned to work with your specific room proportions, lighting conditions, and existing architectural features.
Stage 2
Compare alternatives by style, price, and availability
Review multiple matched options across different retailers (Amazon, IKEA, eBay, and regional stores) and choose the price-quality tradeoff that fits your budget. Compare delivery times, return policies, and customer reviews alongside visual fit.
Stage 3
Apply swaps before purchase
Preview replacements directly in the visual concept—no need to order, return, and reorder to find what works. Test whether a less expensive alternative achieves similar visual impact before committing your budget.
AI Room Planner FAQs
Questions people ask when using a room photo to test layout and furniture directions.
What Innie can do for ai room planner from photo
More AI design tools
Browse all guidesAI Furniture Placement From Your Room Photo
Upload your room photo to compare furniture directions that improve flow, balance, and function before you move or buy anything.
AI Furniture Placement for Real Rooms
Upload your room photo to test furniture directions that improve flow, balance, and everyday function.
See Furniture in Your Room
Test real pieces at room scale so you catch bulky sofas, tiny rugs, and blocked walkways before checkout.
Preview Your Remodel Before You Start
Use visual planning to test renovation scope, layout change, and finish direction before construction begins.
Virtual Staging That Sells Homes
Learn how to present vacant listings more clearly, more credibly, and with stronger buyer context.
Find Furniture From Your Room Photo
Use your room as the filter for furniture decisions so size, style, and layout stay grounded in reality.
Try AI Room Planner From Photo on your own room
A practical guide to using room-planning from photo for furniture placement, circulation, zoning, and fit checks in real spaces.
Free to start. No credit card required.
See the full Innie flow in one clean walkthrough.
Watch the real Innie workflow from upload to redesign to shoppable picks.
Innie
YouTube walkthrough