AI virtual staging automates the process of adding furniture to listing photos using artificial intelligence. The technology has advanced rapidly, with current AI tools producing increasingly realistic results in seconds rather than hours. This democratizes virtual staging, making it accessible to listing agents and sellers who couldn't previously afford professional staging.
Current AI staging capabilities include: automatic furniture placement, multiple style options from a single photo, quick turnaround (seconds to minutes), and lower cost than professional staging. Quality depends heavily on input photo quality—well-lit, empty rooms with visible floors produce best results.
Limitations remain: AI struggles with unusual room shapes, complex lighting situations, and detailed customization requests. For premium listings or challenging spaces, professional virtual staging often produces superior results. The technology improves continuously, and the gap between AI and professional quality is narrowing.
What buyers or guests notice first
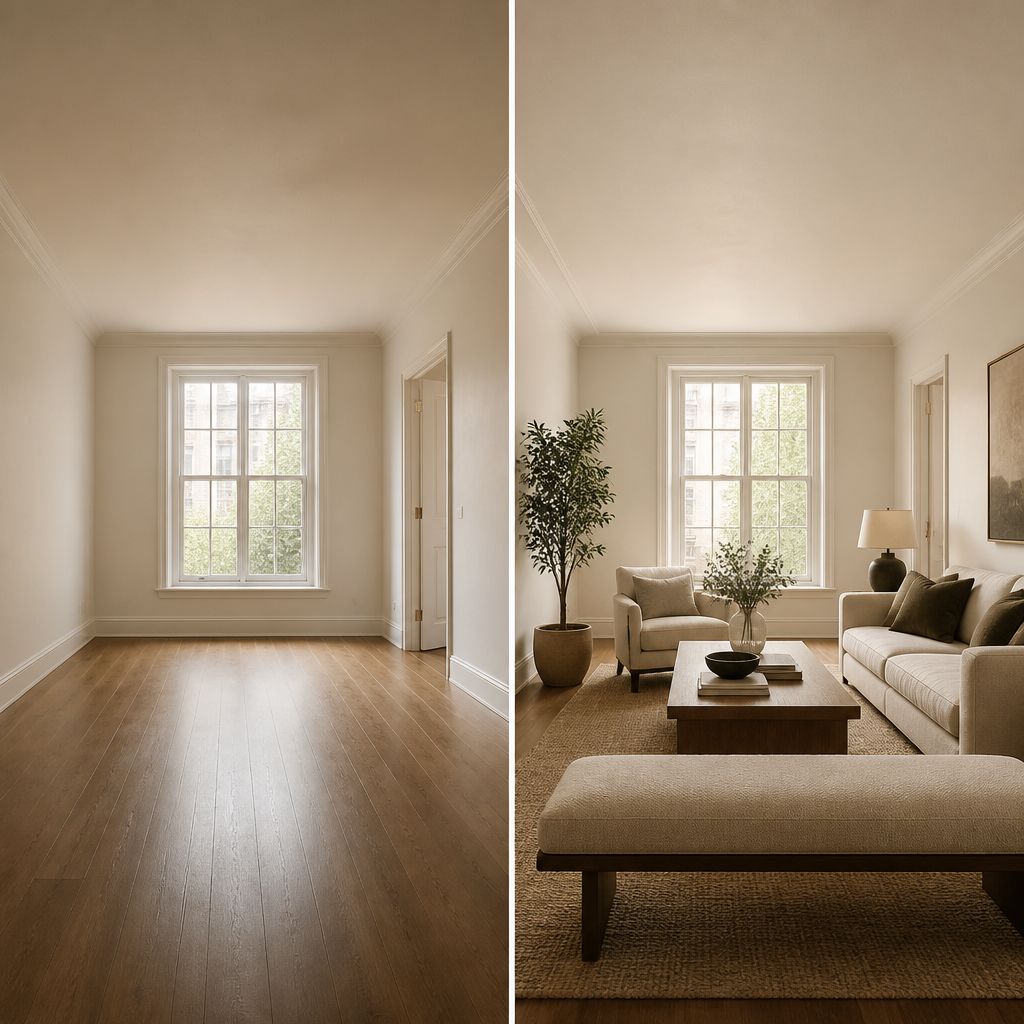
Virtual staging works only when it behaves like honest merchandising rather than fantasy illustration. The point is to clarify scale, function, and emotional use for buyers who first meet the property through photographs, not to invent a better house than the one that actually exists. Empty rooms consistently read smaller and less usable because the brain lacks reference objects for dimension, so the first job of virtual staging is to restore believable scale with furniture that could genuinely fit the room. If a 10-by-12 bedroom is shown with a king bed, two nightstands, and a bench that would leave no code-compliant path in reality, the image may look polished, but it has already failed the trust test.
Image quality standards matter before any furnishing is added. MLS systems often accept files as small as 1024 by 768 pixels, but virtually staged marketing images should begin at 2000 pixels or more on the long side so edges remain crisp after compositing and compression. Interior photographs should be shot level with vertical lines corrected, usually from a camera height of about 42 to 48 inches, because perspective distortion is much harder to disguise once furniture is inserted. A good staged image also needs consistent light direction; shadows on the inserted sofa should obey the same window orientation as the original room or the whole composition starts to feel fraudulent even if the viewer cannot articulate why.
Disclosure is not optional if the goal is durable credibility. Many MLS organizations and state regulators require virtually staged photographs to be labeled, and the ethical baseline is simple: furnishings may be added, but structural features, views, finishes, and permanent conditions should not be materially altered. That means no removing utility poles from windows, no adding a fireplace that is not there, no widening the room through impossible lens tricks, and no hiding damaged flooring beneath a perfectly rendered rug. Good virtual staging helps a buyer imagine living in the room that exists. Bad virtual staging asks them to fall in love with a room they will never actually walk into.
How to prepare the room
Begin with the buyer, not the seller
Staging works when the room reads clearly to a broad audience. Strip away highly personal cues and clarify how each room is meant to be used.
Establish scale and purpose
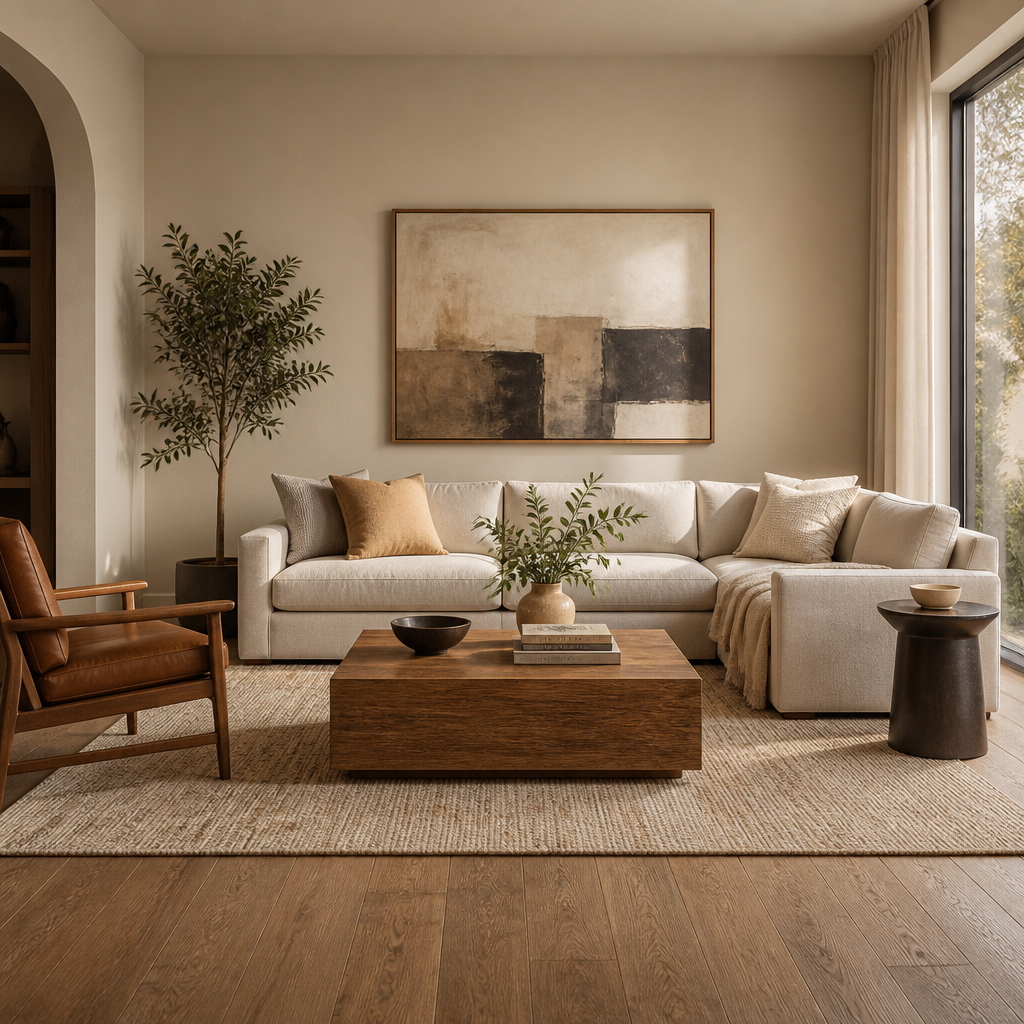
Empty rooms photograph larger but feel harder to interpret. Furnishing should give buyers clear scale references and a legible use for the space without overfilling it.
Favor neutral, market-appropriate styling
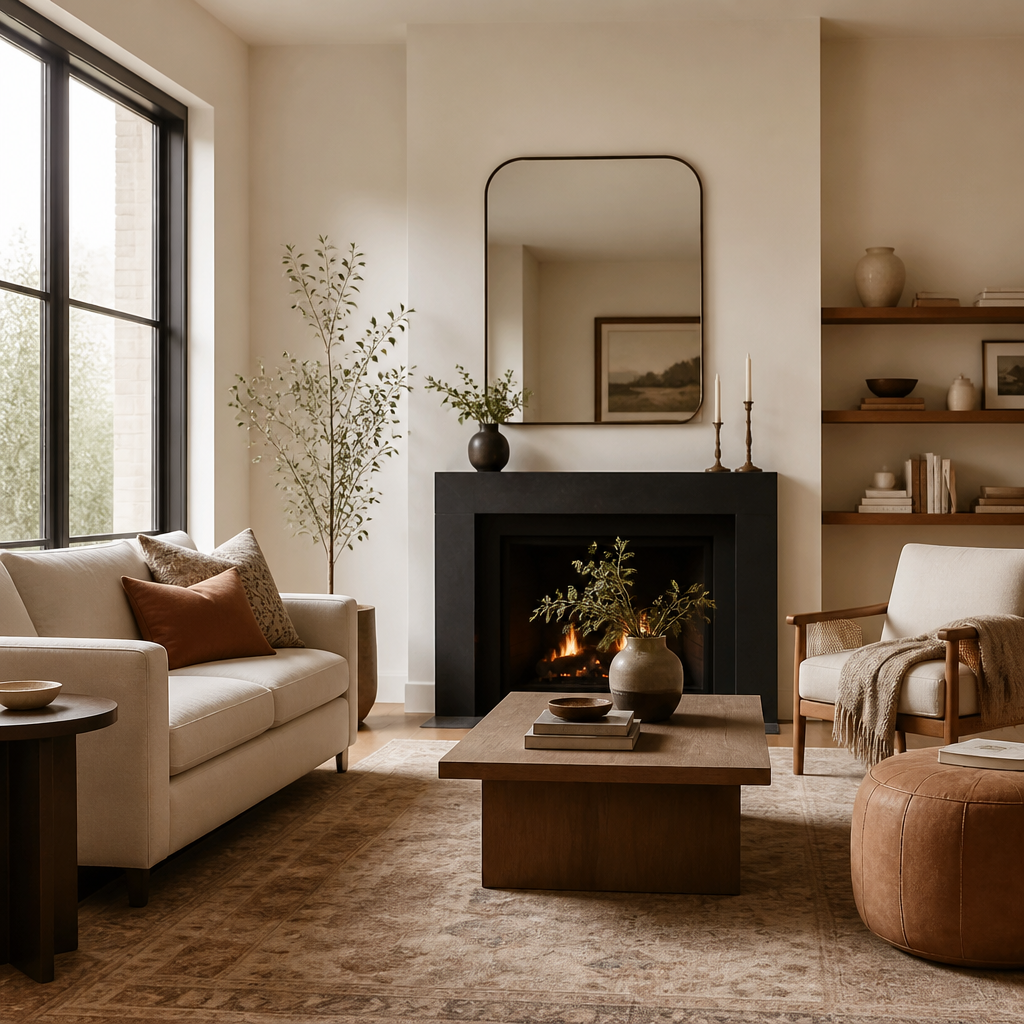
Most listings benefit from restraint: broad-appeal color palettes, simple layouts, and enough texture to prevent the room from feeling flat on camera.
Respect price point and neighborhood expectations
A starter home, a luxury listing, and an investment property should not be staged to the same standard. The styling should support the value story of the home.
Optimize for photography as well as in-person viewing
Rooms should read clearly from the main camera angle, with open sightlines, balanced lighting, and enough negative space for buyers to imagine themselves living there.
Stage the most important rooms first
Living rooms, kitchens, primary bedrooms, and dining areas typically influence perceived value most. If budget is limited, prioritize the spaces that drive first impressions and listing engagement.
What weakens trust or clarity
Cost and timing are why virtual staging remains so attractive. Physical staging of a vacant house commonly runs $2,000 to $5,000 or more once delivery, rental period, and pickup are included, while digital staging of a full listing image set may fall in the low hundreds or low thousands depending on room count and revision depth. That difference matters most in properties where carrying costs are high or where the listing needs to go live quickly. But lower cost does not excuse lower discipline. The faster workflow should be used to test a room's best use, office versus bedroom, dining area versus flex lounge, and then present one clear answer rather than a scattershot of contradictory identities.
The strongest virtual staging still follows the old rules of good staging: broad appeal, accurate scale, controlled styling, and photographic restraint. Living rooms, primary bedrooms, dining areas, and awkward flex rooms usually deserve priority because those are the spaces buyers struggle hardest to interpret when vacant. Keep palettes neutral, furniture appropriately sized, and accessory counts low enough that architecture remains visible. Virtual staging is most persuasive when it feels almost unremarkable, just clear, calm, and believable enough that buyers can mentally step into the room and continue the story for themselves.