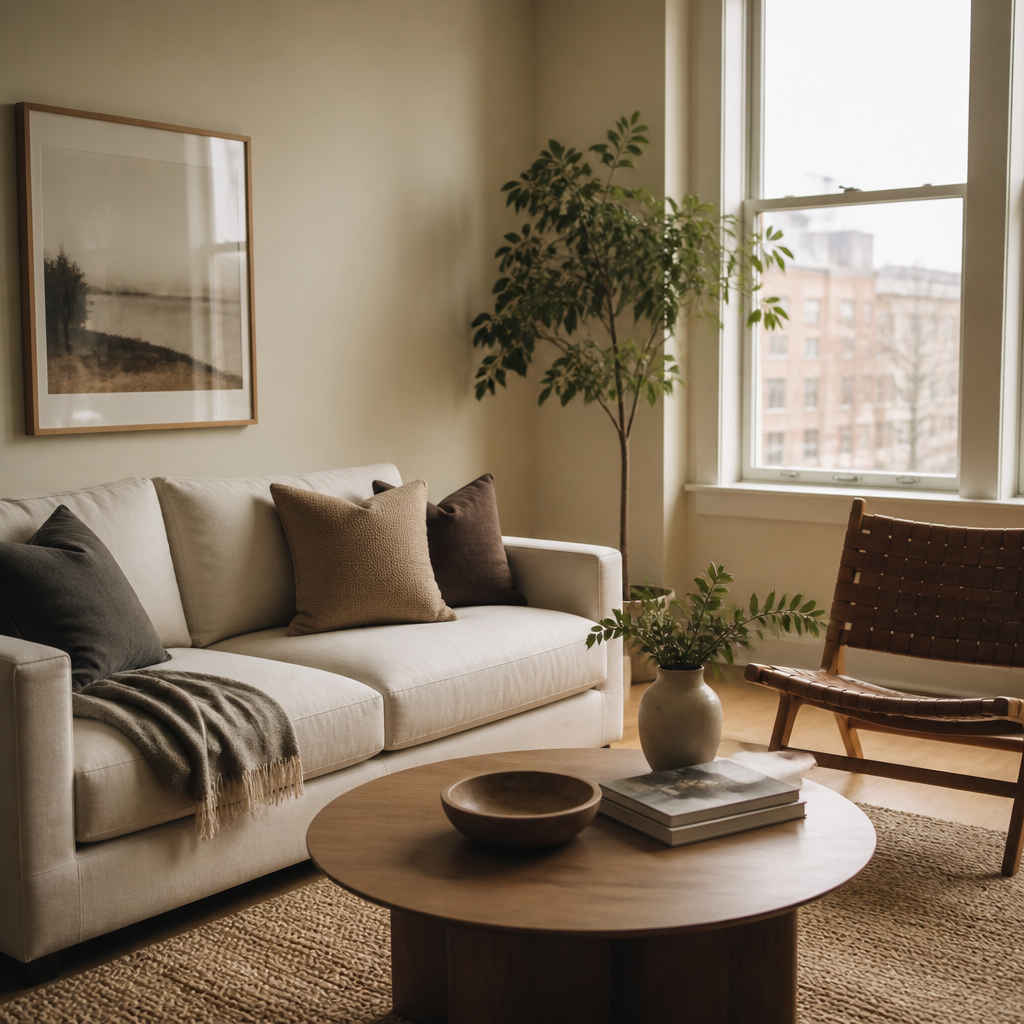
Property managers use AI design tools to market vacant units more effectively. Virtual staging helps properties show potential at their best without the cost of physical staging, while design tools help visualize renovations and updates that might attract higher-paying tenants.
Applications include: virtual staging for listing photos, renovation visualization showing what updates could achieve, consistency across multiple units, and quick turnarounds for fast-moving rental markets. These tools help properties compete in crowded rental markets where presentation matters enormously.
Considerations include: disclosure requirements (some jurisdictions require stating when photos are digitally altered), quality requirements for professional marketing, and the balance between aspirational and realistic. The best approach uses high-quality visualization while maintaining honest representation of the property.
What matters most
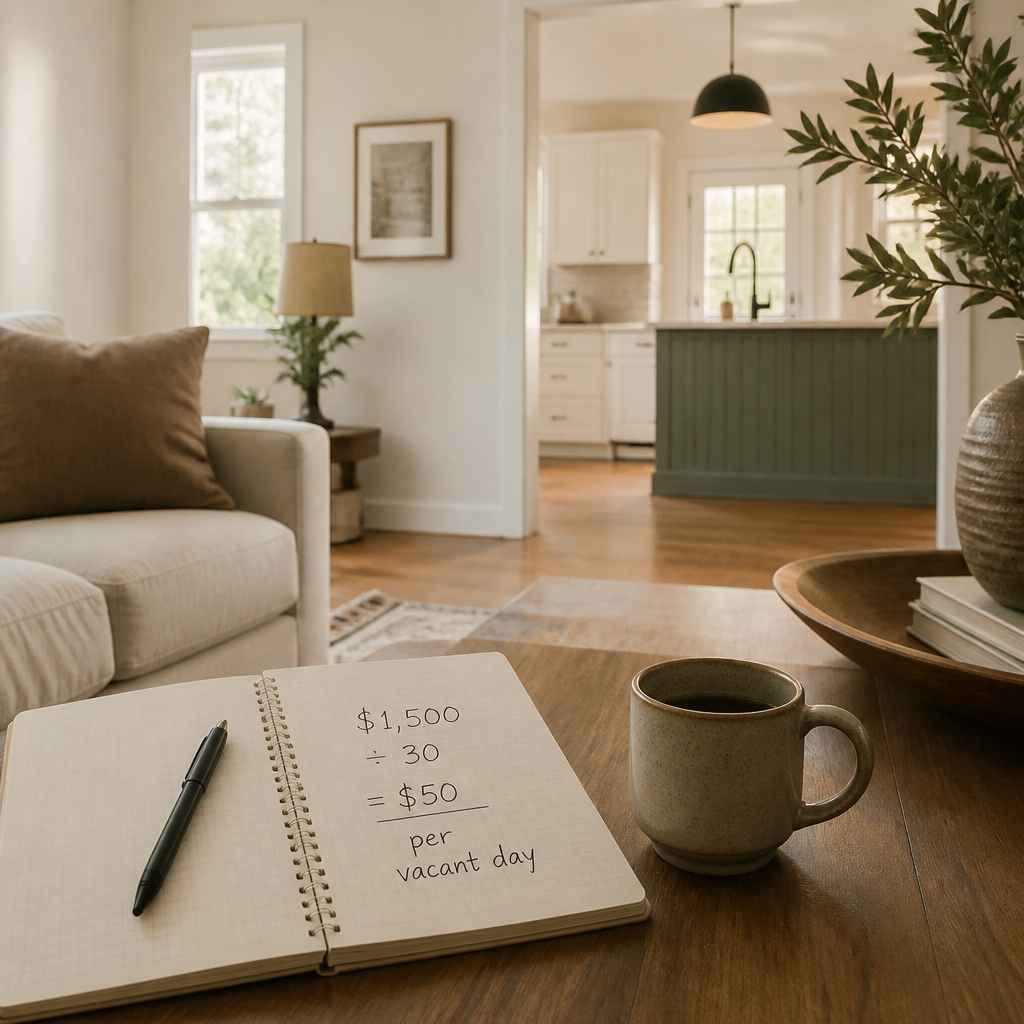
Property managers prepare units for market most effectively when they treat presentation as part of operations rather than as an aesthetic afterthought. Vacancy is expensive precisely because it compounds daily, and a unit that photographs badly or shows tired can lose money before anyone ever argues about rent level. That is why unit prep should be standardized, scoped, and timed with the same seriousness as turnovers and leasing pipelines. Cleaning, paint, flooring repair, lighting correction, and minor hardware replacement are not decorative gestures. They are the visual proof that the property is competently managed.
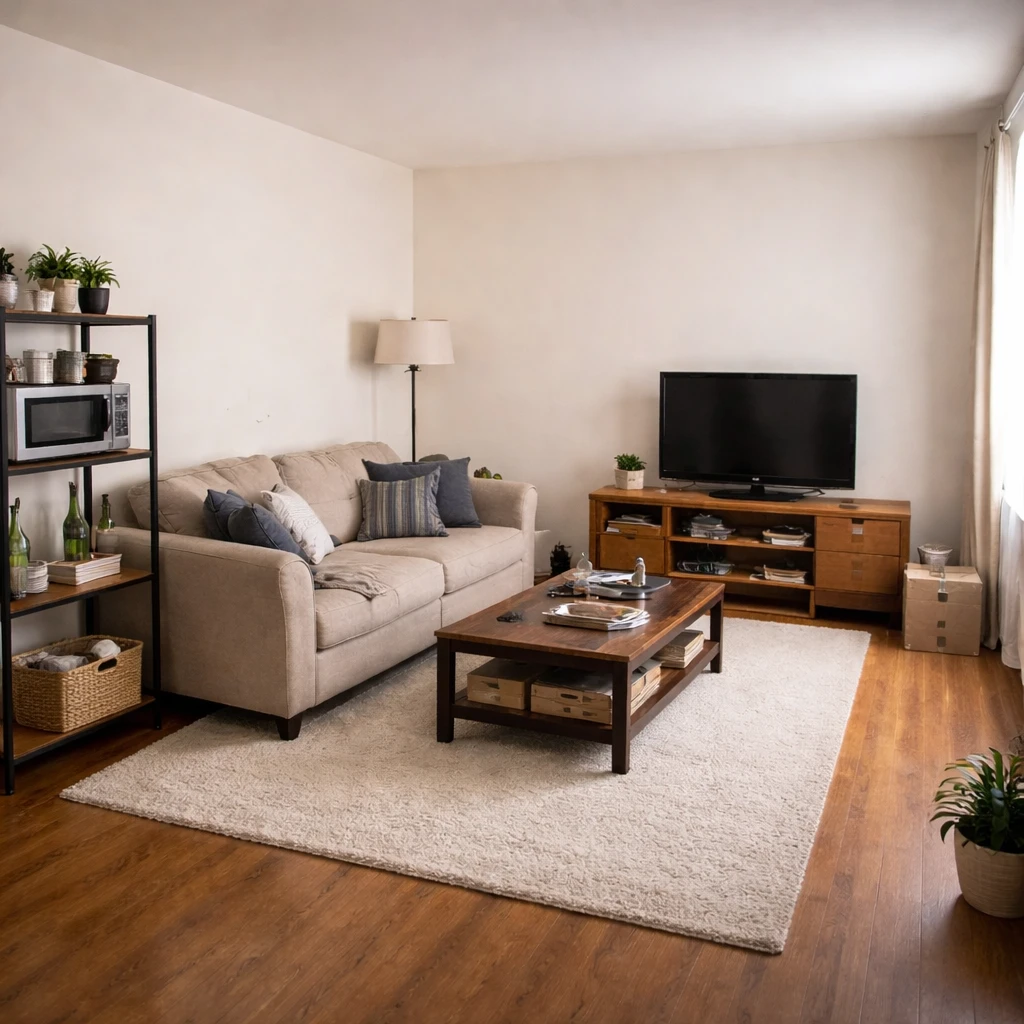
Consistency across a portfolio is one of the strongest advantages a manager can create. Standard paint colors, fixture families, flooring approaches, and photo angles make units easier to maintain, easier to market, and easier for prospective renters to compare. This consistency also reduces decision fatigue internally; staff are not reinventing a finish package every turn. More important, property condition influences applicant quality. Well-kept units attract people who read maintenance standards as a signal of professionalism, while visibly tired units often attract applicants with lower expectations and shorter staying horizons. The room is never just the room. It is part of the screening signal.
Improvement choices should always be judged against local rent logic and turnover cost, not taste. A refresh package that costs a few thousand dollars and supports a modest rent lift may be entirely rational if it also shortens vacancy and reduces maintenance calls. Durable flooring, scuff-resistant paint, and consistent LED lighting tend to outperform flashier upgrades because they pay back in both marketability and service reduction. The right standard is operational: does the work help the unit lease faster, support stronger rent, and stay cleaner and more repairable through the next cycle? If not, it is likely the wrong improvement for property management.
How to approach it
Photograph every unit type in finished condition
Create a standard photo set for each floor plan: entry, kitchen, living area, bedroom, bathroom, and any outdoor space. These images are the listing. Staged, well-lit photos of a clean unit rent faster and at higher rates than dark, cluttered photos of an occupied one.
Define a refresh standard for each unit tier
Luxury units get new hardware, updated lighting, and fresh paint. Mid-market units get paint, deep clean, and minor fixture swaps. Budget units get paint and patch. Establish specs for each tier so the maintenance team knows exactly what to execute between tenants.
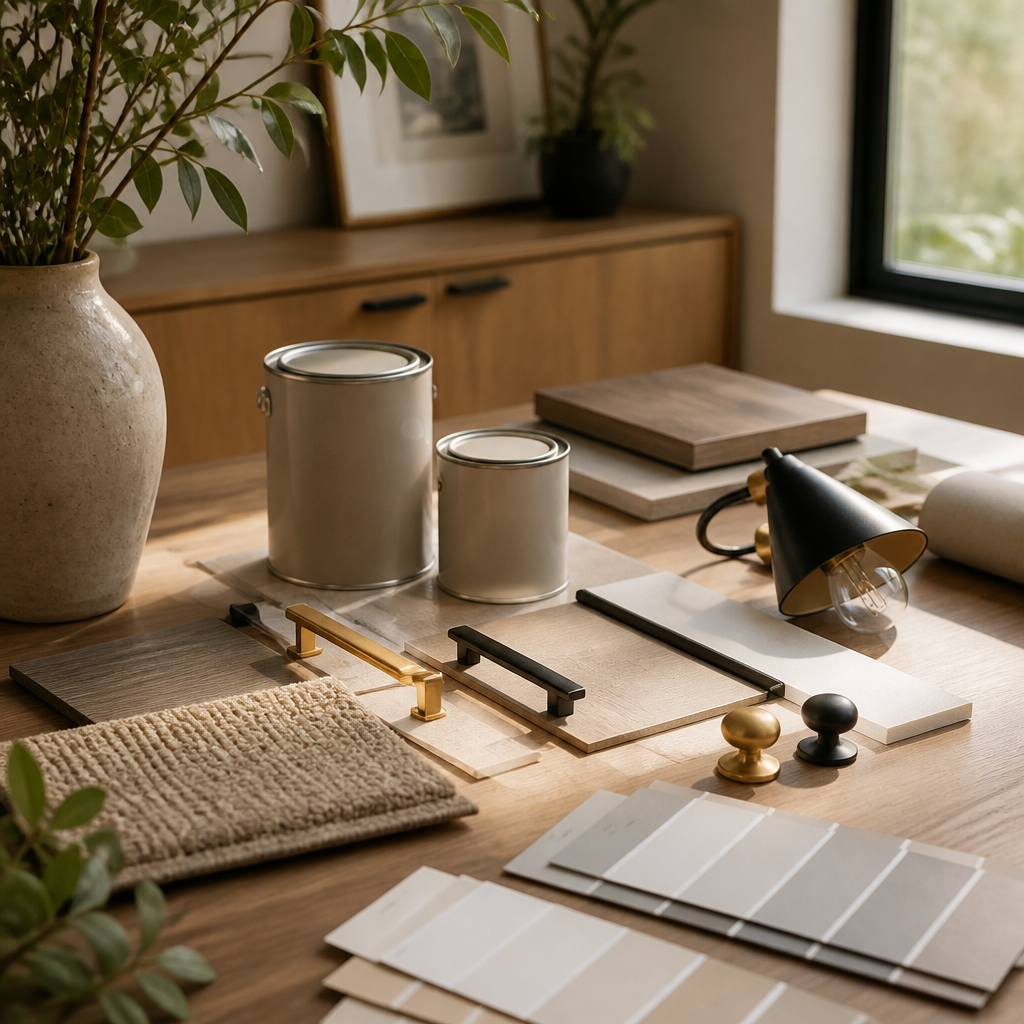
Invest in upgrades that photograph well
Matte black or brushed brass cabinet hardware, modern light fixtures with warm LEDs, and fresh paint in a neutral with warm undertones. These three changes cost under $500 for a one-bedroom unit, take one day to install, and transform every listing photo.
Create reusable staging templates by unit type
A consistent staging package for one-bedrooms, two-bedrooms, and studios reduces decision fatigue, streamlines procurement, and ensures every listing looks professional. Virtual staging templates can be applied in hours; physical staging takes days.
Time the refresh cycle to minimize vacancy
Order paint, hardware, and fixtures before the current tenant's move-out date. Schedule the refresh to begin the day the unit is empty. Every day the unit sits vacant without active work is a day of lost revenue that a tighter schedule could have prevented.
Measure rent achievement against refresh cost
Track the rent premium achieved on refreshed units versus unrefreshed comps in the same market. A $500 refresh that yields $75/month more in rent pays for itself in seven months. A $5,000 refresh that yields $75/month more takes five years to break even. Know the numbers.
What to pressure-test
That is also why property prep should be repeatable. Materials need to be easy to reorder, patch, and install on a fast turn schedule, and finish packages should be consistent enough that staff can work from standard assumptions instead of fresh guesswork. Good portfolio design is not the pursuit of novelty across units. It is the pursuit of dependable leasing performance, compressed vacancy, and durable visual standards that the market begins to recognize and trust.