Home builders use AI design tools to help buyers customize homes during the building process. Rather than choosing from limited model options, buyers can visualize different layouts, finishes, and fixtures in realistic context—making better decisions and feeling more confident in their purchases.
Applications include: lot and orientation visualization, layout options within floor plans, finish selection (cabinets, countertops, flooring, paint), lighting simulation, and outdoor space planning. These tools help buyers understand how choices affect the final result, reducing change orders and dissatisfaction.
Implementation considerations include: integration with builder specifications (not all options are physically possible), accuracy requirements for contracts, and training buyers on using tools effectively. The best tools help buyers make informed decisions within their budgets while streamlinin the sales process.
What matters most
Builders are asking buyers to commit to unfinished space, which means they are really asking them to commit to imagination under financial pressure. Plans, elevations, and finish boards explain construction, but they do not explain what the breakfast area feels like with an actual table in it or whether the flex room reads as office, den, or undersized bedroom. That is the source of hesitation. When buyers cannot emotionally understand the unfinished house, sales slow and option decisions become timid. The builder is not merely selling square footage. The builder is selling confidence in a future environment that does not yet physically exist.
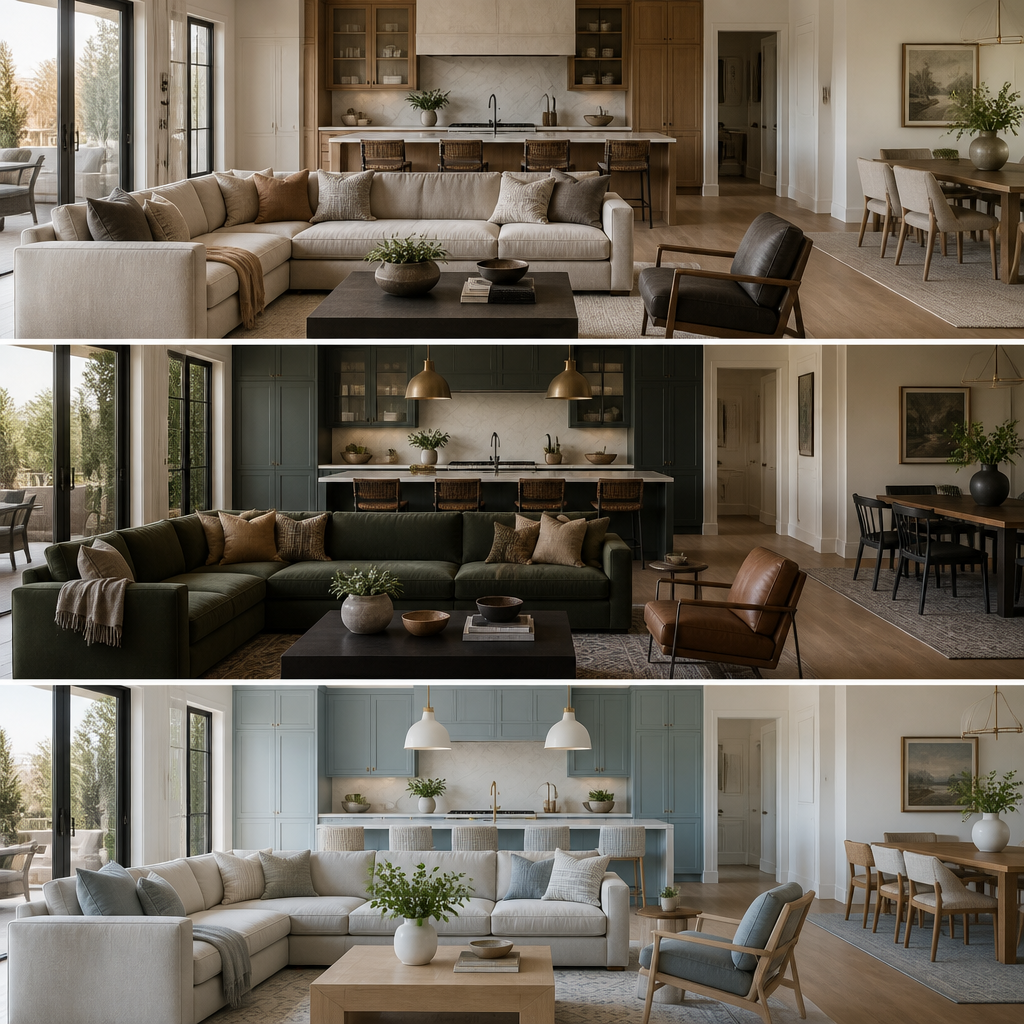
The most effective visualization is not generic luxury imagery. It is truthful room translation. Show the actual kitchen with its real aisle width, the actual living room with believable furniture scale, and the actual secondary bedroom with dimensions that help buyers understand its real use. This matters especially in production housing where 12 inches of width or one changed window location can materially alter how a room performs. Buyers make cleaner decisions when they can connect room proportions to actual daily life rather than trying to mentally convert plan symbols into inhabited space.

Finish-package presentation also improves dramatically when shown in context rather than on disconnected sample boards. Buyers often struggle to extrapolate from quartz chips, cabinet doors, and hardware trays because they are being asked to combine too many abstractions at once. Contextual comparisons reduce that cognitive burden and tend to reduce change-order pain later because buyers understand earlier what they approved. In a business where late revisions can be disproportionately expensive, clarity is margin protection. A wall color change on paper is cheap. A kitchen regret after cabinet order release is not.
How to approach it
Map visualization to your sales funnel milestones
Pre-construction renders for buyer presentations, design center selections for option upgrades, and move-in-ready visualizations for referral marketing. Each stage of the buyer journey has a different visualization need. Plan for all three, not just the first.
Build a library of standard finishes rendered in context
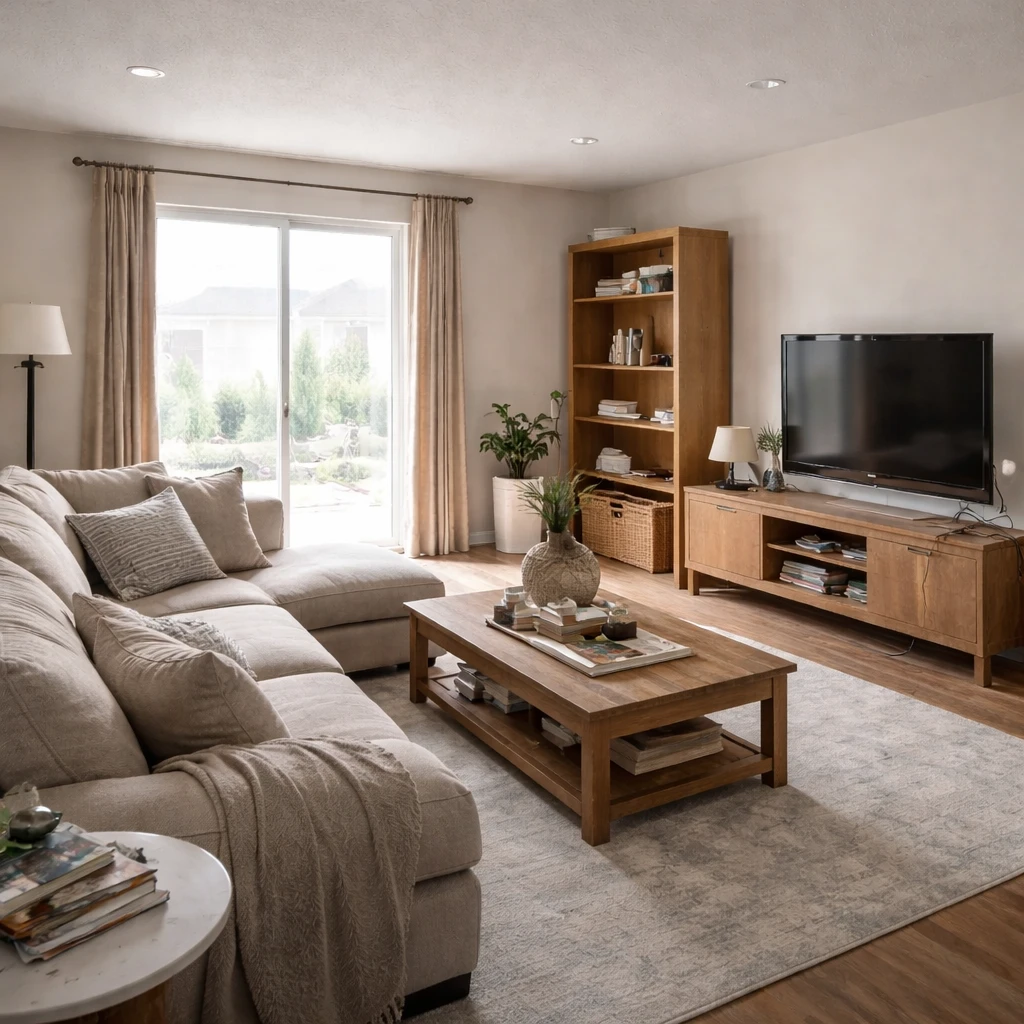
Every countertop, cabinet, flooring, and fixture option should be shown in a room setting, not on a swatch. Buyers upgrade from standard to premium finishes when they can see the difference in a room. A swatch does not convey the emotional impact of a full slab of marble.
Create option packages that are easy to compare side by side
Standard, upgraded, and premium finish packages should each have a clear visual identity. Buyers who see three rendered options at different price points make faster decisions with fewer change orders. Comparison eliminates confusion.
Align visualization with your construction schedule
Renderings should be production-ready before buyer presentations, not after. Design center visualizations should be complete before the buyer's selection appointment. Late assets are useless assets. Build the visualization timeline into the project plan.
Use visualization to reduce change orders and returns
The number-one driver of change orders is buyer surprise at the finished product. Visualization that shows exactly what the finished room will look like eliminates that surprise. Every change order prevented saves the builder money and preserves the buyer relationship.
Track speed-to-close and option revenue per community
Measure whether visualization correlates with faster contract signings and higher per-home option revenue in communities where it is deployed. Builders who prove ROI on visualization can justify rolling it out across every community.
What to pressure-test
This is also where the economics become persuasive. Physical model homes can be extremely effective, but they are capital-intensive and slow to adapt. Supplemental pre-construction visualization lets builders compare finish packages, explain option value, and support quicker decision-making without rebuilding the sales environment every time the offering changes. Used well, these materials are not decoration for the sales center. They are operational tools that reduce hesitation, support premium selections, and align buyer expectations with the house that will eventually be built.