Home staging works when it removes uncertainty. Buyers need to understand what each room is for, how large it feels with furniture in it, and whether the house looks cared for before they start asking themselves bigger questions about price and renovation work.
That is why staging is less about decorating and more about editing. Personal photos, crowded shelves, awkward furniture groupings, and mixed room identities all slow buyers down. The goal is to make the house feel clean, clear, and broadly appealing without making it feel cold.
If budget is limited, focus on the rooms that carry the most emotional weight in photos and showings: living room, kitchen, primary bedroom, bathrooms, and curb appeal. Fresh light, cleaner surfaces, fewer objects, and one obvious purpose per room usually do more than expensive styling ever will.
What buyers or guests notice first
Home staging should be understood as sales preparation, not as an expression of the owner's taste. The purpose is to shorten the buyer's mental distance between seeing the room and understanding how they would live there. That means staging is always about clarity first: what the room is, how big it feels, where furniture logically goes, and whether the home appears maintained. Personal style, sentimental display, and niche preferences matter far less than speed of comprehension. If a buyer has to work to understand the room, the listing has already lost an advantage.
Subtraction is almost always the first and most valuable move. Oversized furniture, crowded shelving, refrigerator clutter, family photos, diplomas, and hobby-specific decor all steal attention from architecture and scale. The common target is to remove roughly half of visible surface clutter and enough furniture that circulation feels easy at first glance. Staging is not minimalism for moral reasons; it is editing for legibility. The cleaner the room reads, the easier it is for the buyer to project a different life into it.
Room priority should follow market impact. Living spaces, kitchens, primary bedrooms, and dining areas usually deserve attention first because they drive listing photos and emotional valuation most strongly. Secondary bedrooms, offices, and flex spaces matter when they clarify use, especially in homes where square footage needs defending. This is why staging should be specific to the likely buyer and price point. A starter home, a family suburban listing, and an upper-tier property do not need the same intensity of furnishing, but they all need coherence, proportion, and believable room function.
How to prepare the room
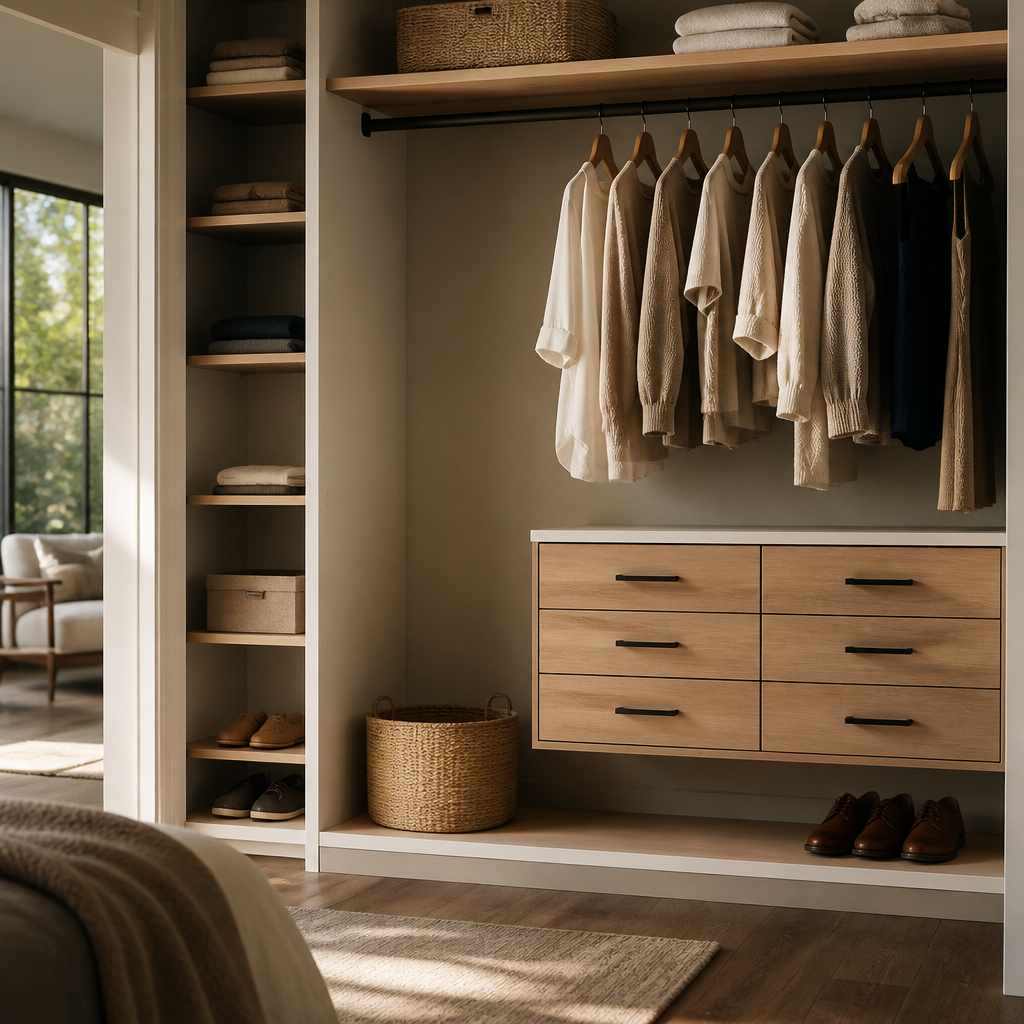
Strip the house back to market-neutral volume
Remove at least 50 percent of visible countertop and shelf clutter, reduce closet contents until they appear roughly one-third empty, and edit furniture until primary paths stay open at about 36 inches minimum. Buyers need to perceive square footage, light, and storage capacity before they perceive your lifestyle.
Stage for the buyer profile, not the seller's habits
Define the likely purchaser before bringing in a single accent. A family listing may need a breakfast nook and play-friendly living room; an urban condo may need a clear work-from-home zone. Match the room story to the price point and neighborhood, because generic luxury styling in the wrong market reads as confusion rather than aspiration.
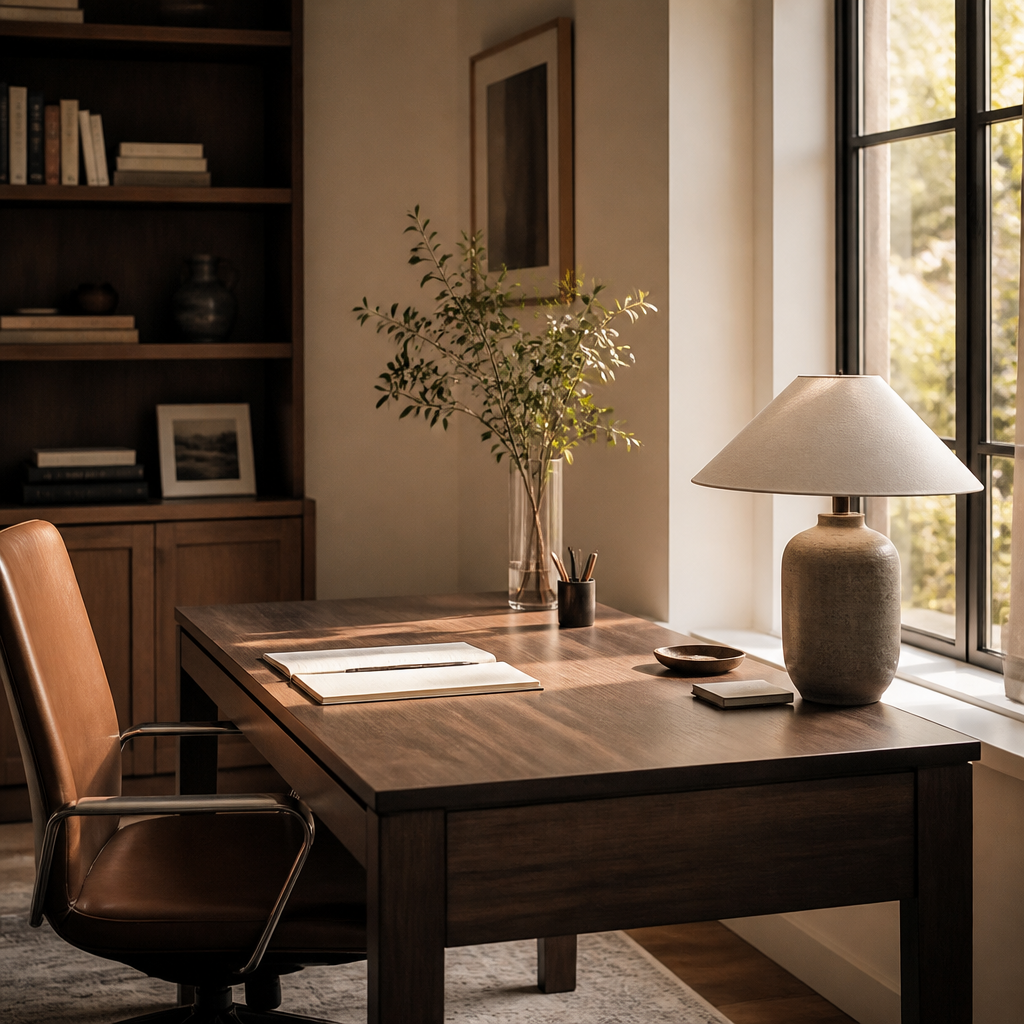
Give every room one obvious job
Any space that could be interpreted three ways should be staged one way. A spare room must read decisively as office, guest room, nursery, or bedroom within two seconds of entering the photo. Ambiguity suppresses perceived square footage because buyers start spending mental energy decoding instead of imagining ownership.
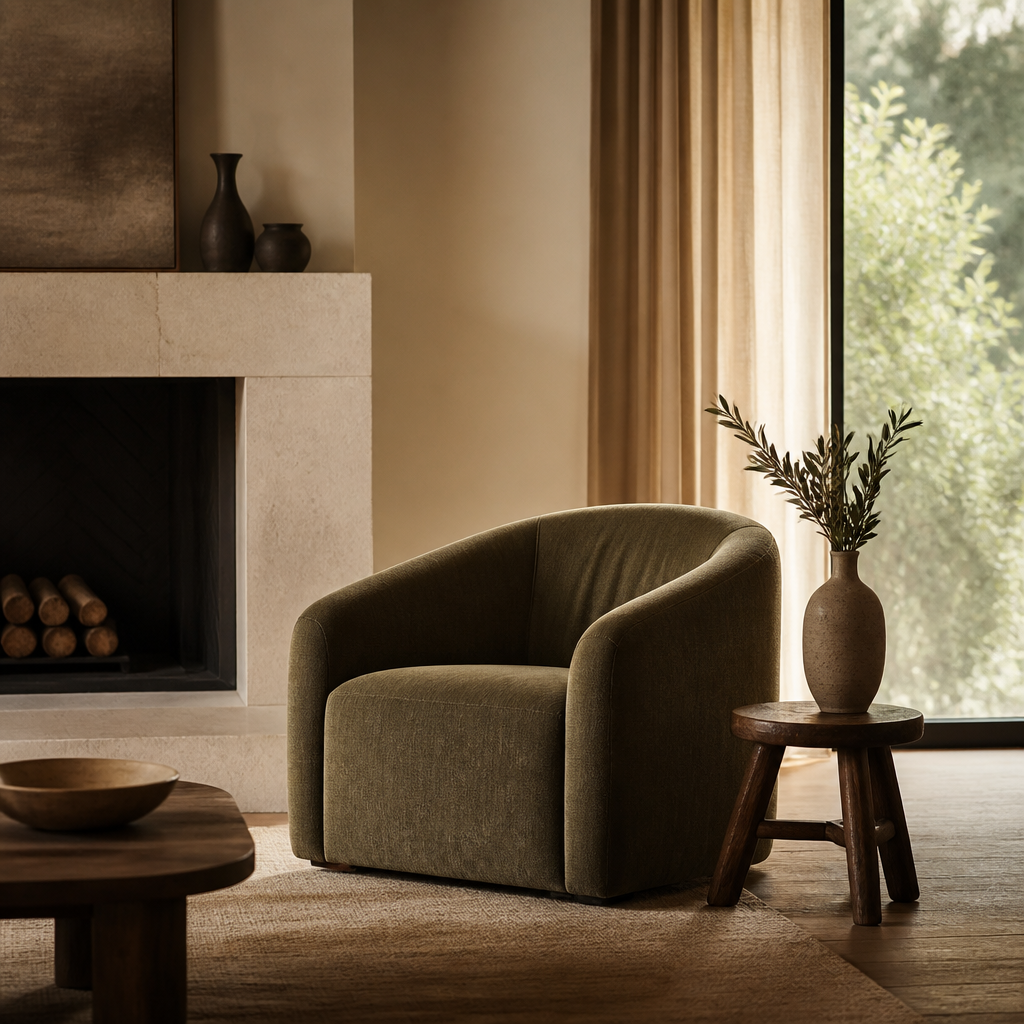
Use broad-appeal scale and restrained color
Keep major upholstery neutral, respect real clearances, and avoid undersized furniture that makes rooms look smaller. Sofas should not crowd door swings, beds should still leave practical walking space, and rugs should anchor rather than float. A restrained 60-30-10 palette almost always outperforms personality-driven color when the goal is market speed.
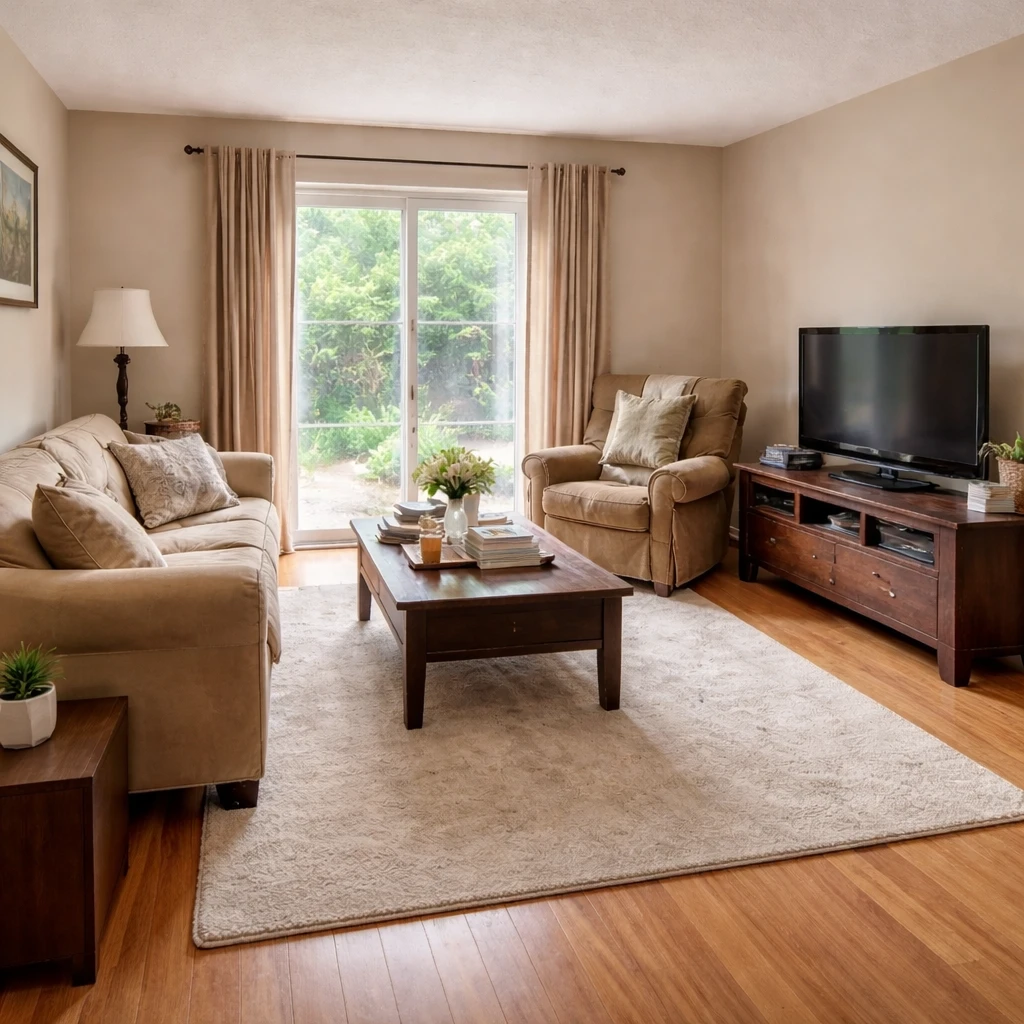
Stage first for photography, then confirm it works in person
The main listing angle should explain the room immediately, so preserve long sightlines, open curtains, switch on all practical lighting, and keep styling low enough that windows, floor area, and focal points remain visible. Professional listing images generally benefit from level verticals, wide but not distorted angles, and enough negative space that the room reads larger rather than merely fuller.
Prioritize spend by valuation impact
If the budget is limited, direct effort first to living room, kitchen, dining area, primary bedroom, and curb appeal, because those zones carry disproportionate emotional and pricing weight. A few thousand dollars spent on cleaning, paint, lighting, minor repairs, and strategic staging often returns far more than a scattered approach that touches every room superficially.
What weakens trust or clarity
Photography standards should quietly guide the staging itself. Rooms need enough open floor and enough correctly scaled furniture that the main listing angle explains the room without distortion. Good staging supports natural light, preserves visual pathways, and gives the eye a hierarchy: anchor piece, support pieces, then minimal accessory editing. It should never depend on gimmicks that only work in one camera angle. If a room looks great in photos but cramped or incoherent in person, the staging was cosmetic rather than strategic.
The best staging decisions are practical, not theatrical. They prioritize broad appeal, scale reference, and a credible level of finish that matches the listing tier. Done well, staging does not scream that it has happened. It simply removes uncertainty. Buyers understand the room faster, trust the house more, and spend less energy imagining fixes. That is why staging continues to outperform its cost in strong and weak markets alike: not because it decorates the home, but because it makes the home easier to say yes to.