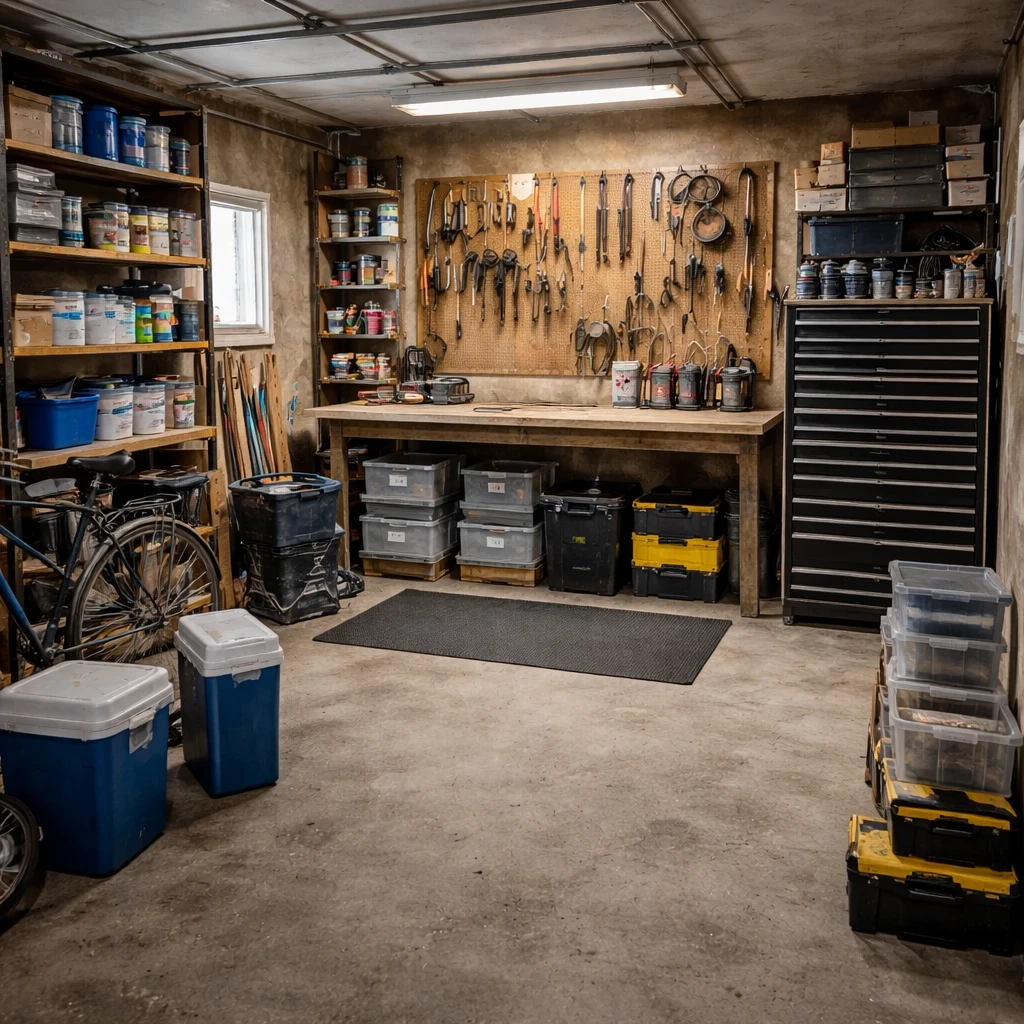
Garage workshops need to be organized around workflow, not storage density. Bench position, open standing space, tool visibility, power access, and lighting determine whether the room feels efficient or constantly in its own way. The first decision is where the bench and main standing zone belong. That area needs the best light, the most clearance for the kind of work being done, and the least conflict with vehicle doors, utility equipment, and the main path through the garage.
Wall storage is almost always stronger than more floor storage in a workshop. Tools need visibility and quick access without stealing the open zone needed for cutting, clamping, or assembly. Pegboards, French cleats, rails, and cabinets work best when organized around task sequence instead of just category. The drill should live near the bench, not wherever a hook happened to be empty.
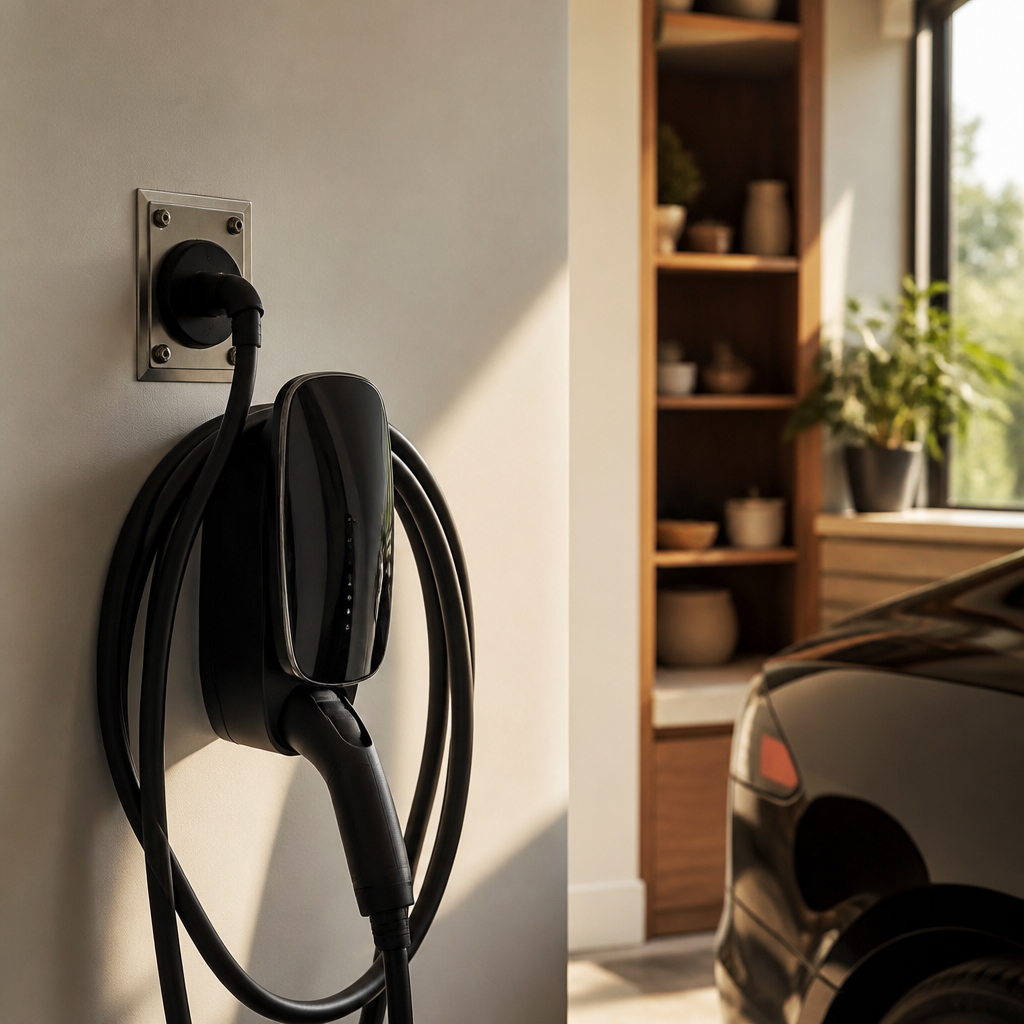
Lighting and power deserve as much planning as the bench itself. General overhead light, dedicated bench task light, and enough outlets for chargers, small tools, and bigger equipment all shape how usable the workshop feels. Cooler, brighter lighting around 5000K helps with labels, blades, and measurements. Good workshops feel safer because shadows, cords, and improvised power runs were solved before the room started working hard.
The room should still be easy to reset. A strong workshop is not one where every surface is full. It is one where the work zone stays open, tools return to believable places, and the garage can absorb real use without losing its logic after one weekend project.
Start with the room itself
Garage workshops need to be organized around workflow. Bench position, open standing space, tool visibility, power, and lighting determine whether the room feels efficient or constantly in its own way.
This guide stays focused on workshop-specific planning rather than broad garage organization. The key problem is not simply where to store things. It is how to preserve a reliable work zone inside a room that is often under pressure from storage and vehicle access.

That usually means more wall discipline, better task lighting, and less tolerance for floor clutter than a normal mixed-use garage can get away with. Tools should support the work sequence instead of just being categorized neatly from a distance.
How to plan it cleanly
Place the bench and standing work zone first
The main work area should get the clearest wall, best light, and least interference from vehicles, storage overflow, or utility equipment.
Map tool storage by task sequence
Group the tools and supplies you use together near the bench instead of scattering them by category across the whole garage.
Protect one open assembly or cutting area
A workshop needs empty working room, not just more cabinets. Leave enough floor and bench clearance for the biggest routine tasks.
Build brighter light at the bench than in the rest of the garage
General lighting is not enough for close work. Add dedicated task light where measuring, cutting, fixing, or finishing actually happens.
Plan power and cord routes before the walls fill up
Chargers, bench tools, and extension needs should be solved early so the room does not become a tangle of improvised power later.
Reset the room around workflow, not maximum storage
The workshop is successful when you can start a project without moving three other categories of stuff out of the way first.
What makes the room fail in practice
A strong garage workshop is easy to start using. The room should let a project begin without a long cleanup prelude, and that practical readiness is the clearest sign the design is on point.