Rental property design serves two masters: tenant satisfaction and landlord. The ROI goal is creating spaces that attract quality tenants, hold value, and minimize maintenance costs while providing comfortable homes.
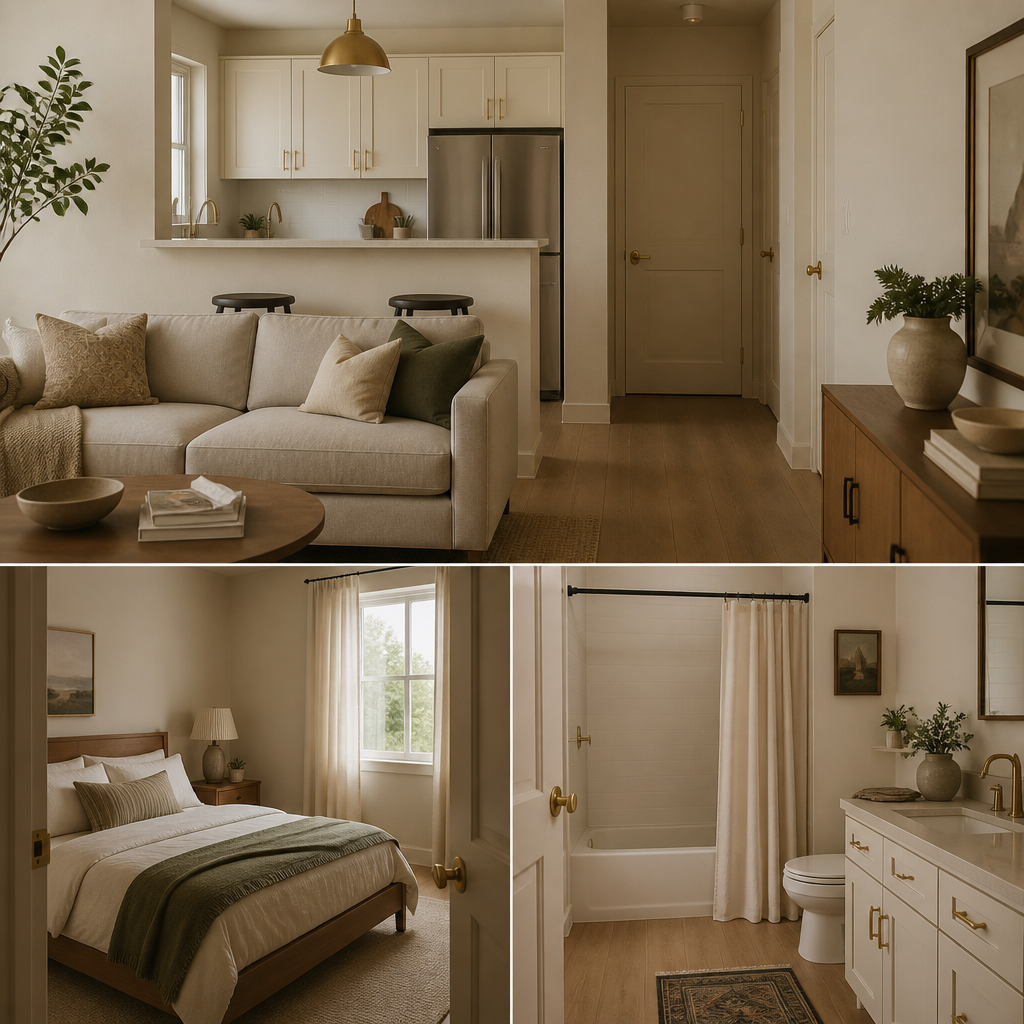
Tenant-focused design includes: durable materials that handle daily wear, functional layouts that work for various living situations, adequate storage, and modern amenities that compete with other rentals. Landlord considerations include: ease of maintenance, replacement costs, and avoiding overly personalized designs that limit tenant appeal.
Virtual staging helps rental marketing by showing properties at their best without furniture investment. Design for rentals should emphasize neutral foundations (colors, fixtures) that tenants can personalize with their own decor. This serves both parties: landlords maintain property value, tenants get a blank canvas.
What smaller rooms need most
Rental-property improvement is best judged as an income strategy rather than a decorating project. Every dollar should either support higher rent, reduce vacancy, lower turnover cost, or cut maintenance burden. If it does none of those things, it is probably the wrong improvement no matter how nice it looks. This is where many owners overspend emotionally, adding finishes they personally admire instead of correcting the categories tenants read first: cleanliness, lighting, paint condition, flooring continuity, and kitchen or bath fatigue. The room has to market well, wear well, and reset efficiently between leases.
The highest-return upgrades are usually the least romantic. Fresh paint, deep cleaning, better lamps or fixtures, durable flooring, functioning hardware, and modest kitchen or bath correction do more for leasing than niche design gestures do. These moves improve photos, showings, and the basic trust signal of the unit. They also tend to lower future repair friction because durable, repeatable materials are easier to patch, replace, and standardize across a portfolio. Rental property does not need precious finishes. It needs resilient ones that still read as cared for.
Tenant quality is shaped partly by this visible condition. Well-kept units attract applicants who are more likely to value and preserve that standard, while neglected units tend to signal low expectations in both directions. This is not just about aesthetics; it affects turnover frequency, service calls, and even the probability of disputes. Better materials can therefore function as operating policy. A tougher floor, a more washable wall finish, or more durable hardware may not feel glamorous, but if it survives repeated occupancy while keeping the unit marketable, it has done precisely what investment design is supposed to do.
How to make the space work better
Photograph the unit honestly and completely
Walk through as a prospective tenant would. Photograph every room, every closet, and every corner. Note wear, outdated fixtures, and problem areas. The refresh plan should address what tenants actually see, not what the landlord thinks they see.
Define the target rent and the competitive set
Pull comps for similar units in the neighborhood. Know what the market will pay for updated fixtures, fresh paint, and clean floors versus what it pays for the unit as-is. The refresh budget should be calibrated to the rent premium it can realistically command.
Invest in the highest-ROI improvements first
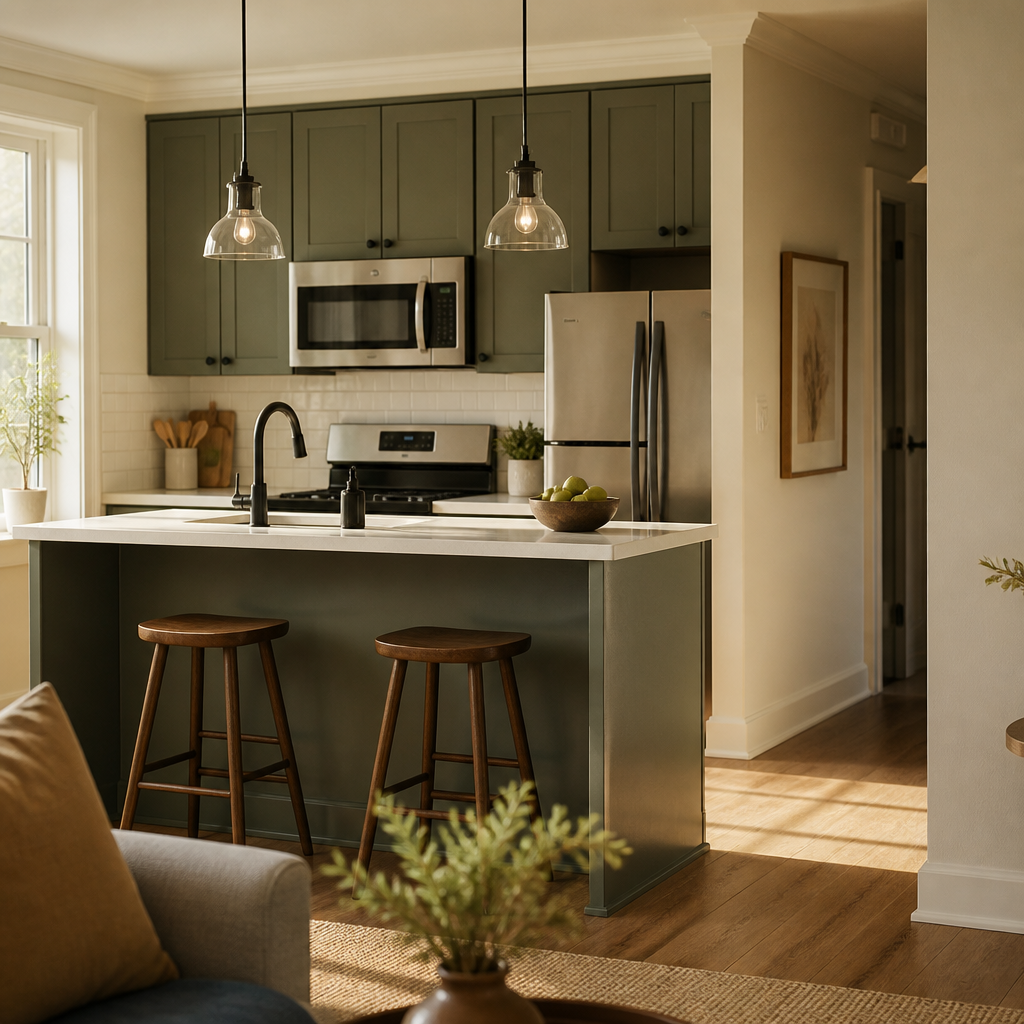
Paint (neutral, warm undertones), hardware (matte black or brushed brass), lighting (warm LEDs, modern fixtures), and deep cleaning. These four changes cost under $1,000 for a standard one-bedroom and transform every listing photo. They also cost less than one month of vacancy.
Choose materials that survive tenant turnover
Performance fabrics on any upholstery, LVP or tile in wet areas, satin or semi-gloss paint (wipeable), and commercial-grade hardware. Rental finishes should be chosen for durability, cleanability, and speed of replacement — not for trend appeal.
Stage the listing photos, not the unit
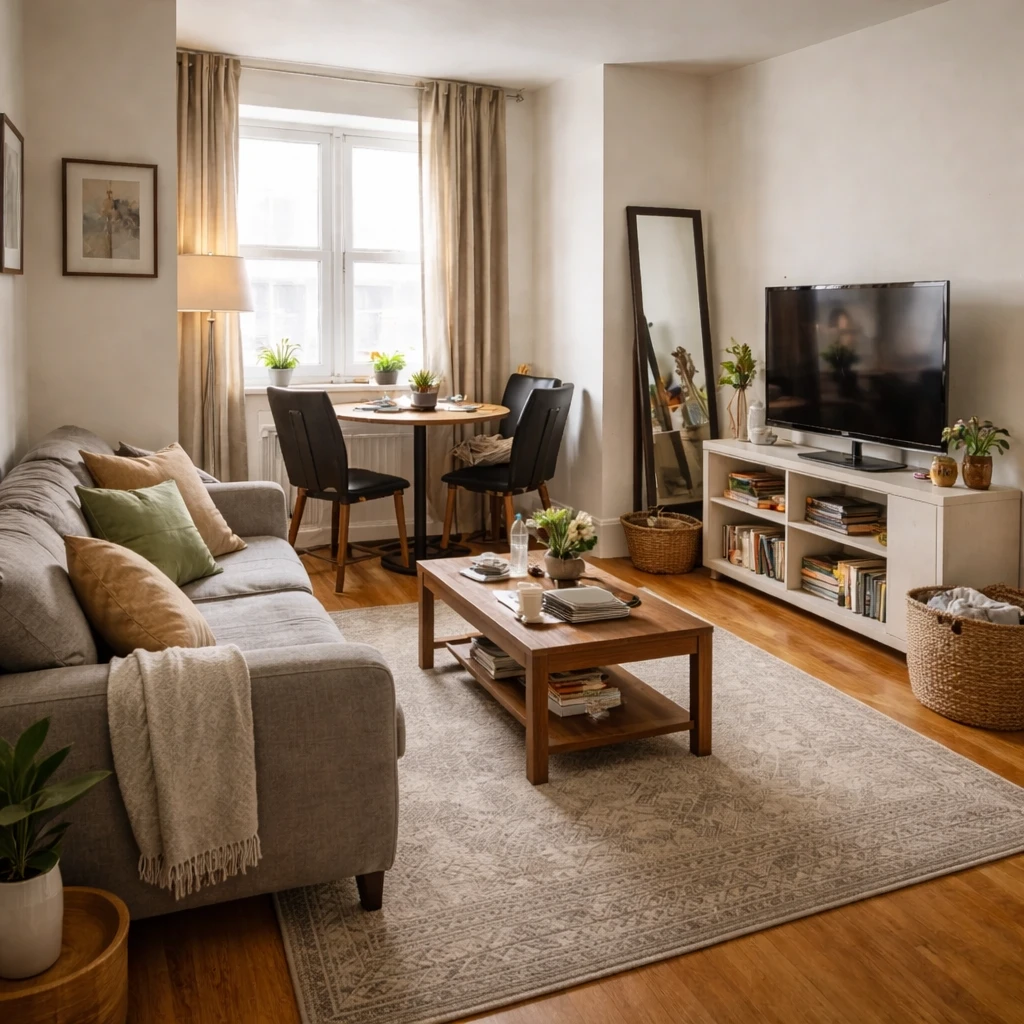
A few well-placed props — a neutral throw on the bed, a bowl of fruit on the counter, a potted plant by the window — make listing photos read as livable without requiring physical staging that tenants will damage or remove.
Time the refresh to reduce vacancy days
Order all materials before the current tenant vacates. Schedule painters, flooring installers, and cleaners for consecutive days starting on move-out day. Every day the unit sits empty between tenants is a day of lost rent. A five-day vacancy beats a fifteen-day vacancy by ten days of revenue.
What usually makes compact rooms feel worse
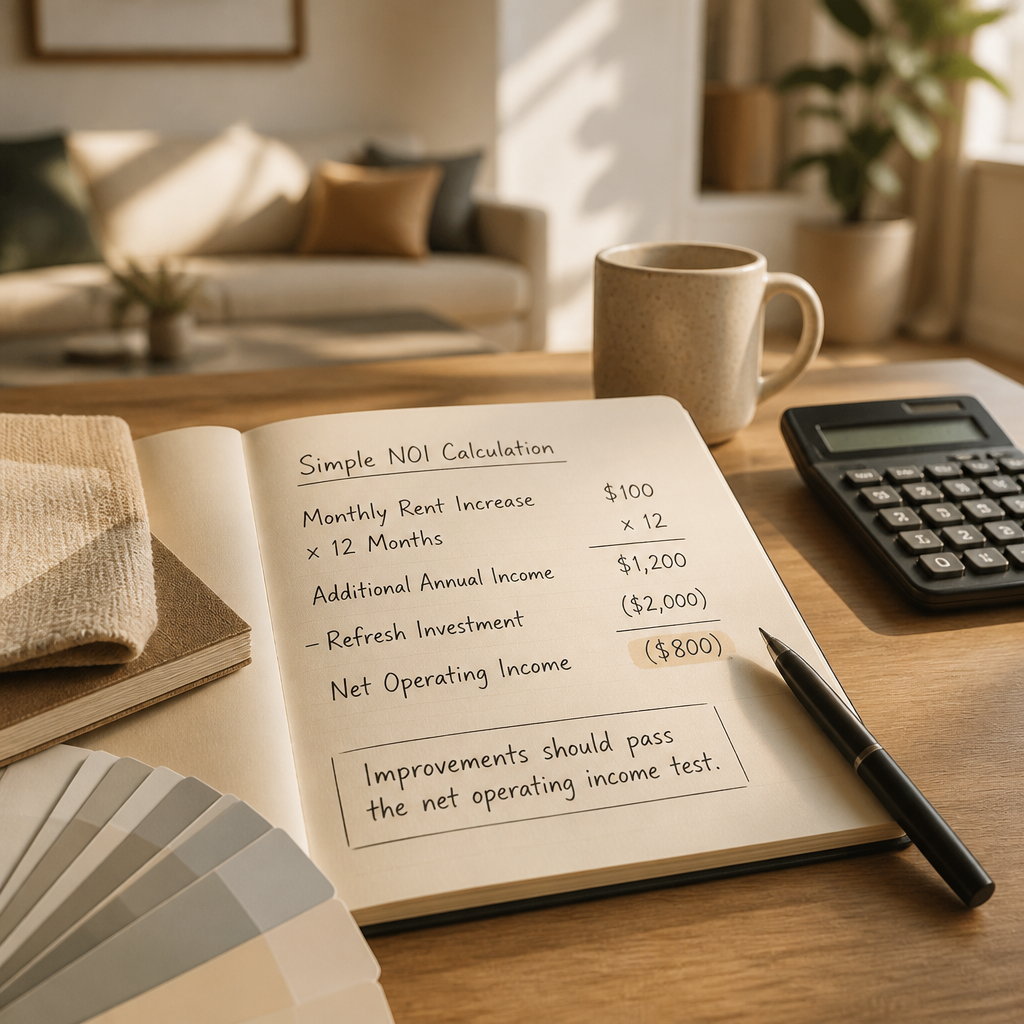
The financial logic stays straightforward. Improvements that support rent growth, hold occupancy, and reduce replacement frequency contribute to net operating income, and net operating income is what ultimately supports property value. In that sense, rental-property design is not separate from asset management. It is one of the visible mechanisms through which asset management becomes believable to the market. The right improvements are not the ones that make the owner happiest on install day. They are the ones that keep the unit rentable, durable, and economically efficient over multiple lease cycles.