Garages serve many purposes beyond car storage: workshop, gym, hobby space, and storage. Define the primary function first because that drives all other decisions. A workshop requires different electrical and lighting than a simple storage space. Most garages need more electrical capacity than originally installed—plan for multiple 20-amp circuits.
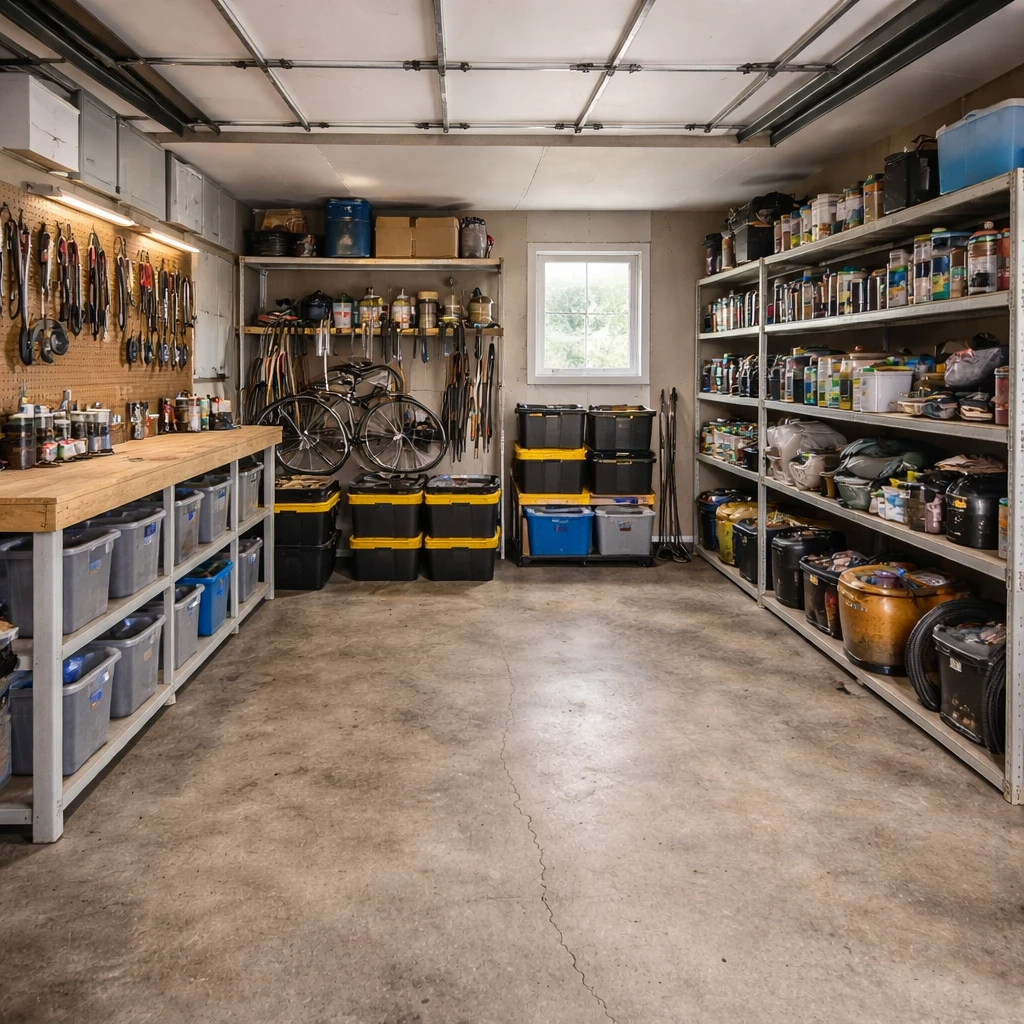
Storage makes or breaks garage functionality. Wall-mounted systems (pegboard, French cleats, slatwall) keep tools accessible and visible. Ceiling storage for seasonal items maximizes floor space. Clear plastic bins let you see contents without opening everything. Label everything—'I know I have it somewhere' is the garage owner's biggest frustration.
Climate matters in garages. They're typically unconditioned, making them extreme in summer heat and winter cold. If you'll use the space year-round, consider mini-split heating and cooling. Epoxy floor coatings resist stains and are easy to clean. Good lighting is essential—garages are often dark, and detailed work requires adequate illumination.
Start with the room itself
Garages only begin to function when they are assigned a hierarchy. Too many are asked to be vehicle storage, workshop, gym, yard-supply room, and seasonal warehouse all at once, which is how they end up doing none of those jobs gracefully. The real planning question is what the garage must protect and what open floor, wall length, and access path that primary job requires. Once that is fixed, everything else can be negotiated. Without that hierarchy, every added rack and bin feels productive right up until you try to park, lift, cut wood, or open the interior door without hitting something.
Movement paths come before storage products. The route from car door to house door, the space around a bench, and the standing area needed for tool use or exercise all need to be kept clear before a single wall system is installed. Garages often seem huge in plan and small in real use because door swings, equipment projections, and stored bulk eat into the usable footprint quickly. Vertical storage helps only when it protects floor function rather than simply increasing density. If the daily path becomes a slalom course, the system is not efficient, it is just full.
Lighting and surface decisions should respond to the room's abuse level. Task-oriented garages usually benefit from cooler, brighter shop lighting around 5,000K so labels, blades, and measurements are easier to read. Flooring choices should acknowledge impact, solvents, moisture, and tire heat. Rubber makes sense in workout areas, sealed or properly prepared coated concrete can work in workshop and parking zones, and any floor coating should be selected only after the slab has been prepared well enough to hold it. The garage is not the place to pretend interior-finish rules apply without adaptation. It needs surfaces built for punishment, not for posing.
How to plan it cleanly
Measure the footprint and identify what cannot move
Record the garage door swing, vehicle clearance, utility panels, water heaters, and dedicated circuits. Map overhead door tracks and the minimum clearances they require. A beautiful workshop that blocks the garage door open is a beautiful mistake.
Separate vehicle space from activity space with tape lines
Use painter's tape on the floor to mark where the car parks and where everything else lives. This keeps you honest about how much room the vehicle actually needs — typically 10 feet of depth and 7 feet of width per car.
Invest in wall-mounted storage before floor storage
Pegboards, slatwall panels, and wall-mounted shelving store tools, sports equipment, and seasonal items without consuming floor space. The floor is for the car and the task at hand. Everything else belongs on the wall.
Choose lighting rated for the space and the task
Install LED shop lights at 4500K-5000K for general work visibility (aim for 50+ foot-candles at bench height). Add a separate task light at the workbench. Garage lighting is not the place for warm residential tones; you need to see what you are working on.
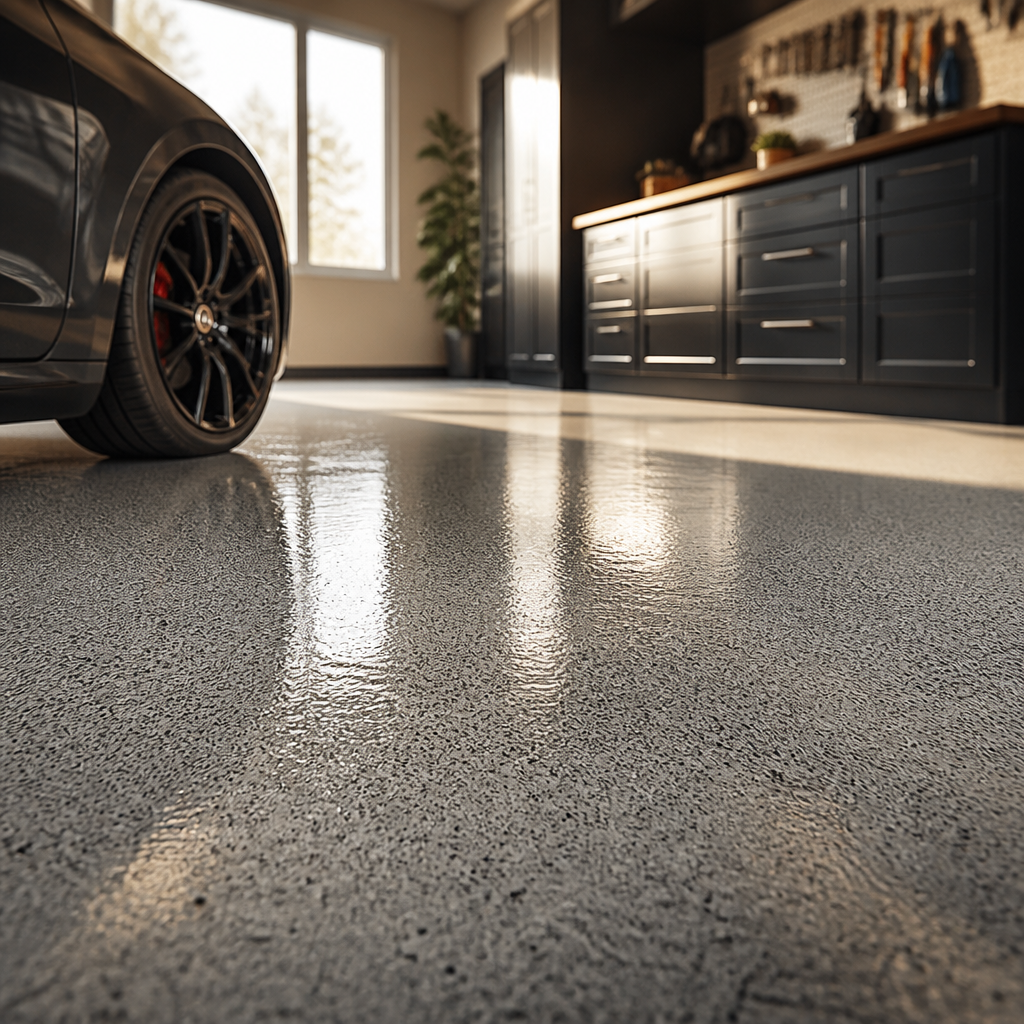
Protect the floor and manage spills
Epoxy floor coatings or interlocking garage floor tiles create a clean, sealed surface that resists oil, moisture, and salt. A sealed floor also brightens the space by reflecting light upward, making even a single-bay garage feel larger.
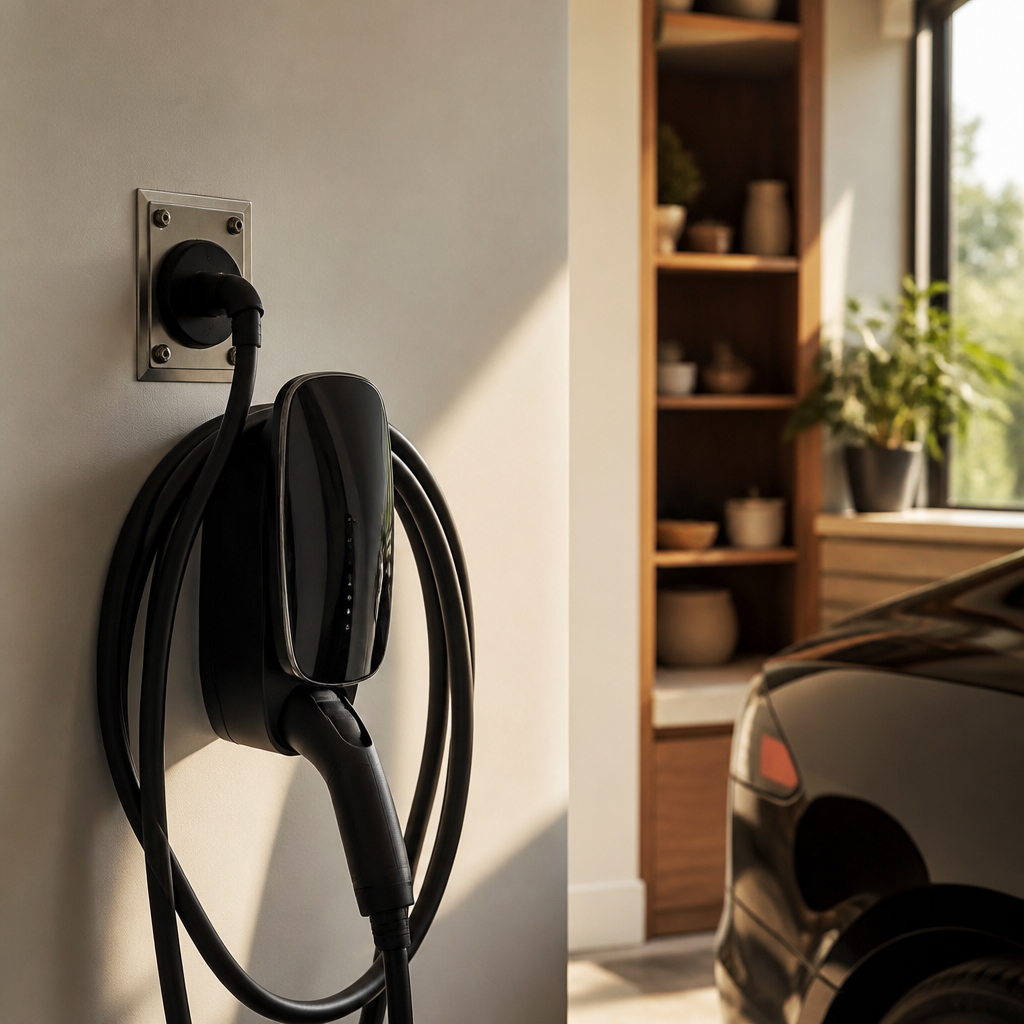
Plan for electrical and ventilation needs up front
Add dedicated circuits for heavy tools (20-amp minimum for most shop equipment). If running a compressor, welder, or heater, plan ventilation and appropriate circuit amperage before walls get finished. Retrofitting electrical after the drywall is up costs three times as much.
What makes the room fail in practice
Power, ventilation, and load capacity are where garage ideas become honest. A charger, a table saw, a compressor, and a squat rack all ask different things from the room's electrical and mechanical systems. Ceiling storage must respect joist capacity and mounting quality. Dust, fumes, and humidity need to be managed if the garage is used for anything beyond passive storage. In attached garages especially, ventilation and containment are not luxuries; they are how the room avoids exporting its mess into the house.
The best garages feel disciplined rather than maximized. They leave enough open floor to do the room's main job without rearranging three secondary ones first. That restraint is what makes the space useful over time. Whether the garage centers on cars, tools, training, or a controlled mix of all three, it should feel like a space designed to be used hard, not a space that got filled before anyone decided what it was for.
