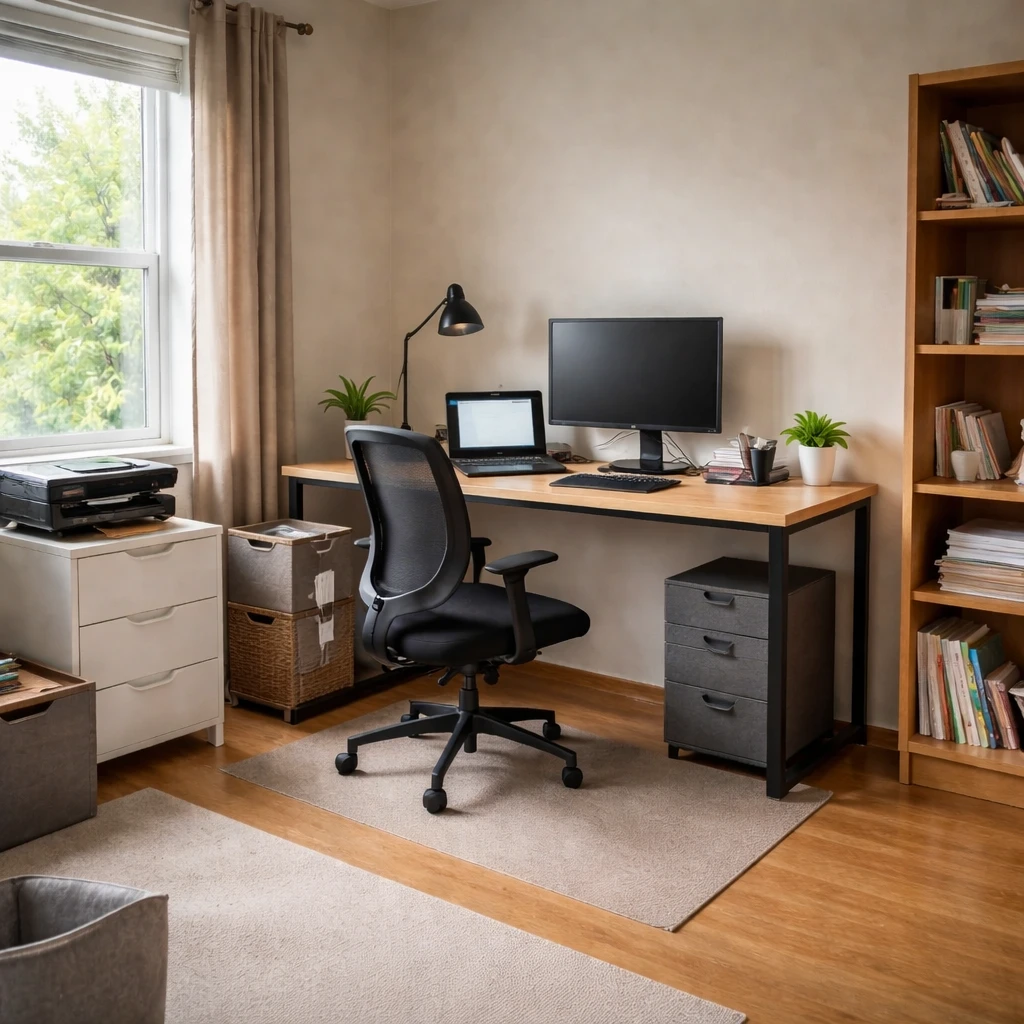
A productive home office starts with ergonomics. Desk height, chair support, screen position, and glare control affect the room far more than a decorative theme does. If the setup causes strain after an hour, the design is not finished no matter how good it looks. The monitor top should sit at or just below eye level, wrists should stay in neutral alignment, the lower back should be supported, and feet should rest flat on the floor or a footrest.
Beyond the desk setup, the layout should reflect the type of work done there. A call-heavy office, a deep-focus writing room, and a dual-monitor technical setup all need different storage, acoustic treatment, and background control. Some people need near silence. Others work better with background sound or a warmer, more layered environment. The office should support your real work patterns rather than a generic idea of what a stylish workspace looks like.
Lighting, storage, and call background are usually where the room either works or fights back. Good offices make the desk easy to use for hours, keep the background calm on calls, and stop cables, papers, and spare equipment from colonizing the visible field. Enclosed storage, proper task light, and glare-free monitor placement do more for daily focus than decorative upgrades ever will.
Start with the room itself
Home office design should be approached as a health and performance problem before it is approached as a decorating problem. Poor monitor height, bad task lighting, glare, and inadequate chair support create fatigue slowly but reliably over the course of the workweek.
The most important office decisions are measurable: desk height, monitor distance, seat depth, chair clearance, and the amount of light on both the task surface and the face during calls. Layout also matters because concentration depends on controlling visual distraction and acoustic interruption.
A well-planned office does not need to be large, but it does need to fit the kind of work being done there. A writing desk, a dual-monitor technical setup, and a client-facing consulting room all place different demands on storage, background control, and lighting.
How to plan it cleanly
Measure the work area honestly
Note wall width, window direction, outlet locations, storage obstacles, and chair clearance. Even a small office works better when the geometry is understood first.
Define the work performed there
A room used for video calls, deep focus, paperwork, or dual-monitor technical work needs different lighting, storage, and acoustic treatment. Job type should drive the layout.
Set the desk to reduce strain
Aim for a desk height around 29 inches for many adults, with elbows near 90 degrees and the top of the monitor at or slightly below eye level. Ergonomics should be treated as preventive health.
Control glare and background clutter
Place the desk to avoid harsh window reflections on screens, and keep the visible background simple enough for calls and concentrated work.
Layer task and ambient light
General room light is rarely enough on its own. Offices typically need focused task lighting, balanced ambient light, and some attention to sound absorption if calls or concentration matter.
Plan storage around daily reach
Keep high-use items within easy reach and archive rarely used items farther away. A clear workflow reduces friction more reliably than decorative organization.
What makes the room fail in practice
This guide is designed to help readers make those decisions with practical standards in mind, from ergonomic setup to acoustic treatment to the growing role of biophilic elements in concentration and fatigue reduction. The goal is a room that supports sustained work, not just a room with a desk in it.
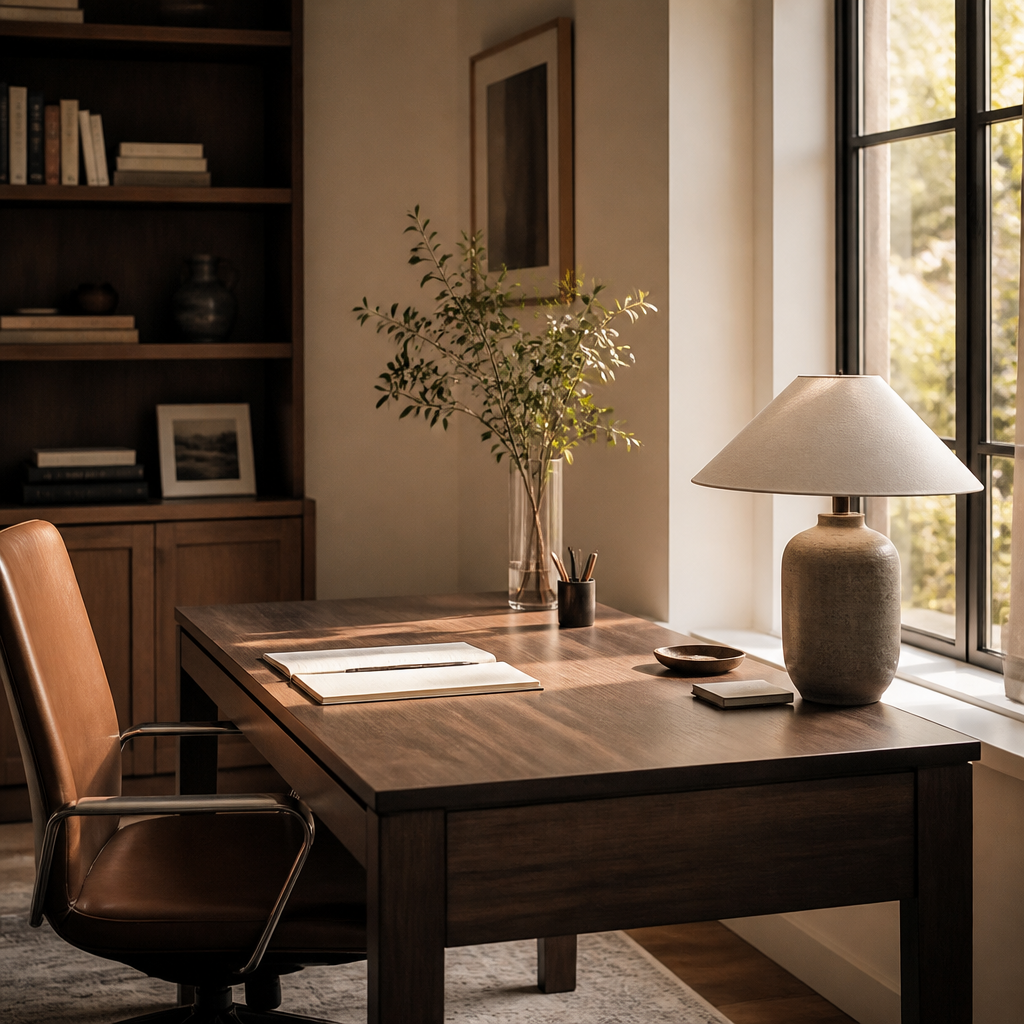
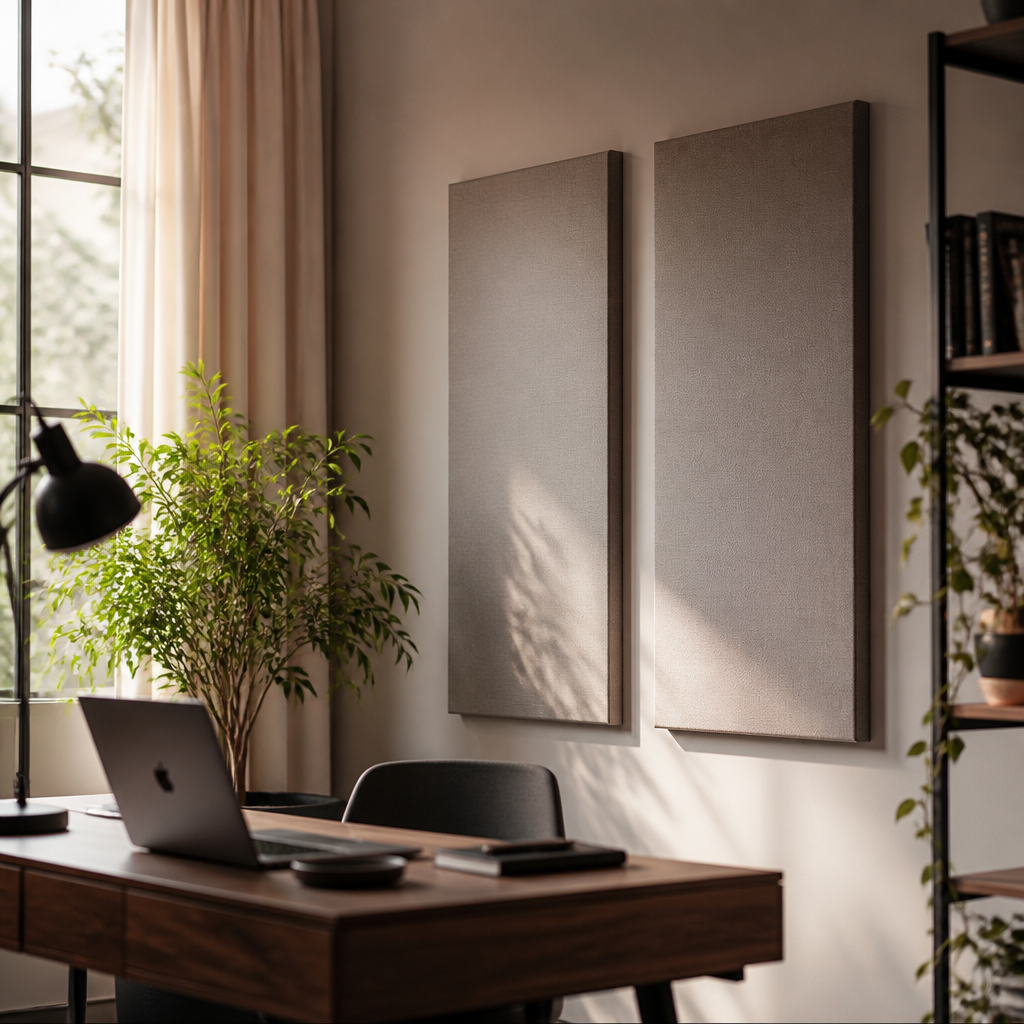
Remote work productivity research provides measurable evidence for environmental design choices. A 2022 Stanford study found that fully remote workers were 13% more productive than their in-office counterparts, but this advantage depends heavily on workspace quality. Biophilic office design, which incorporates natural elements like plants, wood grain, and views of nature, has been shown to increase productivity by 6 to 15% and reduce self-reported fatigue. The mechanism appears to be attention restoration: brief visual contact with natural patterns allows directed attention to recover from cognitive depletion. Acoustic privacy is equally critical; open-plan offices with speech intelligibility above 50% produce significant distraction, while acoustic panels with Noise Reduction Coefficient ratings of 0.7 or higher can absorb 70% of incident sound energy, creating sufficient privacy for concentration and confidential calls.
Video call lighting standards have emerged as a distinct discipline. The Illuminating Engineering Society recommends 300 to 500 lux at the face for video conferencing, achieved through a combination of key light, fill light, and background separation. Poor lighting, particularly overhead fixtures that cast shadows under the eyes and nose, reduces facial recognition and perceived engagement. For furniture, ANSI/BIFMA certification provides assurance that desks and chairs meet rigorous safety, durability, and ergonomic standards tested through thousands of load cycles. BIFMA Level certification adds sustainability criteria, evaluating material content, energy usage, and social responsibility in manufacturing. These standards matter because home office furniture often receives heavier daily use than corporate equivalents, with the average remote worker spending 6.5 hours per day at their desk, making durability and ergonomic support not amenities but necessities.