Good furniture arrangement starts with understanding how people actually move through the space. Map out the natural entry and exit points, then design your layout so the main traffic path does not cut directly through the middle of the seating area. When a primary walkway bisects the conversation zone, every movement through the room turns into an obstacle course. Keep main pathways at least 36 inches wide and route them around the perimeter of your furniture grouping wherever possible.
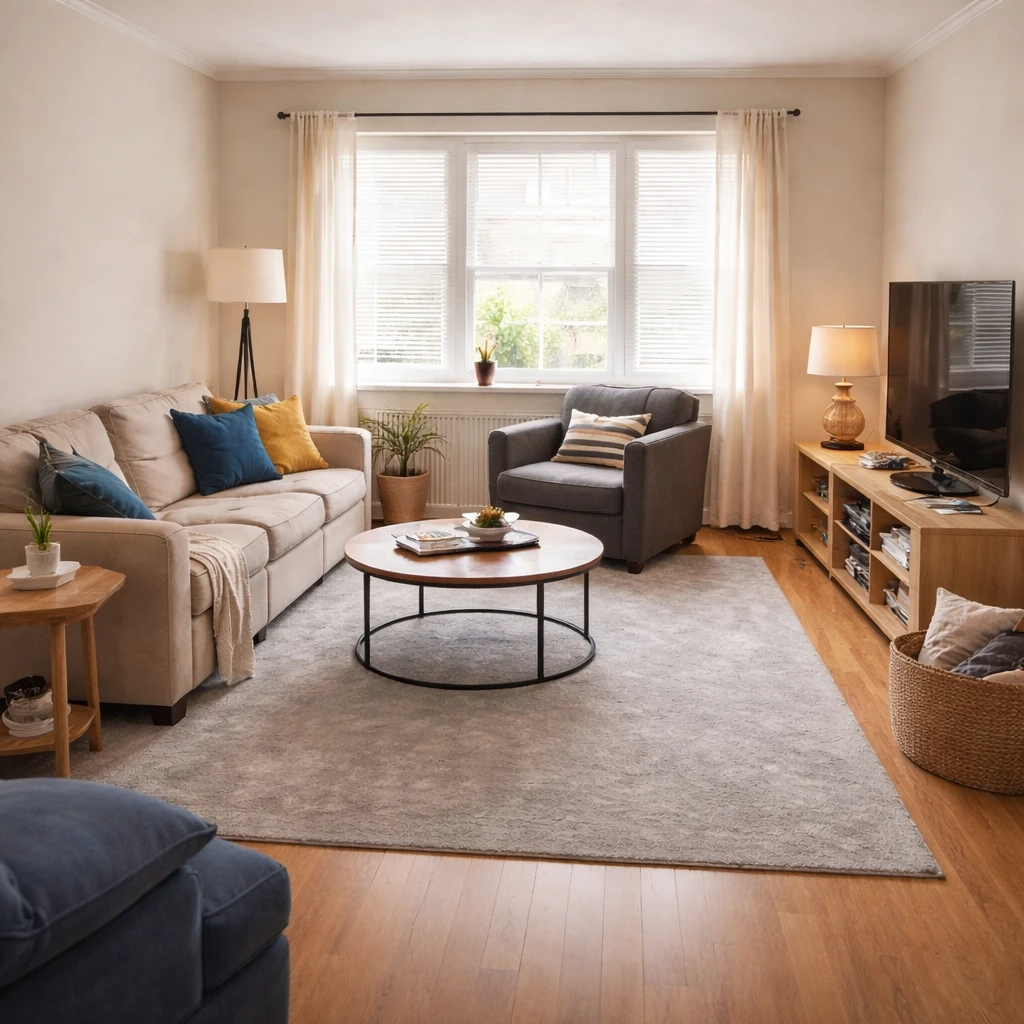
The second principle is creating one clear focal point and a believable conversation zone. Resist the instinct to push all furniture against the walls. This trick makes the room look larger in theory but creates dead, unused space in the center. Instead, float your seating toward the middle of the room, oriented toward each other and toward your primary focal point, whether that is a fireplace, a view, or a television. Seats in a conversation group should sit roughly 3.5 to 5 feet apart, close enough to hear without shouting, far enough to avoid knee contact.
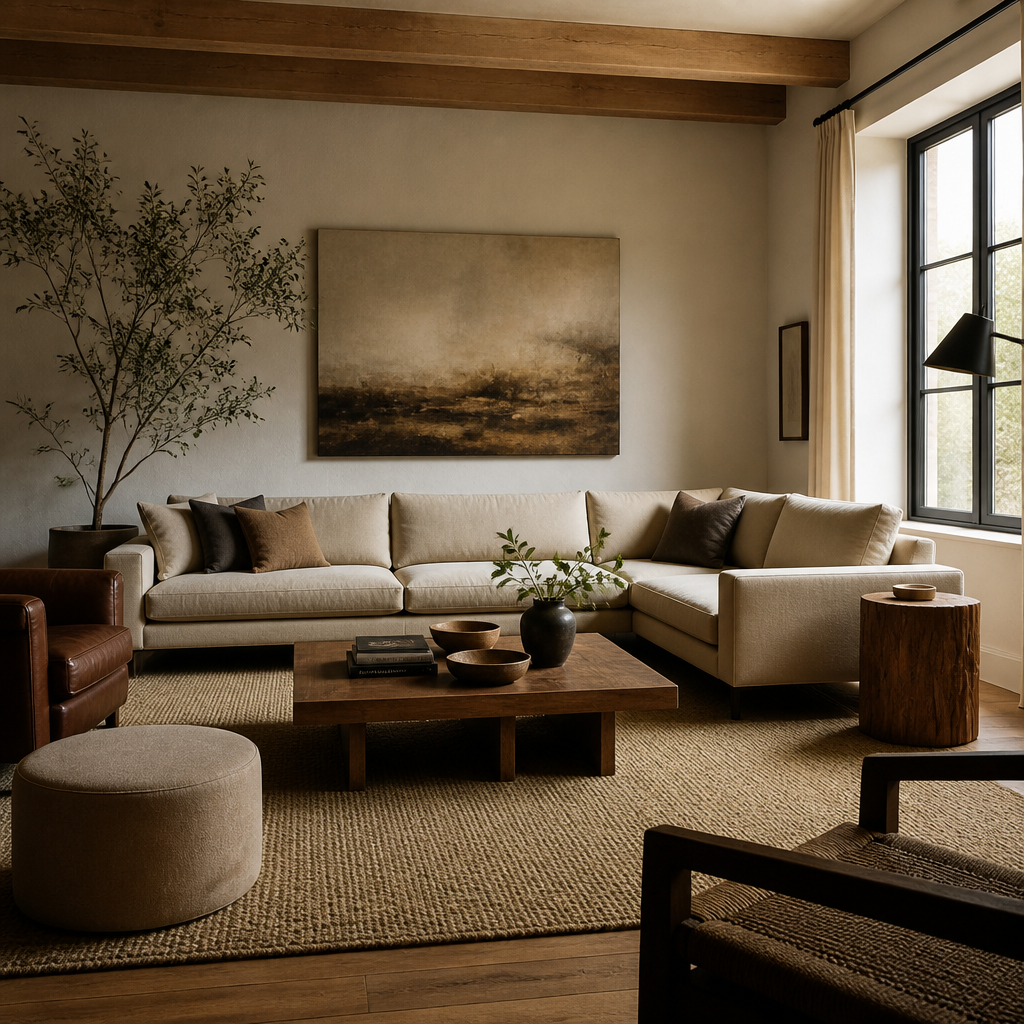
Specific spacing rules help decisions go faster. Coffee tables usually belong about 14 to 18 inches from the sofa edge for comfortable reach. Dining chairs need about 36 inches of pull-back space behind them for people to sit and leave comfortably. Rugs should be large enough that at least the front legs of every major seating piece rest on them, which usually means 8' x 10' or larger for a standard seating group. A rug floating in the middle with no furniture anchoring it makes the whole grouping feel temporary.
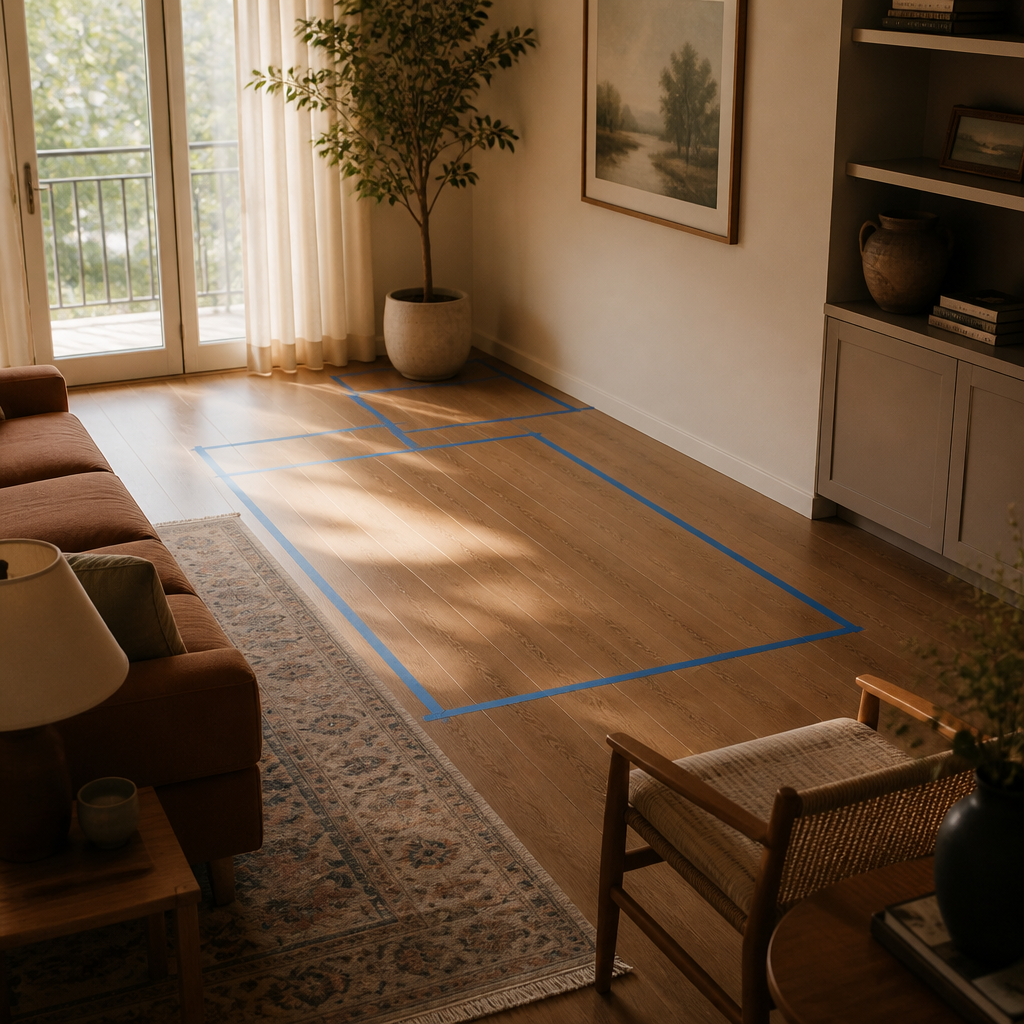
Before buying anything, use painter's tape to mark furniture footprints on the floor. Live with the taped layout for a day or two. Walk the paths, open the doors, and sit in each zone before ordering anything. Consider sight lines: when you enter the room, what do you see first? The back of a sofa feels unwelcoming. A room arranged well should feel balanced from the doorway, from the main seat, and from the route you use most.
The rules that matter
Furniture arrangement is ultimately a problem of human movement, not taste. Rooms feel wrong when distances ask the body to do awkward things repeatedly: squeeze past a chair, reach too far for a table, crane toward a television, or navigate a path that disappears whenever someone sits down. That is why arrangement improves so quickly once it is treated like proxemics instead of styling. The room is telling you how it wants to be used; the job is to translate that into measured distances rather than intuition alone.
The first layer is circulation. Primary walkways should generally hold about 36 inches clear at minimum, and 42 inches feels better where two people pass or where traffic is constant. Door swings, drawer clearances, and chair pull-back zones all count as movement territory, not decorative opportunity. Once movement is protected, the room starts to relax. This is also why furniture pushed to every perimeter wall can still fail; it may create open center space visually while forcing all actual activity into awkward edges and long reaches.
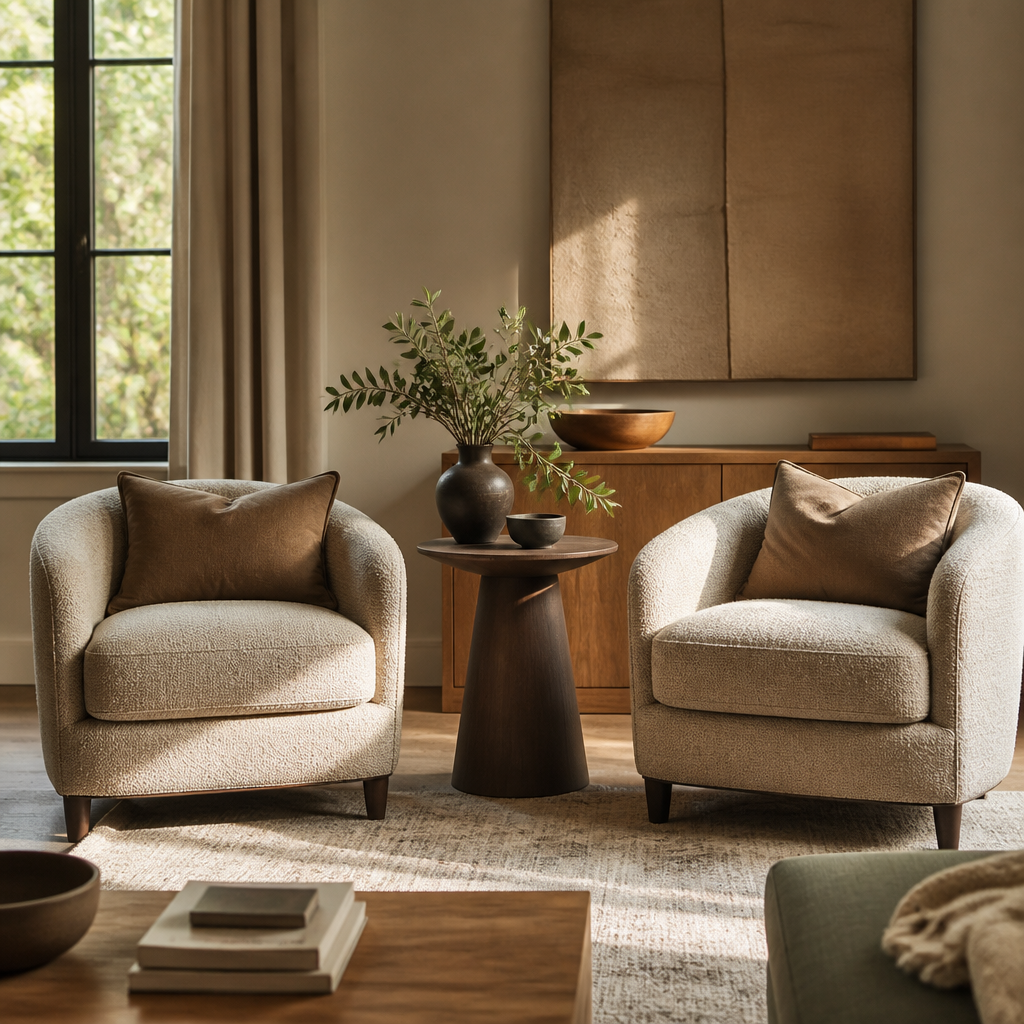
The second layer is relationship distance. Conversation seating tends to work best around 3.5 to 5 feet apart, close enough for relaxed speech but not so close that knees become a social event. Coffee tables usually belong around 14 to 18 inches from sofa edges, and side tables should sit within a natural arm's reach rather than as decorative satellites. Television zones add another rule set, including eye height and viewing distance, while work zones ask different questions about daylight, glare, and reach. One room can support multiple activities, but only if each activity has enough measured territory to function honestly.
How to work through the decision
Measure the room and draw a scaled floor plan
Record every wall dimension, window, door, radiator, and outlet to the nearest half-inch. Transfer to graph paper or a digital planner at 1/4 inch = 1 foot. Furniture arrangements that ignore the radiator under the window fail within a week of living with them.
Identify the focal point and orient around it
Every room has one: a fireplace, a window with a view, a television, or the bed wall in a bedroom. Arrange the largest seating piece to face it and build secondary seating around that anchor. Rooms without a clear focal point feel aimless.
Establish conversation zones at human scale
Seats in a conversation group should be 3.5 to 5 feet apart — close enough to hear without shouting, far enough to avoid knee contact. Coffee tables sit 14 to 18 inches from sofa cushions. If two people cannot have a comfortable conversation, the layout has failed.
Protect circulation paths — 36 inches minimum
Main walkways need 36 inches of clear width. Secondary paths need 24 inches. Dining chairs need 36 inches behind them for comfort. Any layout that requires someone to squeeze sideways to reach a door or turn on a light will be reorganized within a week.
Float furniture away from the walls
The most common amateur mistake is pushing everything to the perimeter. Pull seating into the room to create intimacy, define zones with rugs, and let the walls breathe. A sofa 12 inches from the wall looks deliberate. A sofa against the wall looks like a hotel lobby.
Test and adjust before committing
Use painter's tape to mark furniture footprints on the floor. Live with the tape layout for a few days. Walk the paths, open the doors, and sit in each zone before ordering anything. A layout that works on paper but fails in practice is a layout you will change — and moving heavy furniture more than once is avoidable.
Where people usually get it wrong
Testing multiple layouts is not indecision. It is the work. A bed on the opposite wall may free the closet path. A floating sofa may define a conversation zone and still preserve a 36-inch route behind it. A desk perpendicular to the window may reduce glare and improve circadian exposure at the same time. These shifts often cost nothing but reveal why so many rooms remain underperforming for years: people assume the first inherited arrangement is somehow inevitable. It almost never is.
The practical method remains the best one: measure the room, map fixed elements, test a few real configurations on paper or with painter's tape, and then live with the logic before you move heavy pieces permanently. Good furniture layout makes a room feel larger not because square footage changed, but because movement, sightlines, and use finally align. The payoff is immediate and physical. The room stops arguing with the people inside it.