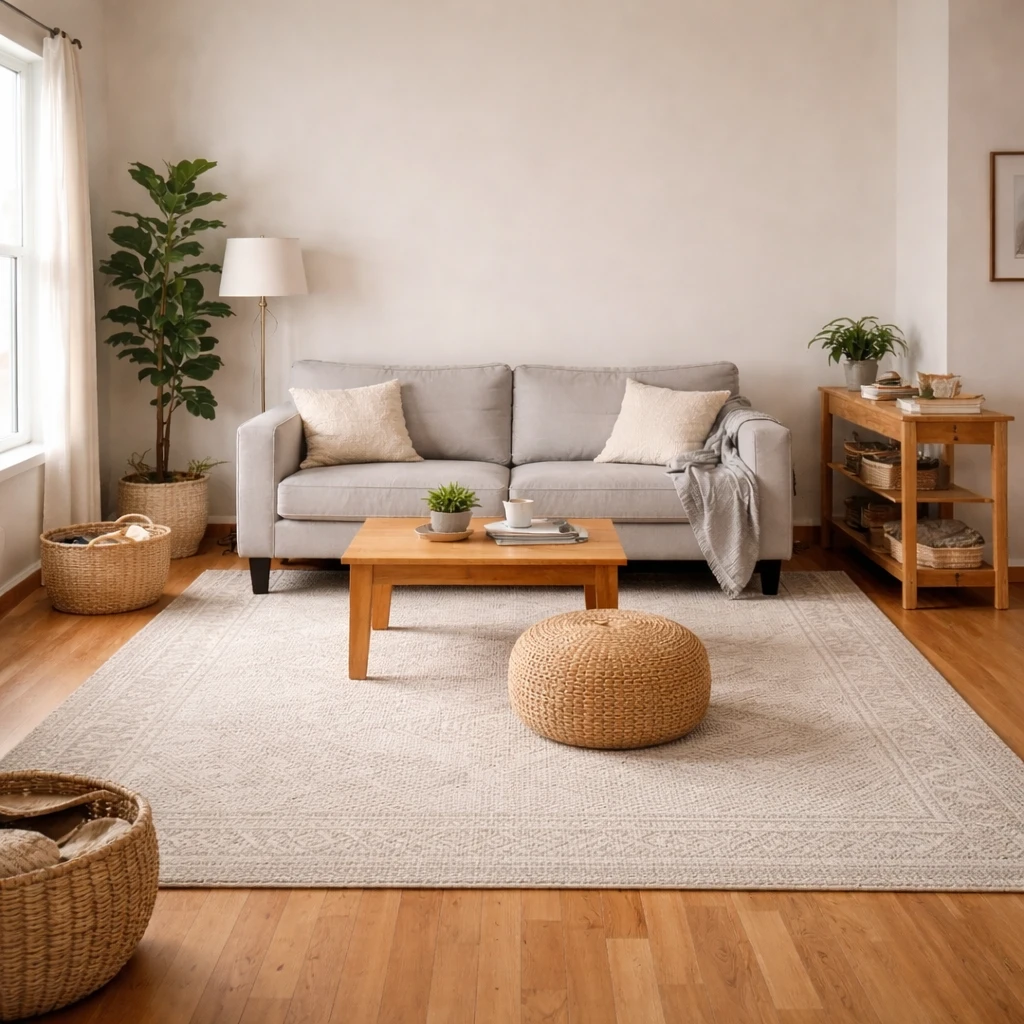
Rug size is probably the most common scaling mistake in living rooms, and it is almost always visible immediately from the doorway. The simplest rule is worth knowing before you measure anything: in a seating area, the front legs of your main sofa and chairs should sit on the rug. If the rug only touches the coffee table while the seating floats around it, the room will never feel settled. A rug that is too small fragments the room visually. One that is generous and correctly placed anchors the whole furniture group and makes the space feel larger than it actually is.
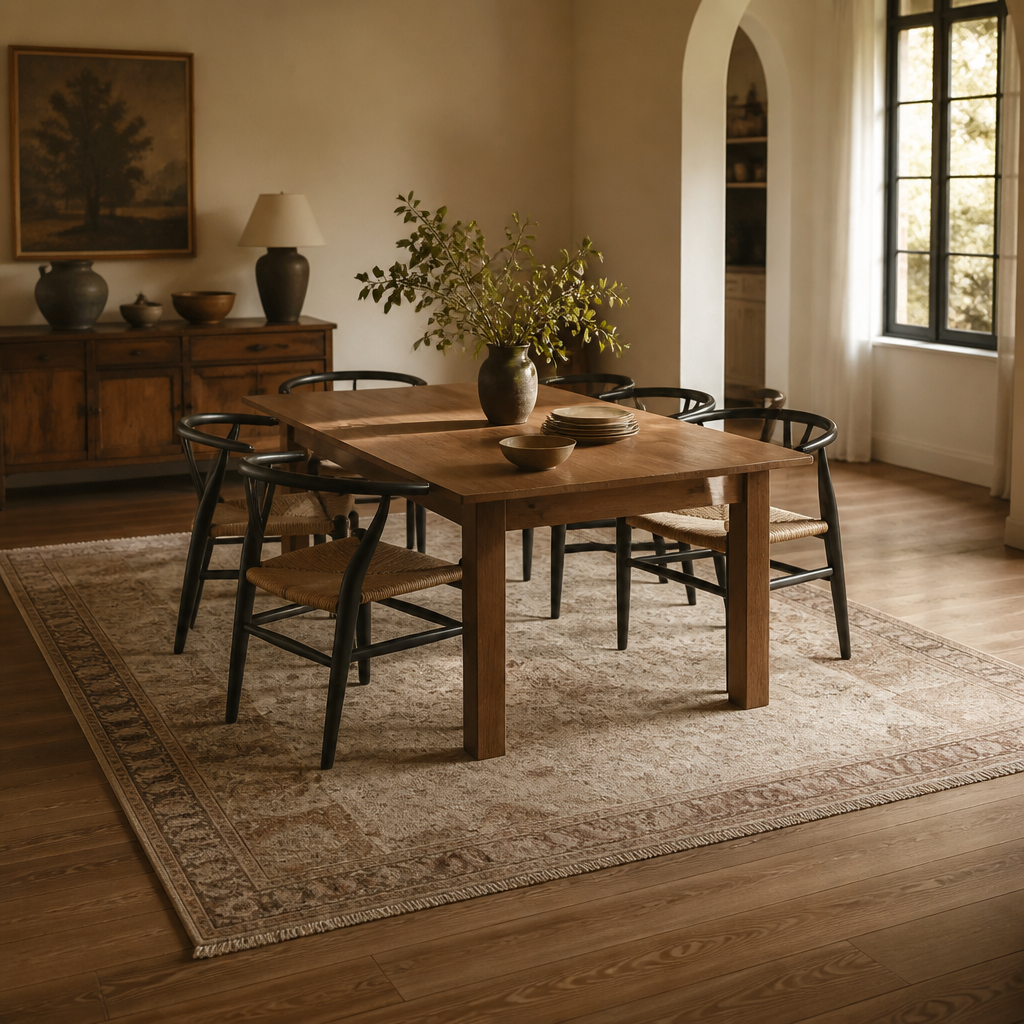
For a typical living room, an 8' x 10' rug or larger is usually the right starting point. Measure your seating footprint first, then add roughly 18 to 24 inches beyond the outermost furniture edges on every open side. Dining rooms follow a different rule: the rug should extend about 24 inches beyond each edge of the table so chairs stay on the rug when pulled back. Bedrooms do best when the rug sits under the front two-thirds of the bed and extends far enough on each side to land under both nightstands. Hallways and entryways can use runners about 2 to 3 feet wide, but runners rarely work as primary room rugs.
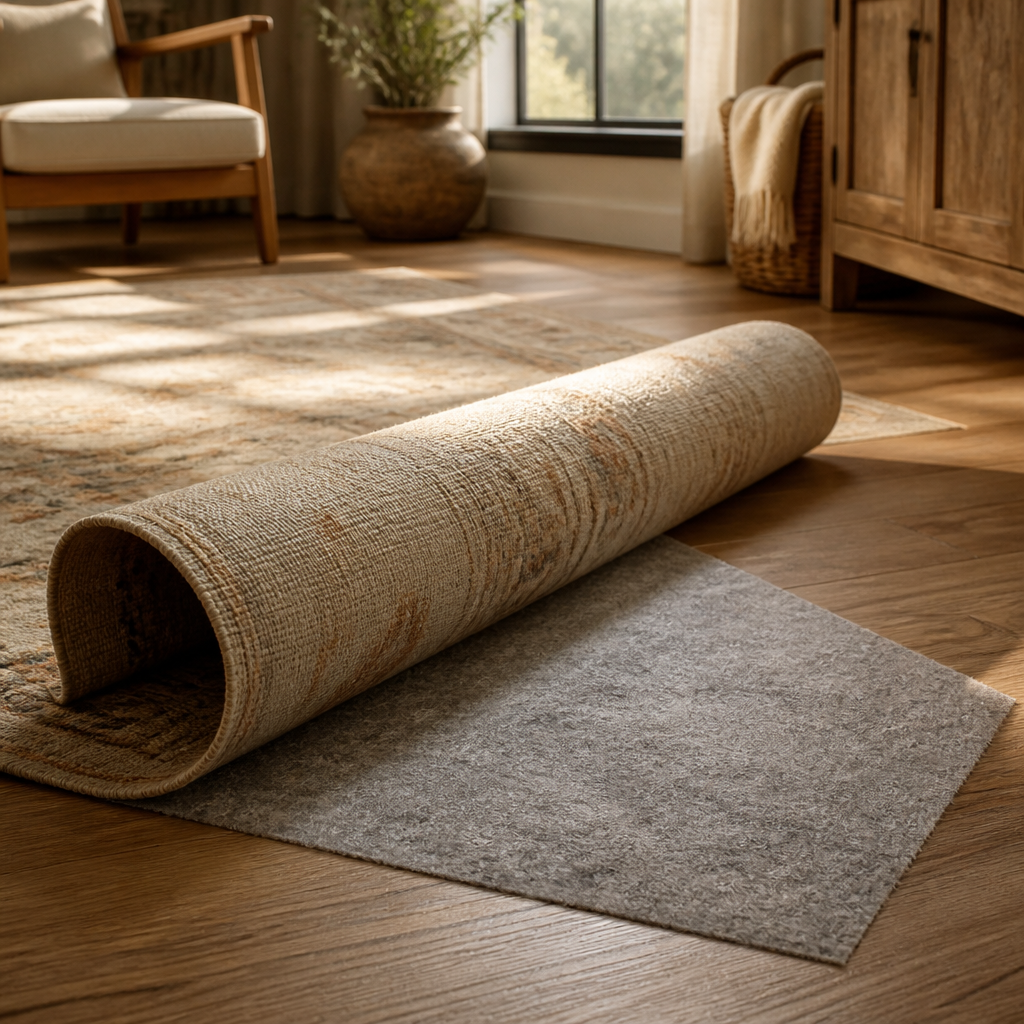
Material matters as much as size because it determines how the rug ages underfoot. Wool wears beautifully, takes dye well, and cleans reasonably with professional care, but it costs more. Jute and sisal bring texture and neutrality but are rougher and harder to clean when wet. Synthetic blends and machine-washable constructions are the practical choice for families, pets, and high-spill areas. A good pad underneath extends the rug's life, prevents slipping, and makes a thinner rug feel substantially more comfortable. In rooms with underfloor heating, check that both rug and pad are rated for the system.
The rules that matter
Rug sizing is where most room designs fail, and the failure is invisible to the untrained eye. A rug that is too small creates a visual island that makes the room feel disconnected. The correct size for a living room seating area allows all furniture front legs to rest on the rug, typically 8 by 10 feet for standard arrangements. In dining rooms, the rug should extend 24 inches beyond the table on all sides so pulled-back chairs remain on the rug rather than catching their rear legs on the edge. These are not stylistic preferences; they are proportional rules that determine whether a room feels grounded or fragmented.
Room type determines rug logic. Entry rugs and small accents may work at 3 by 5 feet. Bedrooms and smaller seating groups often call for 5 by 7 or 6 by 9 feet. Large living rooms and open-plan spaces commonly need 8 by 10 or 9 by 12 feet to avoid the floating-island effect. Runners in the 2 by 6 or 2 by 8 range generally work best where they respect door swings and preserve safe walking width. Construction and fiber should follow use: wool performs well under heavy residential wear and softens acoustics; jute and sisal add texture but can be less forgiving with spills; cotton works well in smaller washable formats; hand-knotted rugs generally outlast hand-tufted pieces; low piles work better under dining chairs and doors than deeper textures.
How to work through the decision
Size the rug to the furniture zone, not the room perimeter
In living spaces, the rug should usually catch all front legs of the major seating at minimum, which often means 8x10 or larger rather than the common undersized 5x8 mistake. In dining rooms, extend at least about 24 inches past the table edge so chairs stay on the rug when pulled back instead of snagging at the border.
Choose fiber by traffic, maintenance, and texture goal
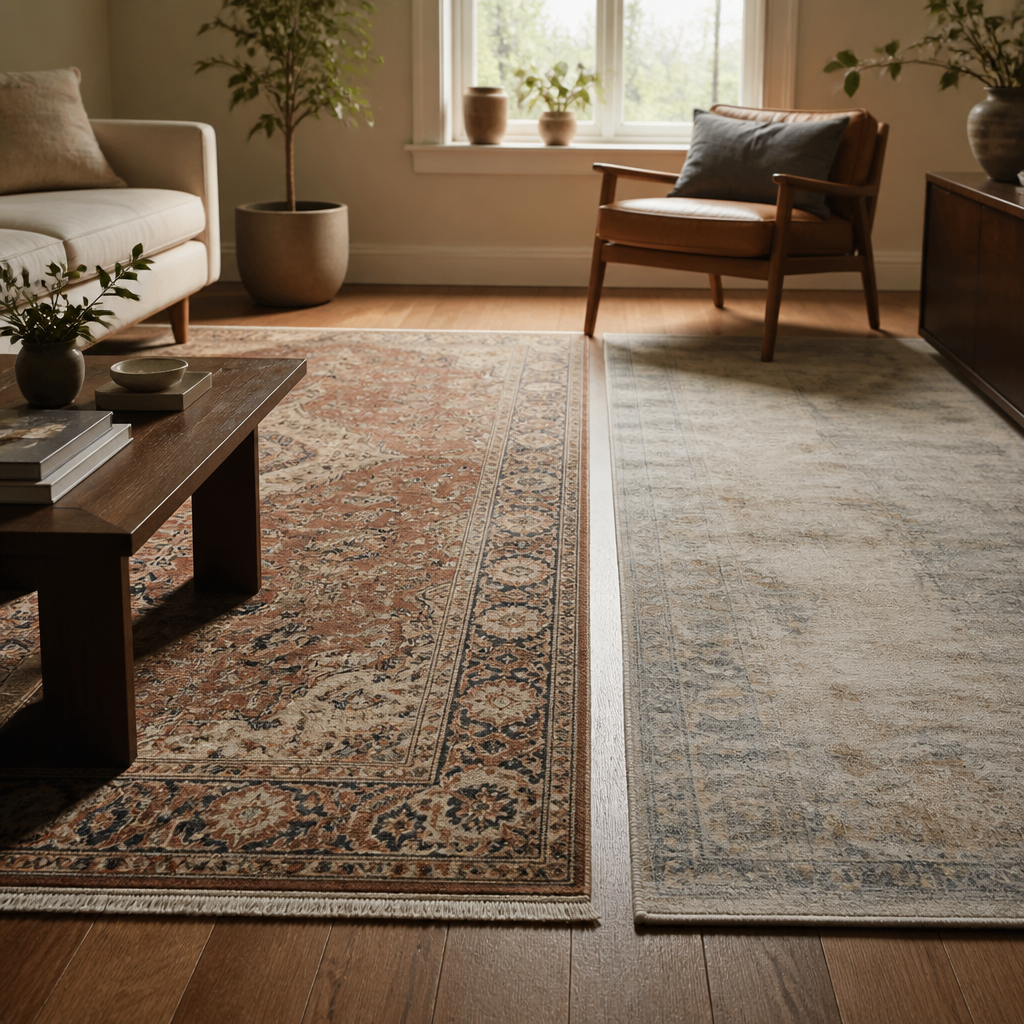
Wool remains a strong all-purpose choice for main living areas because it wears well and softens acoustics. Low-pile synthetics or washable constructions make more sense where spills are frequent. Jute and sisal add texture but are less forgiving under moisture and chair movement. The right rug material is the one you can maintain without resentment.
Match pattern scale to the room's viewing distance
Large rooms can take larger motifs because the eye has room to read them. Small rooms usually need either smaller pattern or quieter texture so the floor does not become visual noise. If the rug's medallion or repeat pattern overwhelms the furniture from the doorway, the pattern scale is doing too much work for the room size.
Treat the rug as a major budget line, not an afterthought
A rug often deserves roughly 10 to 15 percent of the room budget because it anchors the layout physically and visually. Underfunding it tends to create the exact disconnect people later try to repair with more pillows, more art, or another side table. The rug is a structural visual decision, not a decorative patch.
Place and test the rug before finalizing the grouping
Lay out the rug footprint first, then confirm sofa, chair, and table spacing on top of it. The common failure is centering a too-small rug under a coffee table and calling the grouping finished. A proper rug should define the whole conversation zone and support how people actually move through it.
Mock up the footprint before spending heavily
Use painter's tape or kraft paper to mark the proposed size on the floor, then walk the room, pull chairs back, and check door swings and pathways. If the taped outline already feels undersized, the actual rug will feel smaller once furniture arrives. Five minutes of testing prevents months of pretending the proportions are acceptable.
Where people usually get it wrong
Construction quality and material specifications determine longevity and maintenance. Hand-knotted rugs are measured by knot density in knots per square inch; pieces exceeding 400 KPSI allow for intricate detail and can last 50 to 100 years with proper care, while hand-tufted rugs use a tufting gun and latex backing that typically degrades after 10 to 15 years. Pile height affects both appearance and function: low pile at one-quarter inch withstands heavy traffic and cleans easily, medium pile at one-half inch balances comfort and practicality, and high pile at three-quarters inch or more creates softness but traps allergens and shows footprints. Proper installation with rug pads and rotation every 6 to 12 months distributes wear patterns evenly, particularly in sunlit rooms where ultraviolet exposure fades dyes asymmetrically.