A TV-focused living room needs to balance viewing comfort with all the other things a living room should do: support conversation, allow movement, and still feel like a good room when the television is off. The first decision is whether the TV is the primary focal point or one of several. If the room also has a fireplace, a strong window, or built-in shelving, decide the hierarchy first so the furniture is not trying to serve two masters at once.
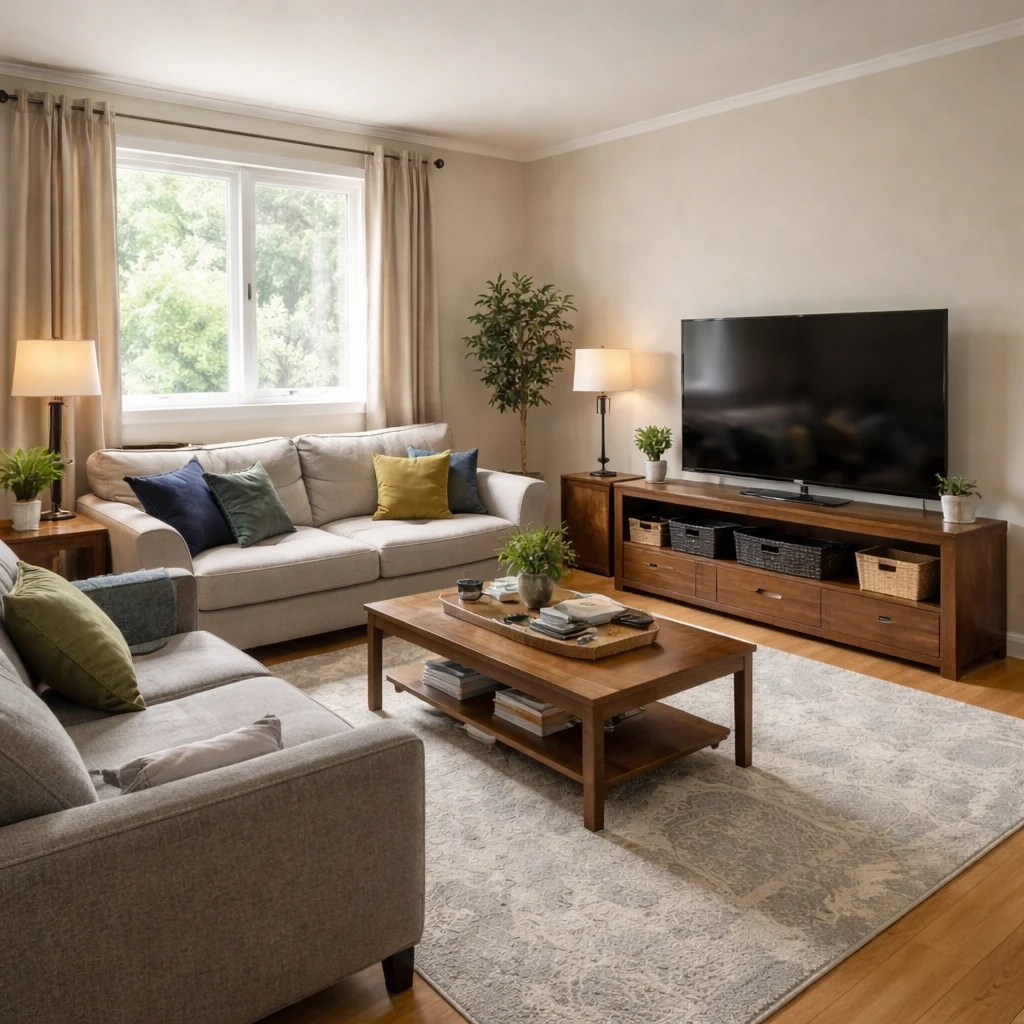
Viewing distance and glare control shape the layout more than people expect. A general rule for most modern displays is placing the seating at roughly 1.2 to 1.5 times the screen diagonal. For a 65-inch TV, that means about 6.5 to 8 feet. Mount the screen so its center sits roughly at eye level when seated. Avoid placing seating directly across from windows that will wash the screen with afternoon glare, or behind positions that create neck strain. The room should let people watch comfortably without forcing every chair to face the screen like a theater seat.
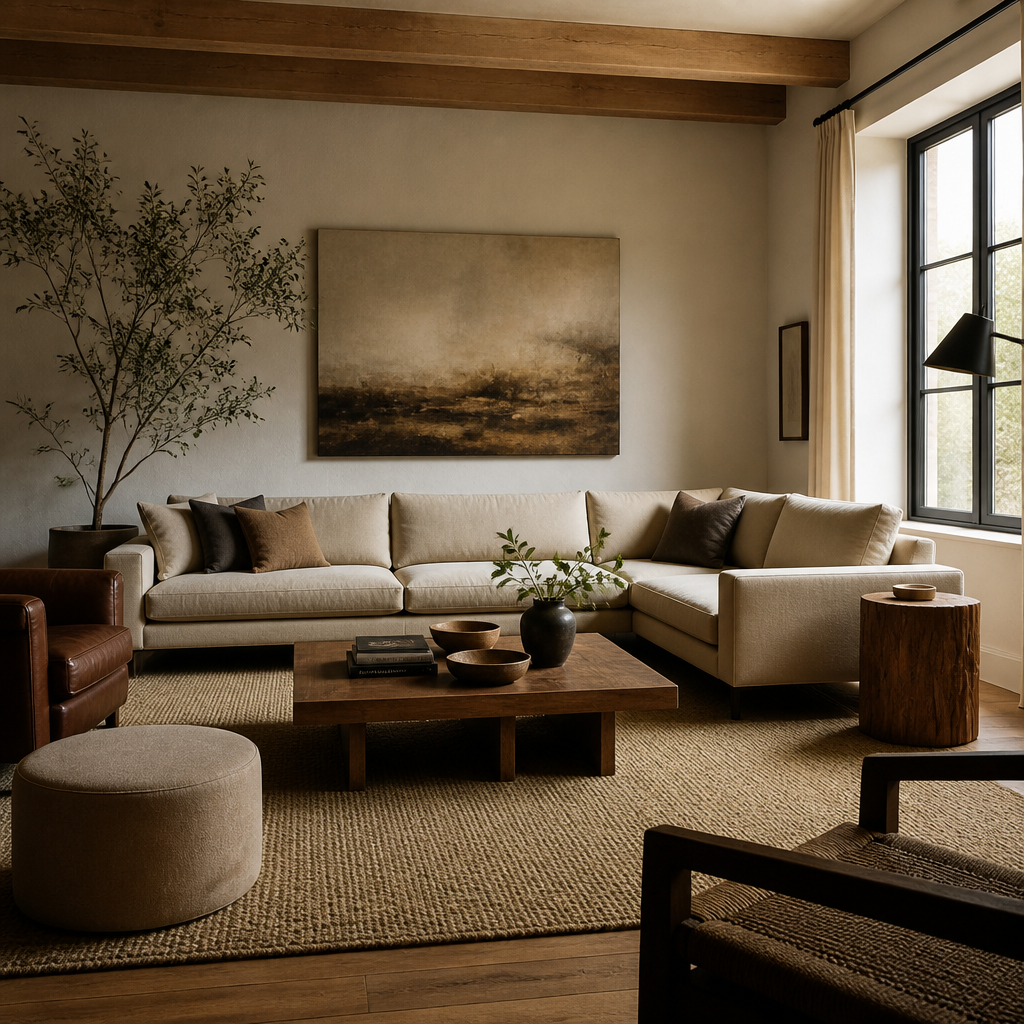
Seating should support both TV viewing and conversation. L-shaped sectionals and swivel chairs are useful here because they let the room serve two purposes without rearranging furniture. Consider where side tables and lamps land in this layout, because many TV rooms end up with seats that have no surface for a drink or remote simply because the side tables were an afterthought. Cable management also deserves discipline: visible cords ruin the look immediately. In-wall kits or routed channels keep the media wall clean.
Walk the room with the television off. If the layout still feels balanced, easy to move through, and capable of hosting conversation without the screen as a crutch, the room is probably working. The best TV rooms are still good rooms first. The screen should complement the space, not define it entirely.
The rules that matter
TV-focused living rooms succeed when the television is planned as one important use, not the room's only identity. The layout needs to support comfortable viewing without sacrificing conversation, side-table logic, or movement through the space.
This guide keeps the focus on screen wall hierarchy, seating angles, glare control, and the tradeoffs between media comfort and general living-room comfort. Those tradeoffs are what usually determine whether the room feels balanced or overcommitted to the screen.
Media walls also need visual restraint. Storage, speakers, and devices matter, but they should support the room instead of adding enough bulk that the whole space starts reading as equipment first and living room second.
How to work through the decision
Choose whether the TV is the main focal point
If the room also has a fireplace, strong window, or built-ins, decide the hierarchy first so the furniture does not split its loyalty awkwardly.
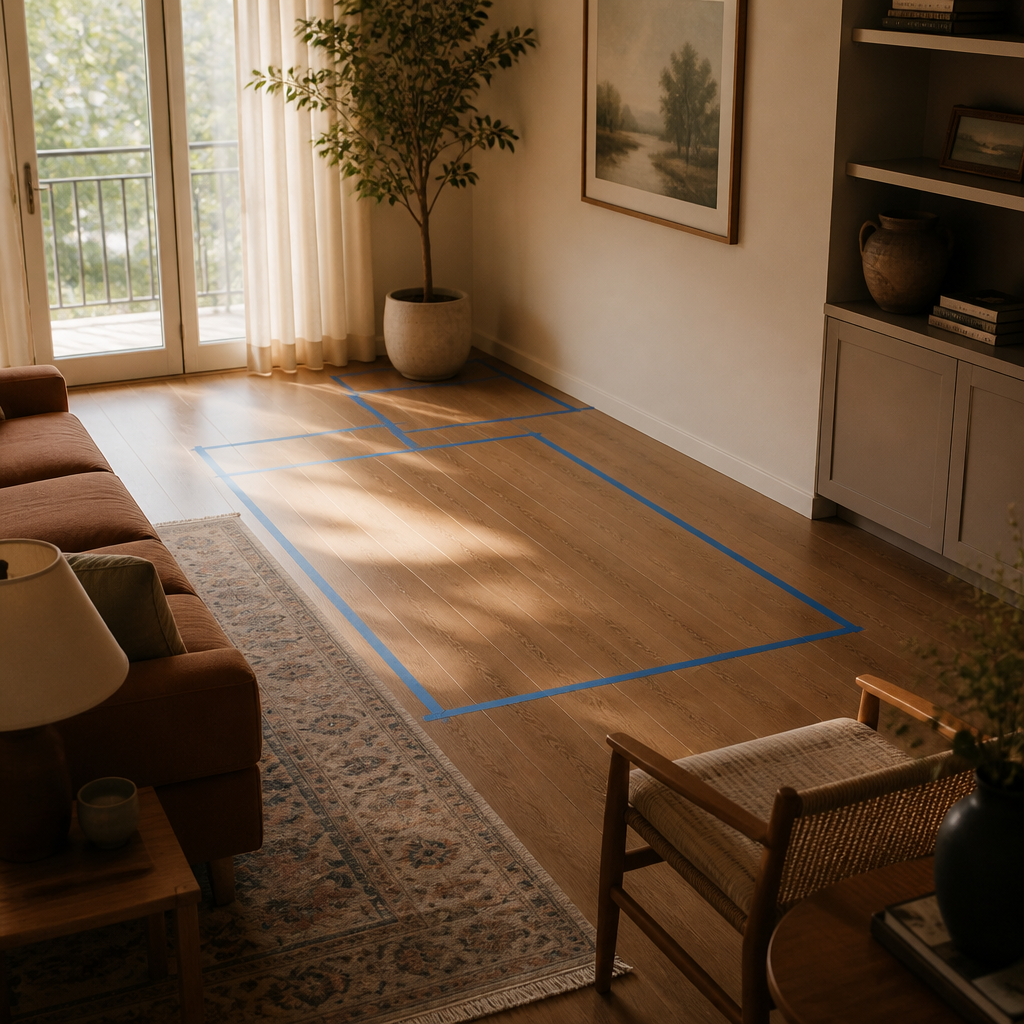
Set the screen wall and viewing distance
Place the television where seating can face it comfortably without killing the room's circulation or making every chair point like a theater seat.
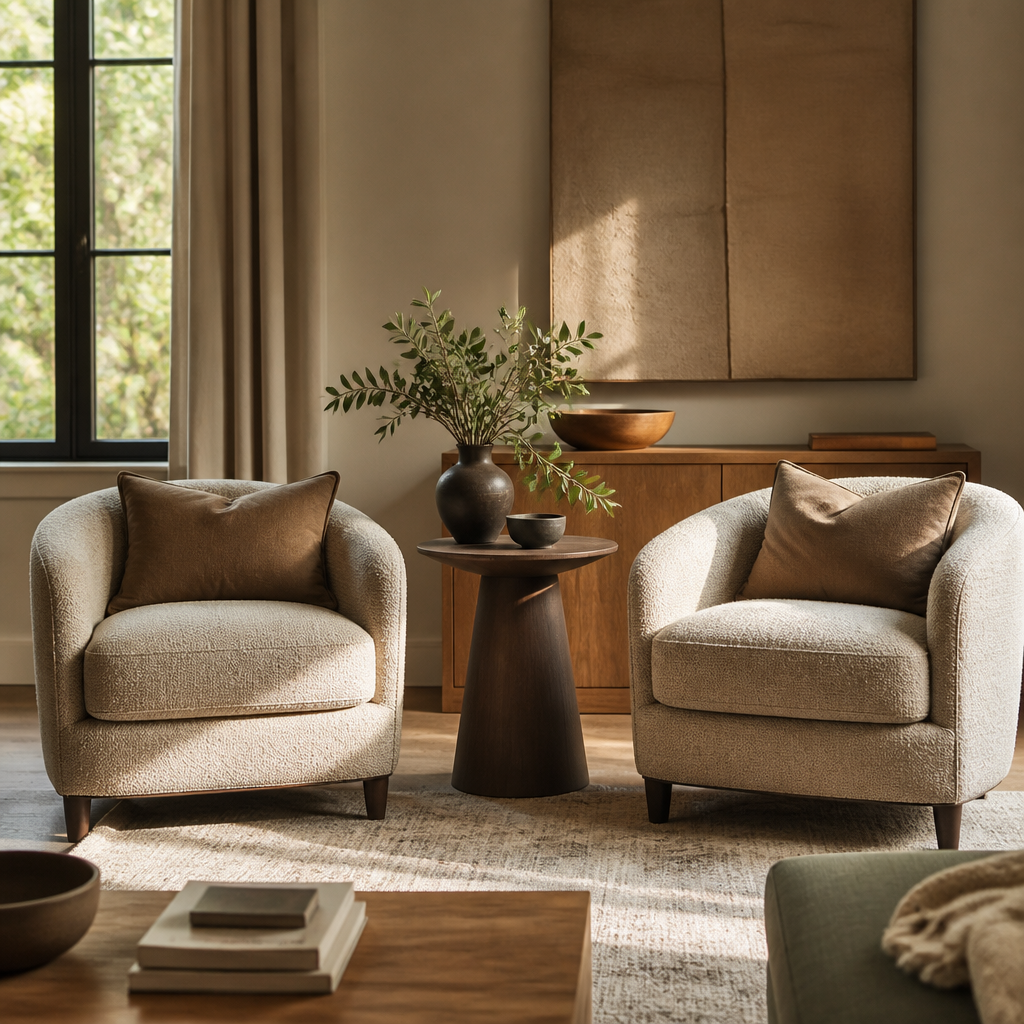
Arrange seating for TV and conversation together
The best TV rooms still let people talk. Favor a layout that supports both direct viewing and natural face-to-face interaction.
Control glare with window and lamp placement
Check daytime reflections and nighttime brightness so the screen does not become annoying at the exact hours the room is used most.
Keep the media wall visually disciplined
Cables, devices, speakers, and storage should support the screen without making the whole wall feel heavier than the rest of the room.
Walk the room with the television off
If the layout still feels balanced and easy to move through when the screen is not active, the room is doing its job well.
Where people usually get it wrong
A strong TV layout is one that still feels like a good room when the television is off. That standard keeps the design from becoming too narrow and the space from becoming too single-purpose.