An Airbnb living room has to do two jobs at once: it has to feel inviting in listing photos and intuitive in use once guests arrive. The room should explain itself quickly. Guests need to know where to sit, where to set a drink, where to charge devices, and how to move through the room without asking questions or shifting furniture around. A room that makes those answers obvious feels generous. One that makes guests hunt for them feels underdesigned no matter how photogenic it is.
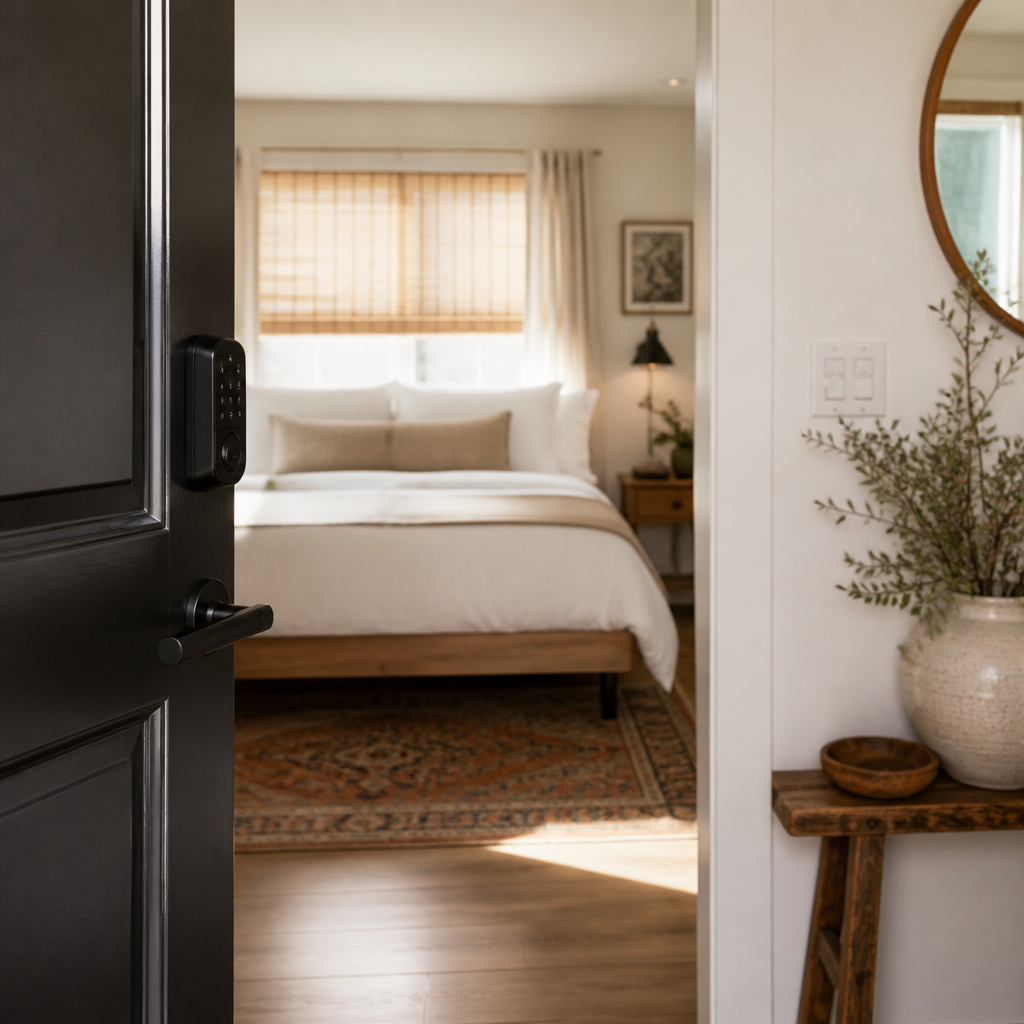
Durability under repeated turnover is the biggest difference between a normal living room and a short-term rental one. Fabrics need to tolerate spills. Rugs need to handle luggage wheels and frequent vacuuming. Tables need to survive drink rings, bags, and cleaning products without looking tired after one busy month. White bedding may seem risky, but it supports bleaching and visible stain control in a way patterned textiles often do not. Rugs and upholstery should be selected for materials that clean quickly and survive harsh cleaning products.
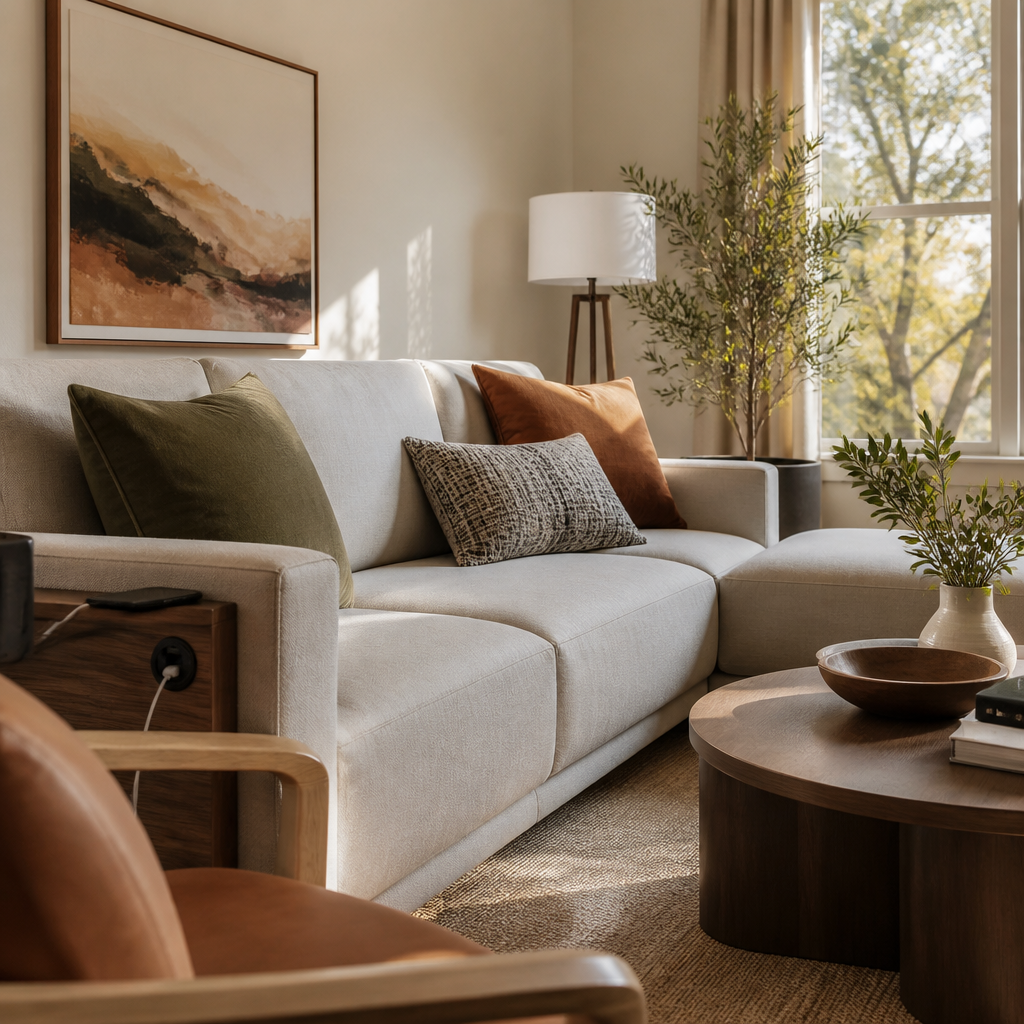
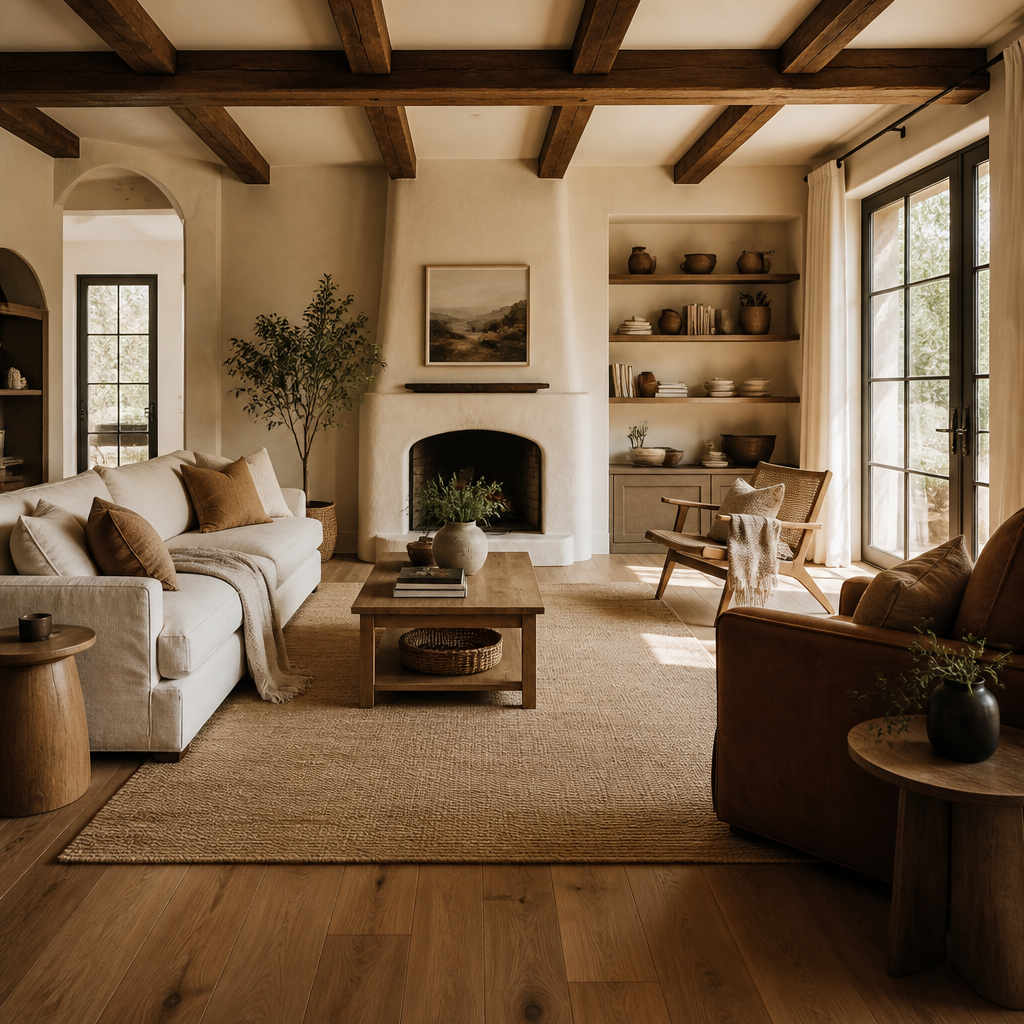
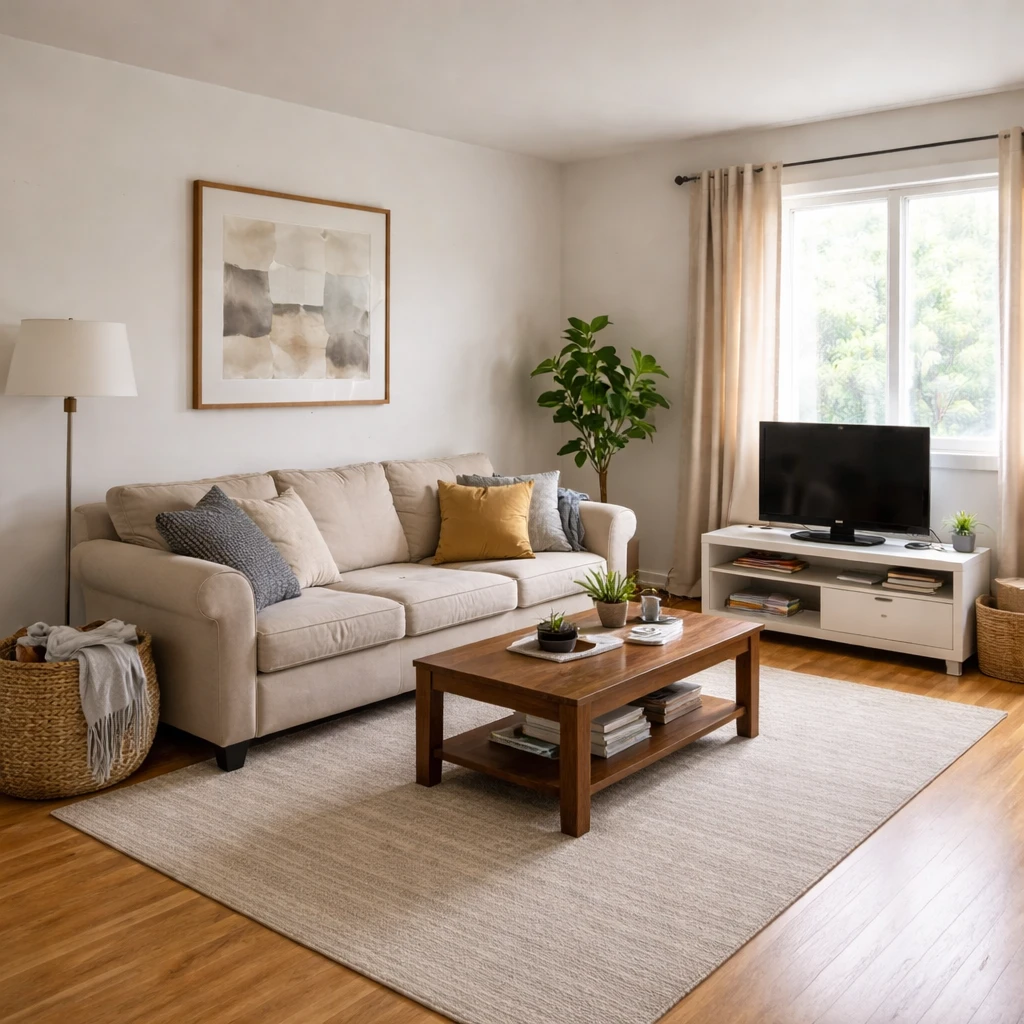
Layout matters more than hosts often realize. One clear seating zone with a sofa and one or two companion seats is almost always stronger than too much scattered seating around the perimeter. Guests read living rooms fastest when there is one obvious conversation zone, one clear focal point, and enough side-table surface that no one has to balance a coffee on the arm of the sofa. The room should support the maximum guest count the listing advertises without feeling cramped.
Lighting, charging access, and listing accuracy are what separate strong reviews from weak ones. Layered lamps, easily accessible outlets, and visible controls for temperature, TV, and Wi-Fi should be intuitive. Guests should not need to ask how to work anything. The photos should match the in-person experience accurately. A beautiful image that oversells size or hides an awkward layout may increase clicks, but it also increases the likelihood of disappointment once the door opens.
What buyers or guests notice first
An Airbnb living room should be judged by guest comprehension and turnover durability as much as by aesthetics. The room needs to read quickly in photos and feel intuitive during the stay itself.
That means the guide stays focused on seating logic, side-table utility, charging access, lighting, and materials that can survive repeated use. In short-term rentals, small practical misses become review issues much faster than in a personal home.
This room also carries a disproportionate burden in listing perception. Guests often decide whether the property feels relaxing, stylish, or neglected from the living room alone, so broad-appeal layout and believable comfort matter more than expressive decorating flourishes.
How to prepare the room
Define the guest use case first
Decide whether the living room mainly supports relaxing after check-in, group seating, family TV time, or flexible work and conversation.
Build one clear seating zone
Use a sofa with one or two useful companion seats and enough side-table surface that guests do not have to improvise where drinks, bags, or devices go.
Choose durable surfaces and forgiving textiles
Performance upholstery, easy-clean rugs, and tables that tolerate repeated use matter more than delicate styling flourishes in a short-term rental.
Add charging and lighting where guests actually sit
Place lamps, outlets, or charging access close to the seating so the room feels intuitive in the evening without extra explanation.
Photograph the room for instant legibility
The main listing angle should explain the seating, focal point, and open floor clearly. Guests should understand the room before they arrive.
Test the room like a guest would
Sit down, place a bag, charge a phone, and move through the room. If those basic actions feel awkward, the layout still needs refinement.
What weakens trust or clarity
The strongest setup is the one that looks good online, wears well in turnover, and still feels obvious and easy once guests actually walk through the door.