
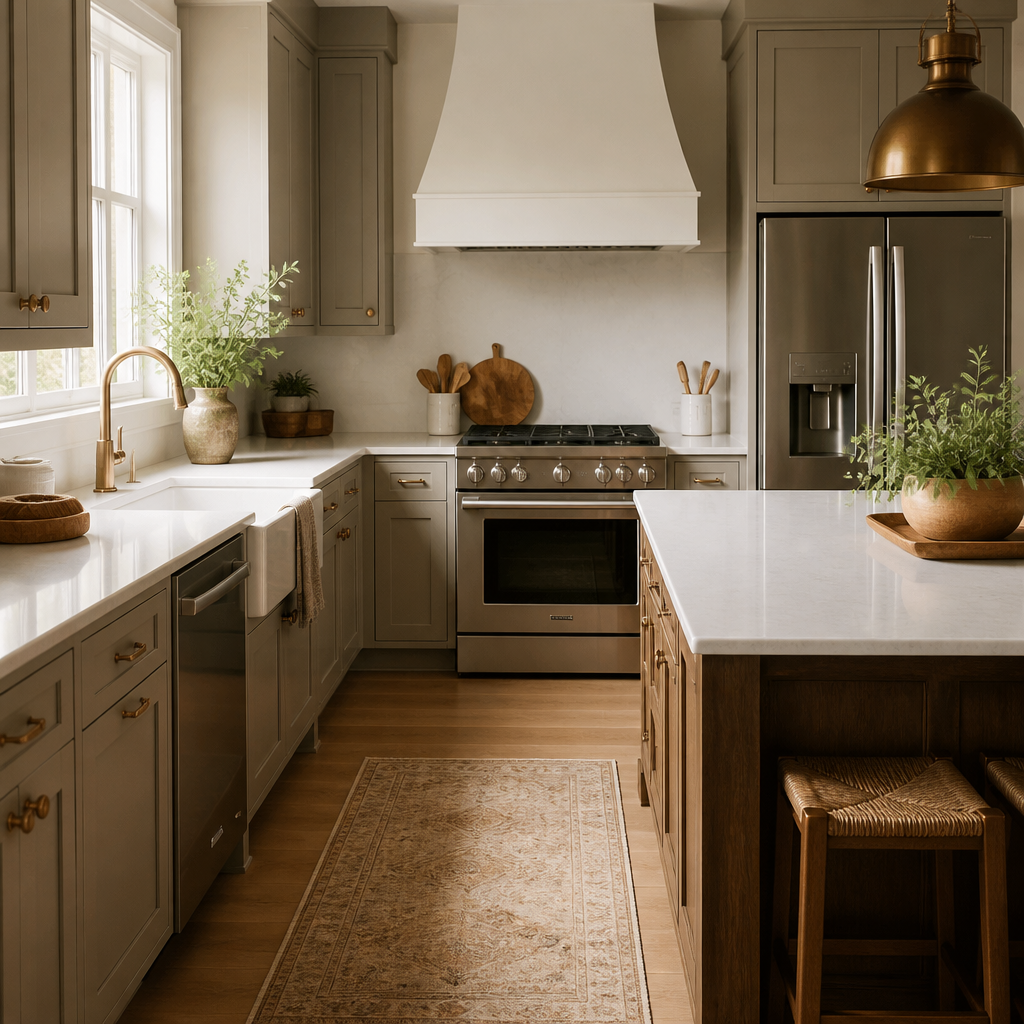
Kitchen design revolves around workflow before it revolves around style. The relationship between the sink, refrigerator, cooktop, prep area, and circulation determines whether the room feels efficient or exhausting. Even beautiful kitchens become frustrating when they create extra steps or choke the working aisles. That is why fixed conditions matter so much here: plumbing locations, appliance clearances, ventilation paths, and counter landing zones all shape what is realistic. Many expensive kitchen mistakes happen when a design concept ignores the logic of the existing footprint.
Counter space is the most valuable surface in a kitchen. Place landing zones near the refrigerator for unloading groceries, beside the cooktop for plating, and near the sink for prep work. Drawers outperform cabinets for daily use because you can see the contents without crouching. Deep corner cabinets often become dead storage, so consider pull-out organizers or lazy Susans. A well-organized kitchen makes cooking feel natural rather than like a scavenger hunt.
Budget should separate cosmetic updates from structural ones. Hardware, paint, lighting, and backsplash changes behave very differently from layout changes that move gas, water, or electrical lines. Once the layout, appliances, utilities, and cabinet dimensions are settled, the finish categories become much easier to handle. Kitchens go wrong when the visual decisions get made before the working decisions are fully resolved.
Start with the room itself
Kitchen planning is governed by workflow long before it is governed by style. The relationship between sink, refrigerator, cooktop, prep area, and circulation determines whether the room feels efficient or exhausting. Even beautiful kitchens become frustrating when they create extra steps or choke the working aisles.
That is why fixed conditions matter so much here. Plumbing locations, appliance clearances, ventilation paths, and counter landing zones all shape what is realistic. Many expensive kitchen mistakes happen when a design concept ignores the logic of the existing footprint.
The practical details are measurable: counter height, bar stool height, pendant drop, appliance door swing, and the amount of uninterrupted prep space beside major fixtures. These are not minor technicalities. They are the difference between a kitchen that photographs well and one that cooks well.
How to plan it cleanly
Measure the existing footprint
Document cabinet runs, appliance widths, aisle clearances, window heights, and plumbing locations. Kitchens become expensive when planning ignores what is already fixed in the room.
Check the work triangle and landing zones
Review the relationship between sink, refrigerator, and cooktop, along with the counter space beside each. Good kitchens reduce unnecessary steps and provide safe places to set things down.
Protect clearances before aesthetics
Keep working aisles usable and make sure doors, drawers, and appliances can open without conflict. Function should govern the plan before finish choices begin.
Match fixture heights to use
Pendants should typically hang about 30 to 36 inches above an island or counter, and bar stool height should match the surface: around 24 inches for 36-inch counters and 26 inches for 42-inch counters.
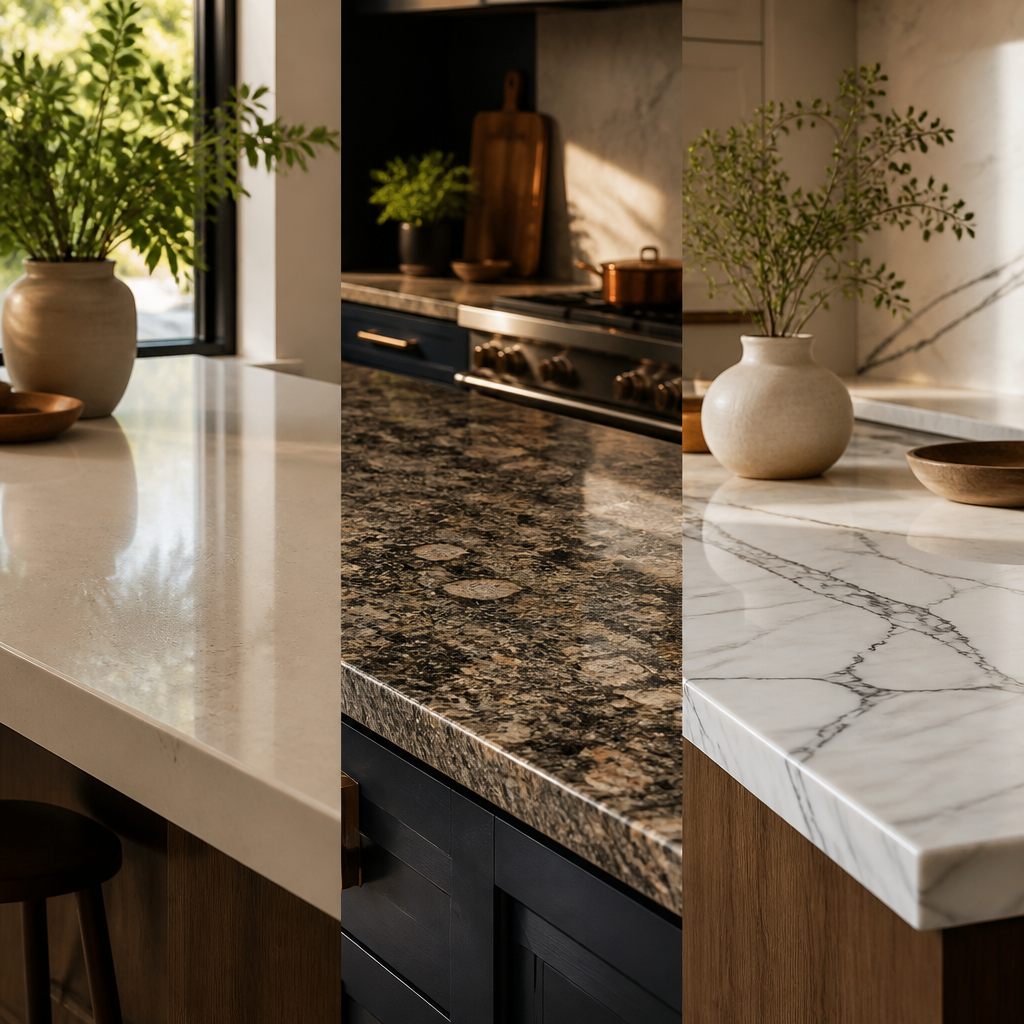
Separate cosmetic updates from structural ones
Hardware, lighting, paint, and backsplash changes behave very differently from layout changes that move gas, water, or electrical lines. Clarifying scope early keeps budgets realistic.
Sequence decisions from expensive to inexpensive
Confirm layout and major fixtures first, then finishes, then accessories. Reversing that order usually produces avoidable waste and mismatched decisions.
What makes the room fail in practice
This guide is built to help readers separate cosmetic updates from structural ones, understand the cost implications of each, and plan the room in the right sequence. A strong kitchen does not simply look organized. It reduces friction every day.
The kitchen's transformation from utilitarian workspace to social hub accelerated in the late twentieth century. Historically, kitchens were separated from living areas to contain heat, smoke, and servant activity. The 1920s Frankfurt Kitchen, designed by Margarete Schütte-Lihotzky, introduced the first efficiency-optimized layout with built-in storage and compact workstations, predating the modern kitchen triangle by decades. By the 1990s, the kitchen island had become the dominant social anchor, functioning as a cooking station, homework surface, and casual dining table simultaneously. This evolution demands what designers call "universal design" principles: counters at varying heights to accommodate seated users and children, lever-style handles that do not require grip strength, and clear floor space of at least 30 by 48 inches in front of sinks and appliances to accommodate wheelchairs.
Sustainable kitchen materials have matured significantly. FSC-certified hardwoods ensure responsible forestry practices, while reclaimed wood and recycled glass countertops divert waste from landfills. Bamboo, technically a grass rather than a wood, reaches harvest maturity in three to five years versus decades for traditional hardwoods, making it a rapidly renewable resource. Food preparation ergonomics are codified in standards: countertop height of 36 inches suits the standing elbow height of the average adult, minimizing shoulder strain. For aging-in-place modifications, installing pull-out shelves, touch-latch cabinetry, and induction cooktops reduces physical strain and burn risk. Induction cooking, which heats cookware via magnetic fields rather than radiant flame, keeps surface temperatures significantly lower than gas or traditional electric coils, improving safety for users with reduced mobility or reaction time.