Rental apartment decorating balances personal expression with lease constraints. You want your space to feel like home while maintaining the ability to take everything with you and returning the unit in acceptable condition. This requires thoughtful planning and reversible solutions.
Focus on reversible improvements: lighting upgrades (swap bulbs and shades, not fixtures), window treatments (tension rods, adhesive options), organization systems (closet systems that don't attach to walls), and furniture arrangement changes. These transform your space without permanent alterations.
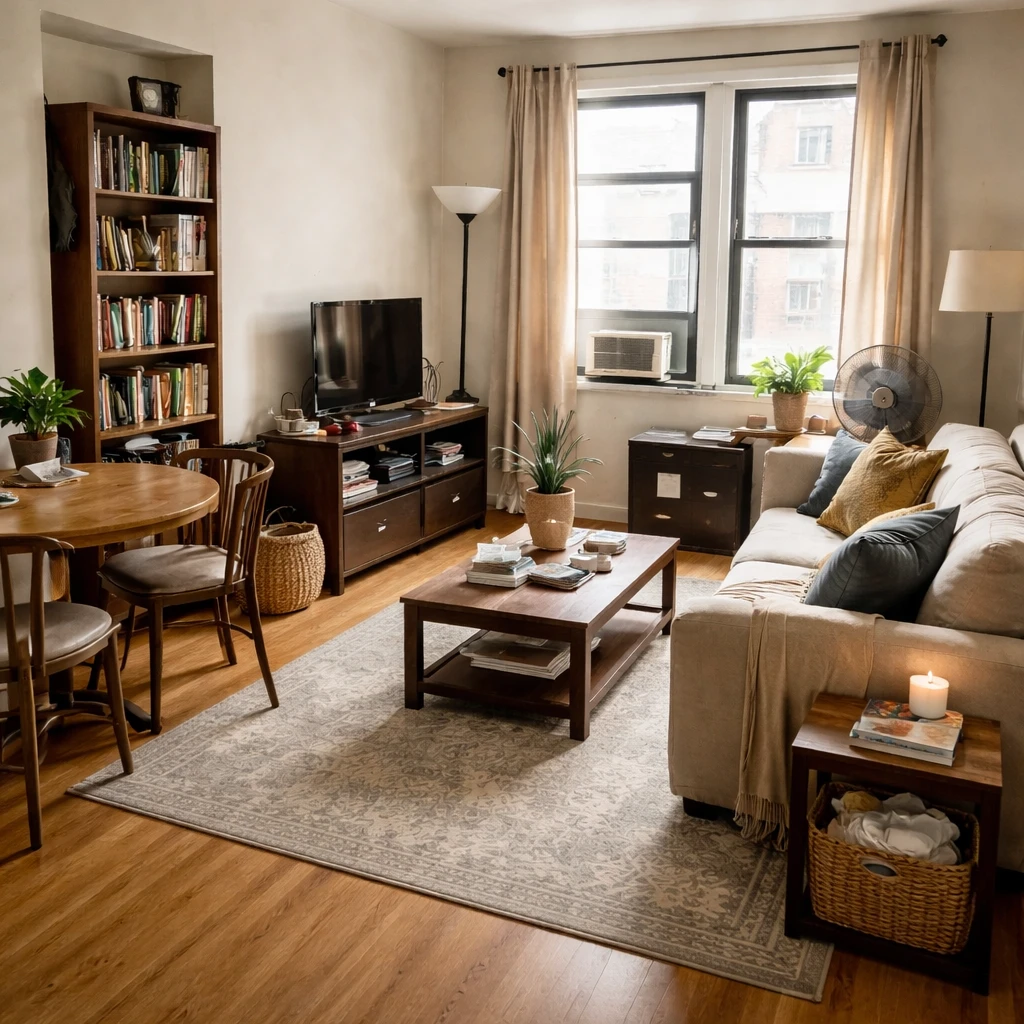
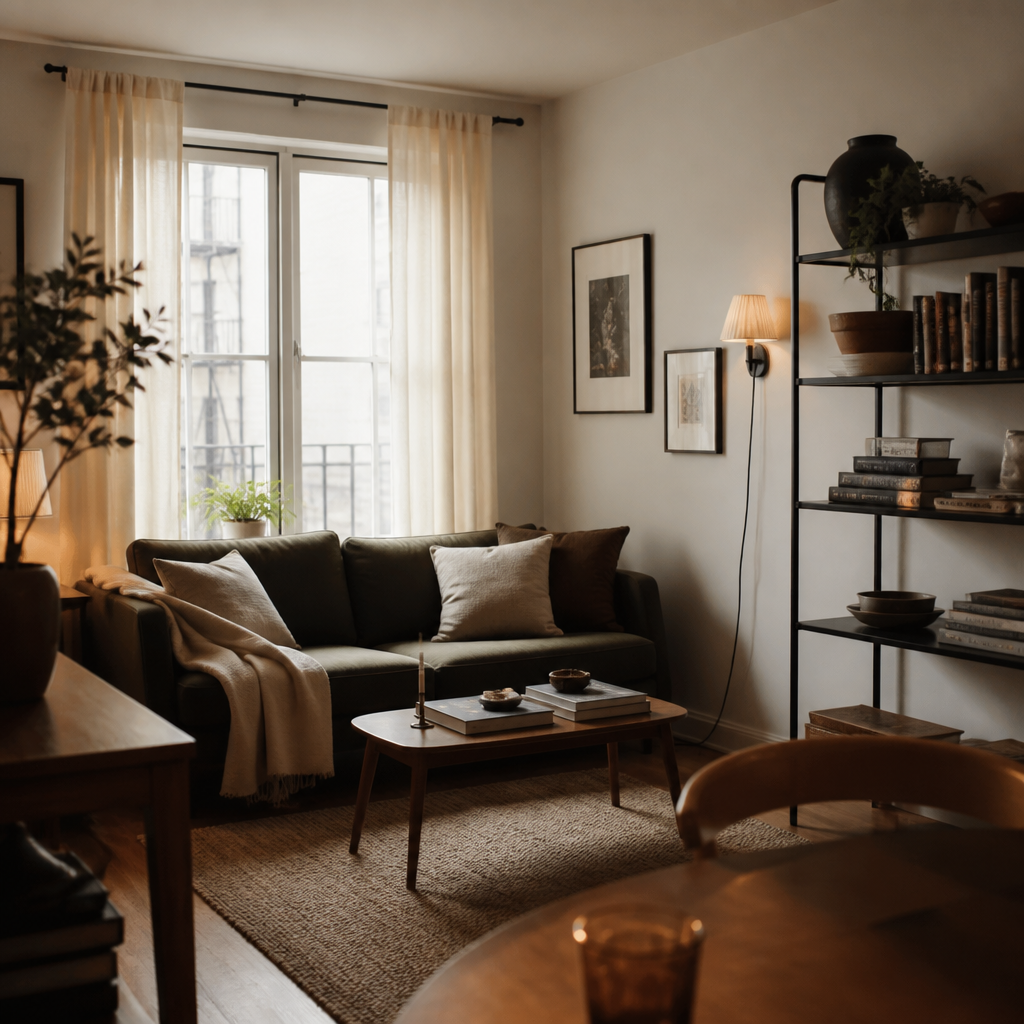
Build a foundation of quality portable pieces: a great sofa, good lighting, and effective storage solve most apartment challenges. Add personality through textiles, art, and accessories that travel easily. The goal is a space that serves your life while respecting lease boundaries.
What smaller rooms need most
Rental design is best understood as a constraint discipline with a long memory. Lease language, security deposit risk, move-out obligations, and the real possibility of relocating again in twelve months all shape what makes sense to buy. That does not make rentals less worthy of design. It simply changes the value equation. The best rental rooms are built from moves that are reversible, portable, and disproportionately effective: lighting that softens landlord-grade fixtures, rugs that quiet ugly floors, furniture that can survive another stairwell, and storage that works in more than one future layout.
What renters should usually buy first is not decoration but infrastructure that belongs to them rather than to the unit. Lamps, curtains, quality rugs, adaptable shelving, and seating that can reconfigure in a new room are often wiser investments than unit-specific hacks. A good rental should feel intentional without pretending to be permanent. In practice that means solving layout and light before trying to add personality. Many rentals feel unfinished not because they lack styling, but because they still rely on one overhead bulb and a furniture plan inherited from whatever fit through the door on move-in day.
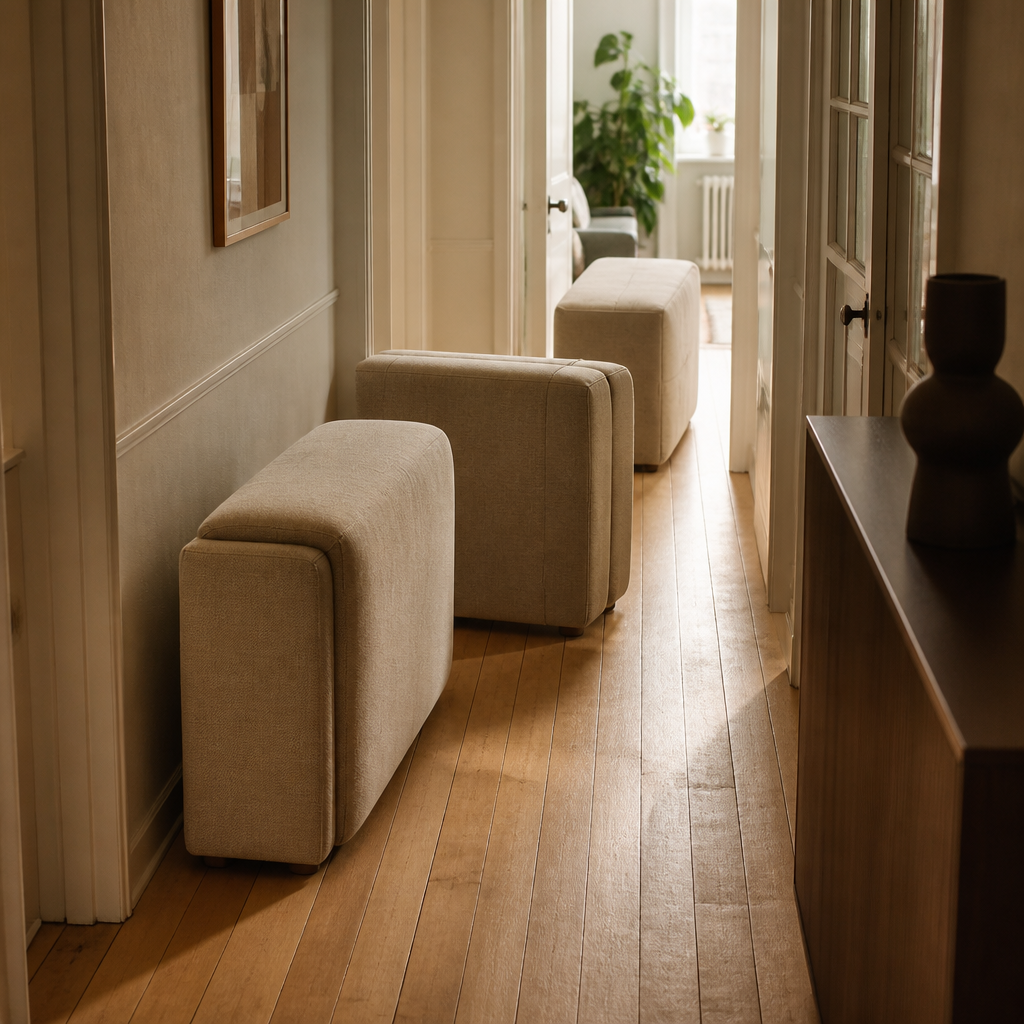
Portability is not a secondary concern here; it is part of design quality. Before buying anything large, measure door widths, stair turns, elevator interiors, and whatever route the piece must travel both now and later. A cheap sofa that cannot make the next move is not actually cheap. Modular seating, tables with removable legs, disassemblable shelving, and storage that can shift from bedroom to living room to office over time often deliver far better value than pieces chosen only for this exact address. The room may be temporary, but the money does not have to be wasted with it.
How to make the space work better
Start with the lease
Clarify what is reversible, what needs permission, and what risks your deposit. Rental design succeeds when constraints are understood before any money is spent.
Measure the room and access points
Door widths, stairwells, elevator dimensions, and awkward corners matter as much as the room itself. Portable furniture still has to get in and out.
Use layout and lighting for the biggest gains
Rentals often improve most through better furniture arrangement, layered lighting, and floor coverings that reduce visual noise from dated finishes.
Choose pieces that survive a move
Favor furniture that disassembles cleanly, fits multiple room sizes, and can adapt to a future layout. Portability is part of the value calculation.
Avoid over-customizing fixed conditions
Temporary improvements should make the space feel more settled without depending on permanent wall, cabinet, or fixture changes to work.
Phase spending by longevity
Put money into durable pieces you would keep after the next move, and spend less on stopgap items tied to the current unit alone.
What usually makes compact rooms feel worse
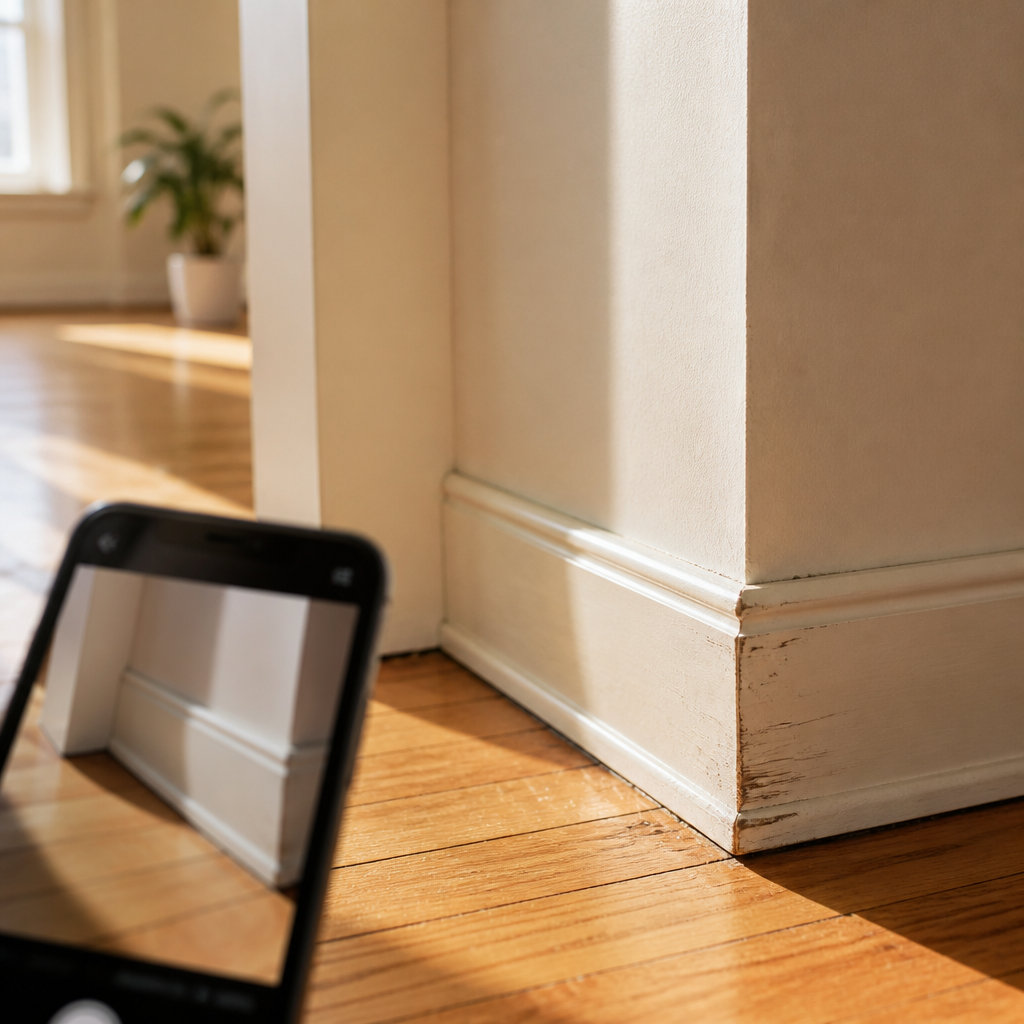
Reversible upgrades should be selected with the move-out day in mind. Adhesive products, peel-and-stick finishes, and tension systems can be excellent, but only if they suit the wall condition, heat exposure, and humidity level of the room. The guiding question is simple: can this be removed cleanly without turning the final week of the lease into a patch-and-pray exercise? That mindset naturally favors textiles, plug-in lighting, and freestanding storage over anything that depends on hardwiring, drilling, or heavy adhesive commitment. Rentals reward strategic restraint, not low-grade improvisation.
The strongest rental rooms feel settled because the renter has decided what is worth carrying forward. Good design in a leasehold space is not about mimicking ownership. It is about building a personal environment that performs now, protects the deposit, and leaves you with a better kit of furniture and lighting for the next home. When renters spend this way, the room becomes calmer, the move becomes easier, and the design improves from address to address instead of restarting every time.