Room makeovers range from quick refreshes to complete transformations. The scope depends on budget, time, and how dramatic you want the change. Even modest makeovers can significantly improve how a space feels and functions.
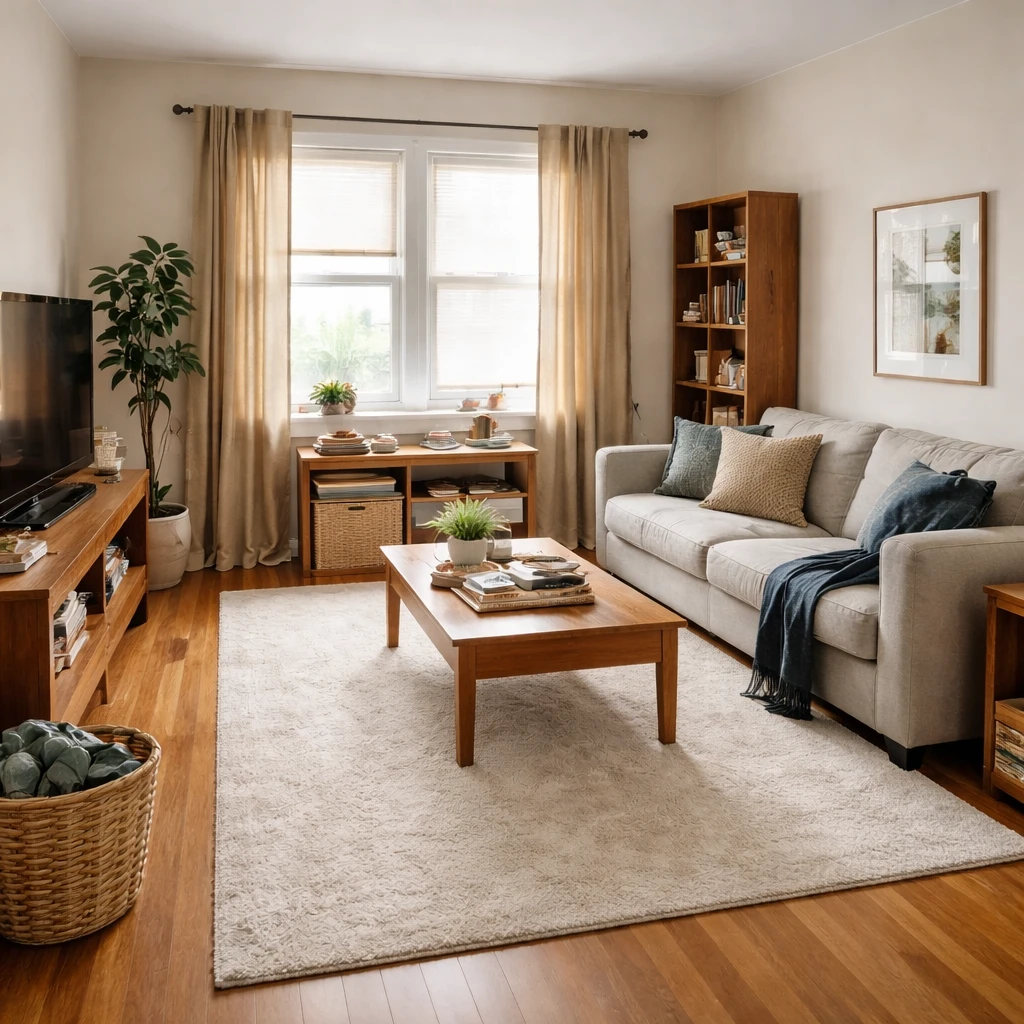
Quick refresh options include: rearranging existing furniture (often the highest-impact change), swapping textiles (curtains, pillows, throws, rugs), adding lighting layers, decluttering thoroughly, and wall updates (paint, wallpaper, or removable options). These changes are relatively inexpensive but can dramatically transform a room.
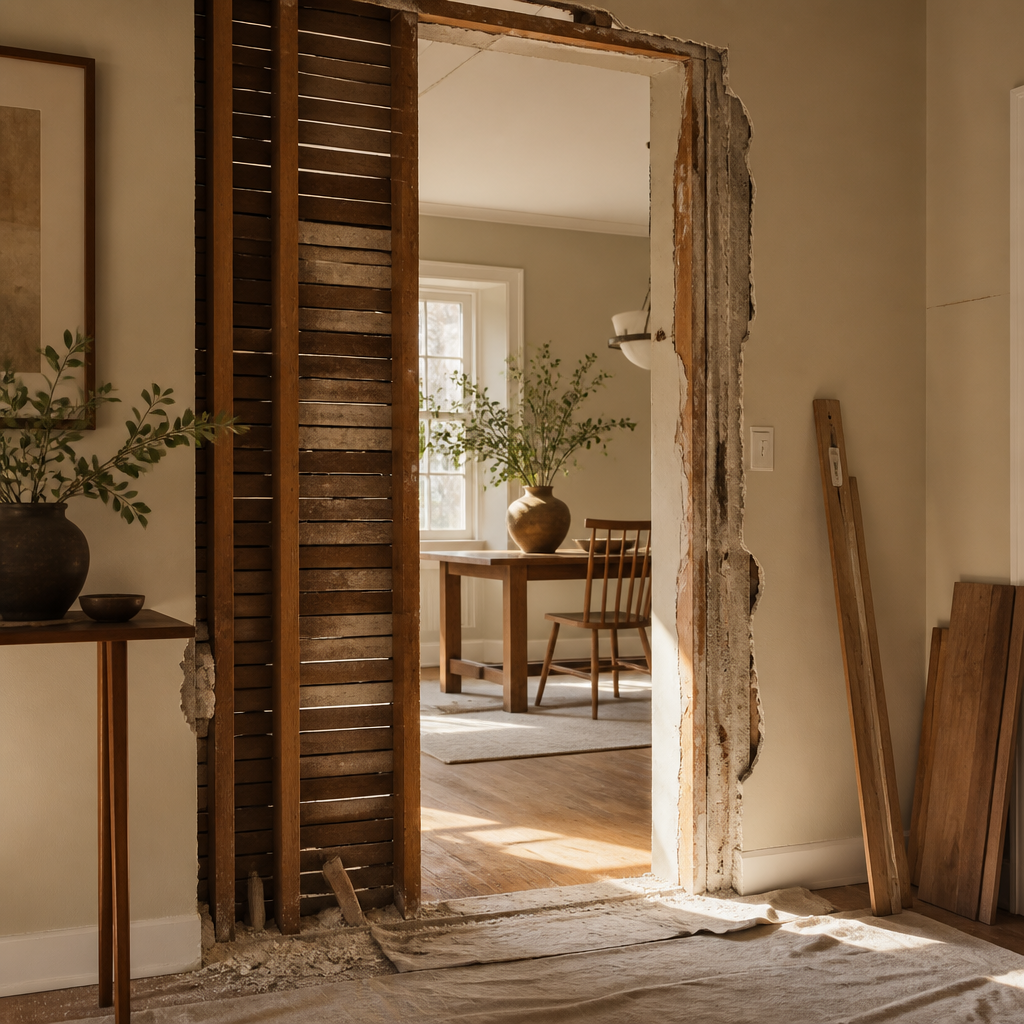
Bigger makeovers involve: furniture replacement, architectural changes (built-ins, removed walls), flooring updates, and major lighting overhauls. These require more investment but create lasting change. The key is planning thoroughly before starting—changing your mind mid-project is expensive.
What is worth borrowing
A room makeover succeeds when it is treated as a coordinated project rather than as a string of retail corrections. Incremental buying often traps people in a loop where each new purchase has to compensate for the previous compromise: a new sofa demands a new rug, the new rug exposes the bad curtains, the new curtains make the lighting feel wrong. The room never arrives because it was never planned as a whole. A proper makeover starts by documenting the room, measuring it, and identifying what actually needs to change, layout, storage, lighting, finishes, or all four, before any specific object is crowned as the solution.
Planning in layers prevents expensive drift. Layout and architecture come first, then lighting and storage, then textiles and accessories. If the room needs electrical work, shelving, paint, or a major furniture reorientation, those decisions should be resolved before the decorative categories become emotionally active. Budget allocation follows the same logic: anchor furniture and built work usually deserve the largest share, lighting and textiles next, and accessories last. The exact percentages vary by room, but the principle is steady. Spend first on what changes the room physically and functionally, not on what merely finishes the photograph.
Timelines also deserve realism. Even a moderate cosmetic makeover can take several weeks once sourcing, delivery, and installation are counted, and custom upholstery, drapery, or rugs can easily push that into the 8-to-16-week range or beyond. Lead times are not irritating side notes; they are part of the design problem. A room makeover should therefore be scheduled backward from the slowest critical item, not forward from optimism. Many rooms end up half-finished not because the concept was weak, but because the sequencing was naive.
How to turn ideas into a plan
Document the current room thoroughly
Photograph every wall, measure every dimension, and note what works and what does not. You need this baseline to evaluate progress and prevent backsliding. Without photos, you will forget where you started.
Set a categorized budget — 40/30/30
Allocate roughly 40% to anchor furniture, 30% to lighting and textiles, and 30% to accessories and art. A budget without categories leads to a room full of beautiful small objects with a terrible sofa. The big pieces should get the big dollars.
Choose a single direction and commit to it
Pick one style and stay consistent. A room that tries to be modern, bohemian, and traditional simultaneously feels confused, not curated. Coherence comes from consistency, not variety. Choose one path and walk it.
Replace anchor pieces first, then build around them
The sofa, the bed, or the dining table comes first. Everything else references these anchors. Do not buy accessories before anchor pieces are in place and confirmed. A beautiful throw pillow cannot save a terrible sofa.
Layer lighting and textiles after anchors are set
Add rugs, curtains, pillows, and lamps only after anchor furniture is placed. These layers create warmth and atmosphere, and they are the easiest elements to adjust later. A room with good furniture and bad lighting feels unfinished.
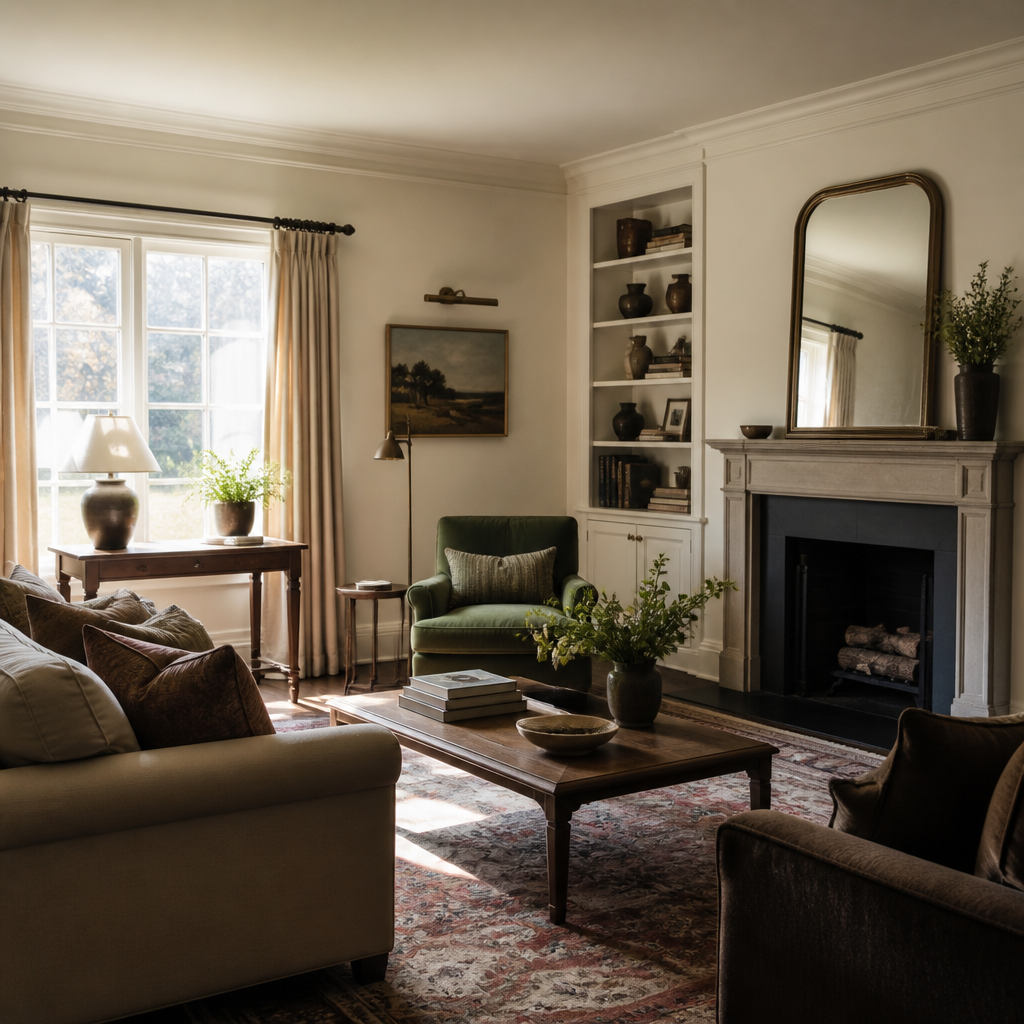
Finish with personal accessories, then stop
Art, plants, books, and objects come last. They personalize the room and complete the look. But only after the foundation is solid. And then stop — a room that is one object past finished looks worse than a room with one object too few.
What to filter out
Mock-ups and before documentation are what keep the project honest. Tape out rug sizes, sample paint on multiple walls, and use placeholders to test scale before committing. Before photos matter not for social media but because they reveal what the project is actually trying to solve. They also protect against one of the most common makeover temptations: backsliding into familiar but inferior arrangements because the new plan feels temporarily unfamiliar. A good makeover often feels a little strange before it feels right.

The payoff of doing all this planning is coherence. When a room makeover works, the pieces start speaking to each other naturally: the rug scale supports the seating, the lighting makes the textures legible, the wall color clarifies the mood, and the storage stops daily clutter from dissolving the design. The room feels easier not because it has more, but because the decisions were made in an order that let each one reinforce the next.